Sounds positively scary doesn’t it!? I’ll let you into a secret that I didn’t tell my YouTube subscribers…I hadn’t tried this technique before making the tutorial. Bold, I know, but honestly it was so underwhelmingly simple, I had the confidence to turn it into a tutorial right away.
Why am I even attempting this? Well the sleeves on my jumper are a bit too long and that has stopped me wearing it. Time for that to change!
This post is the step-by-step photo instructions. If you would like to watch our YouTube video as well, click below.
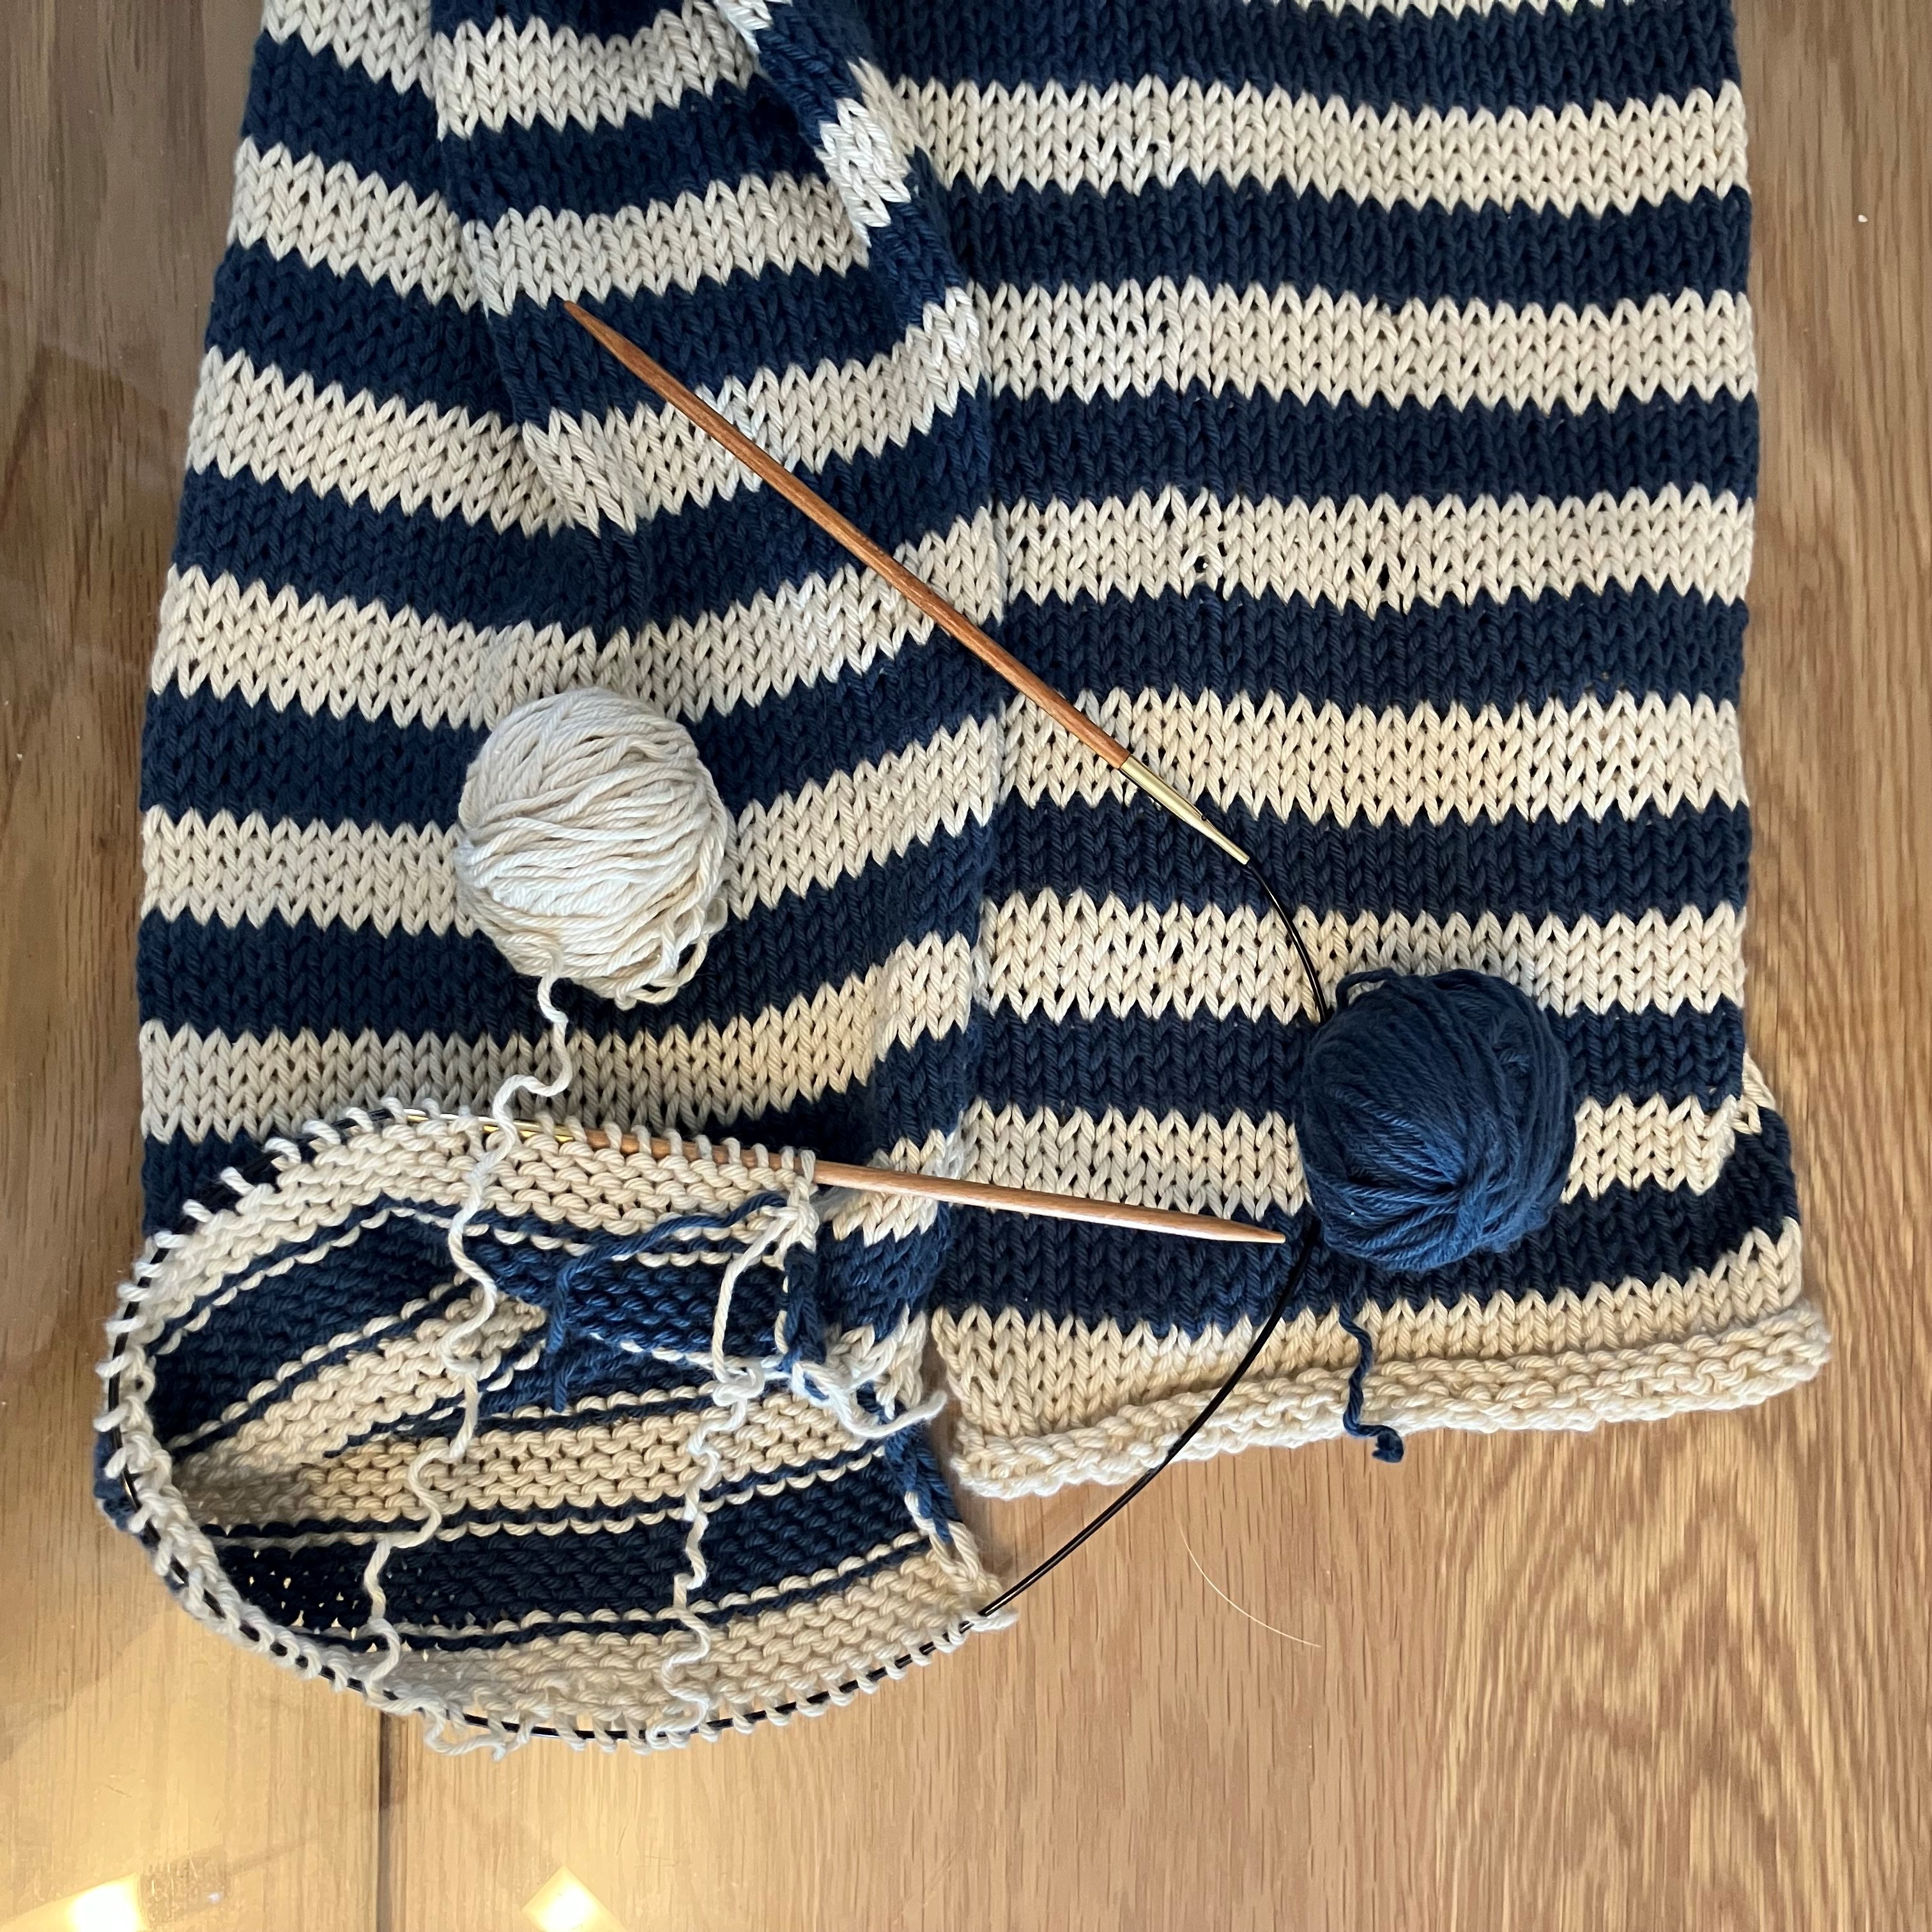
Today you will need a knitting needle. If your project is knitted in the round, then you will require a circular needle. My project was knitted flat originally and I decided to use a circular needle working flat for greater flexibility.
You will also require a wool needle and scissors. And that’s all you’ll need today.
Step 1
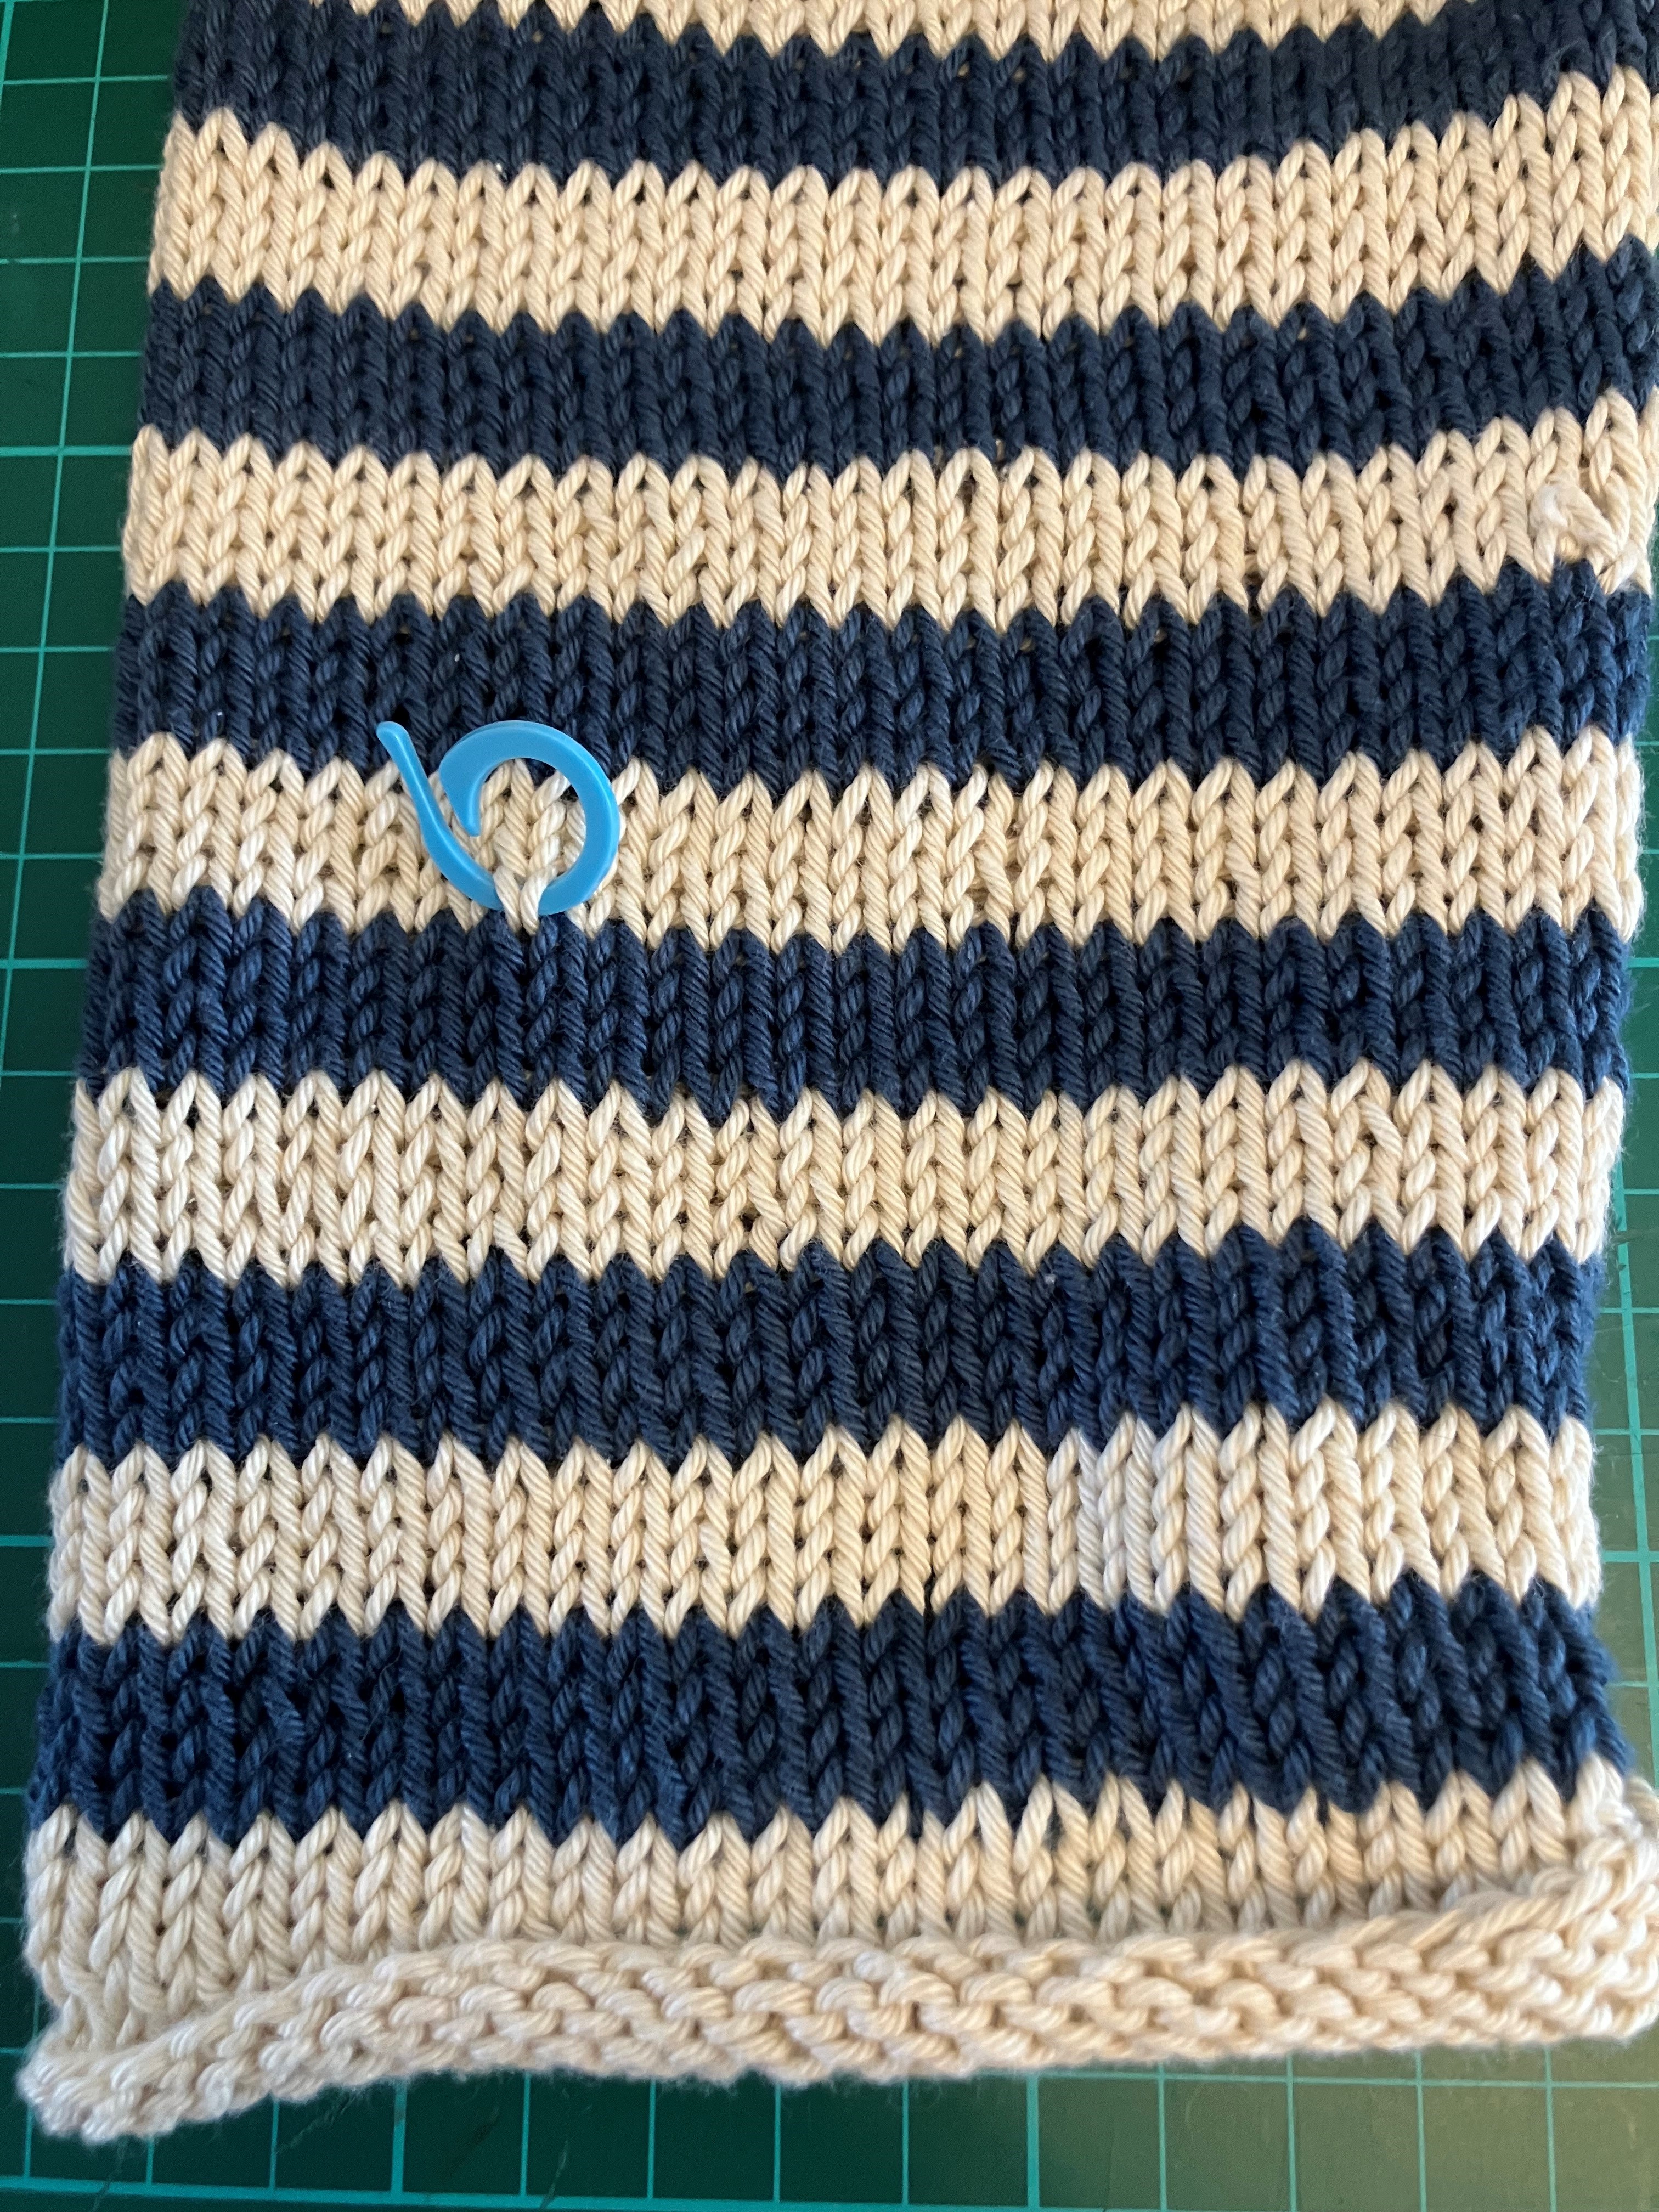
Secure a stitch marker or scrap yarn where you want to remove the rows up to.
Step 2
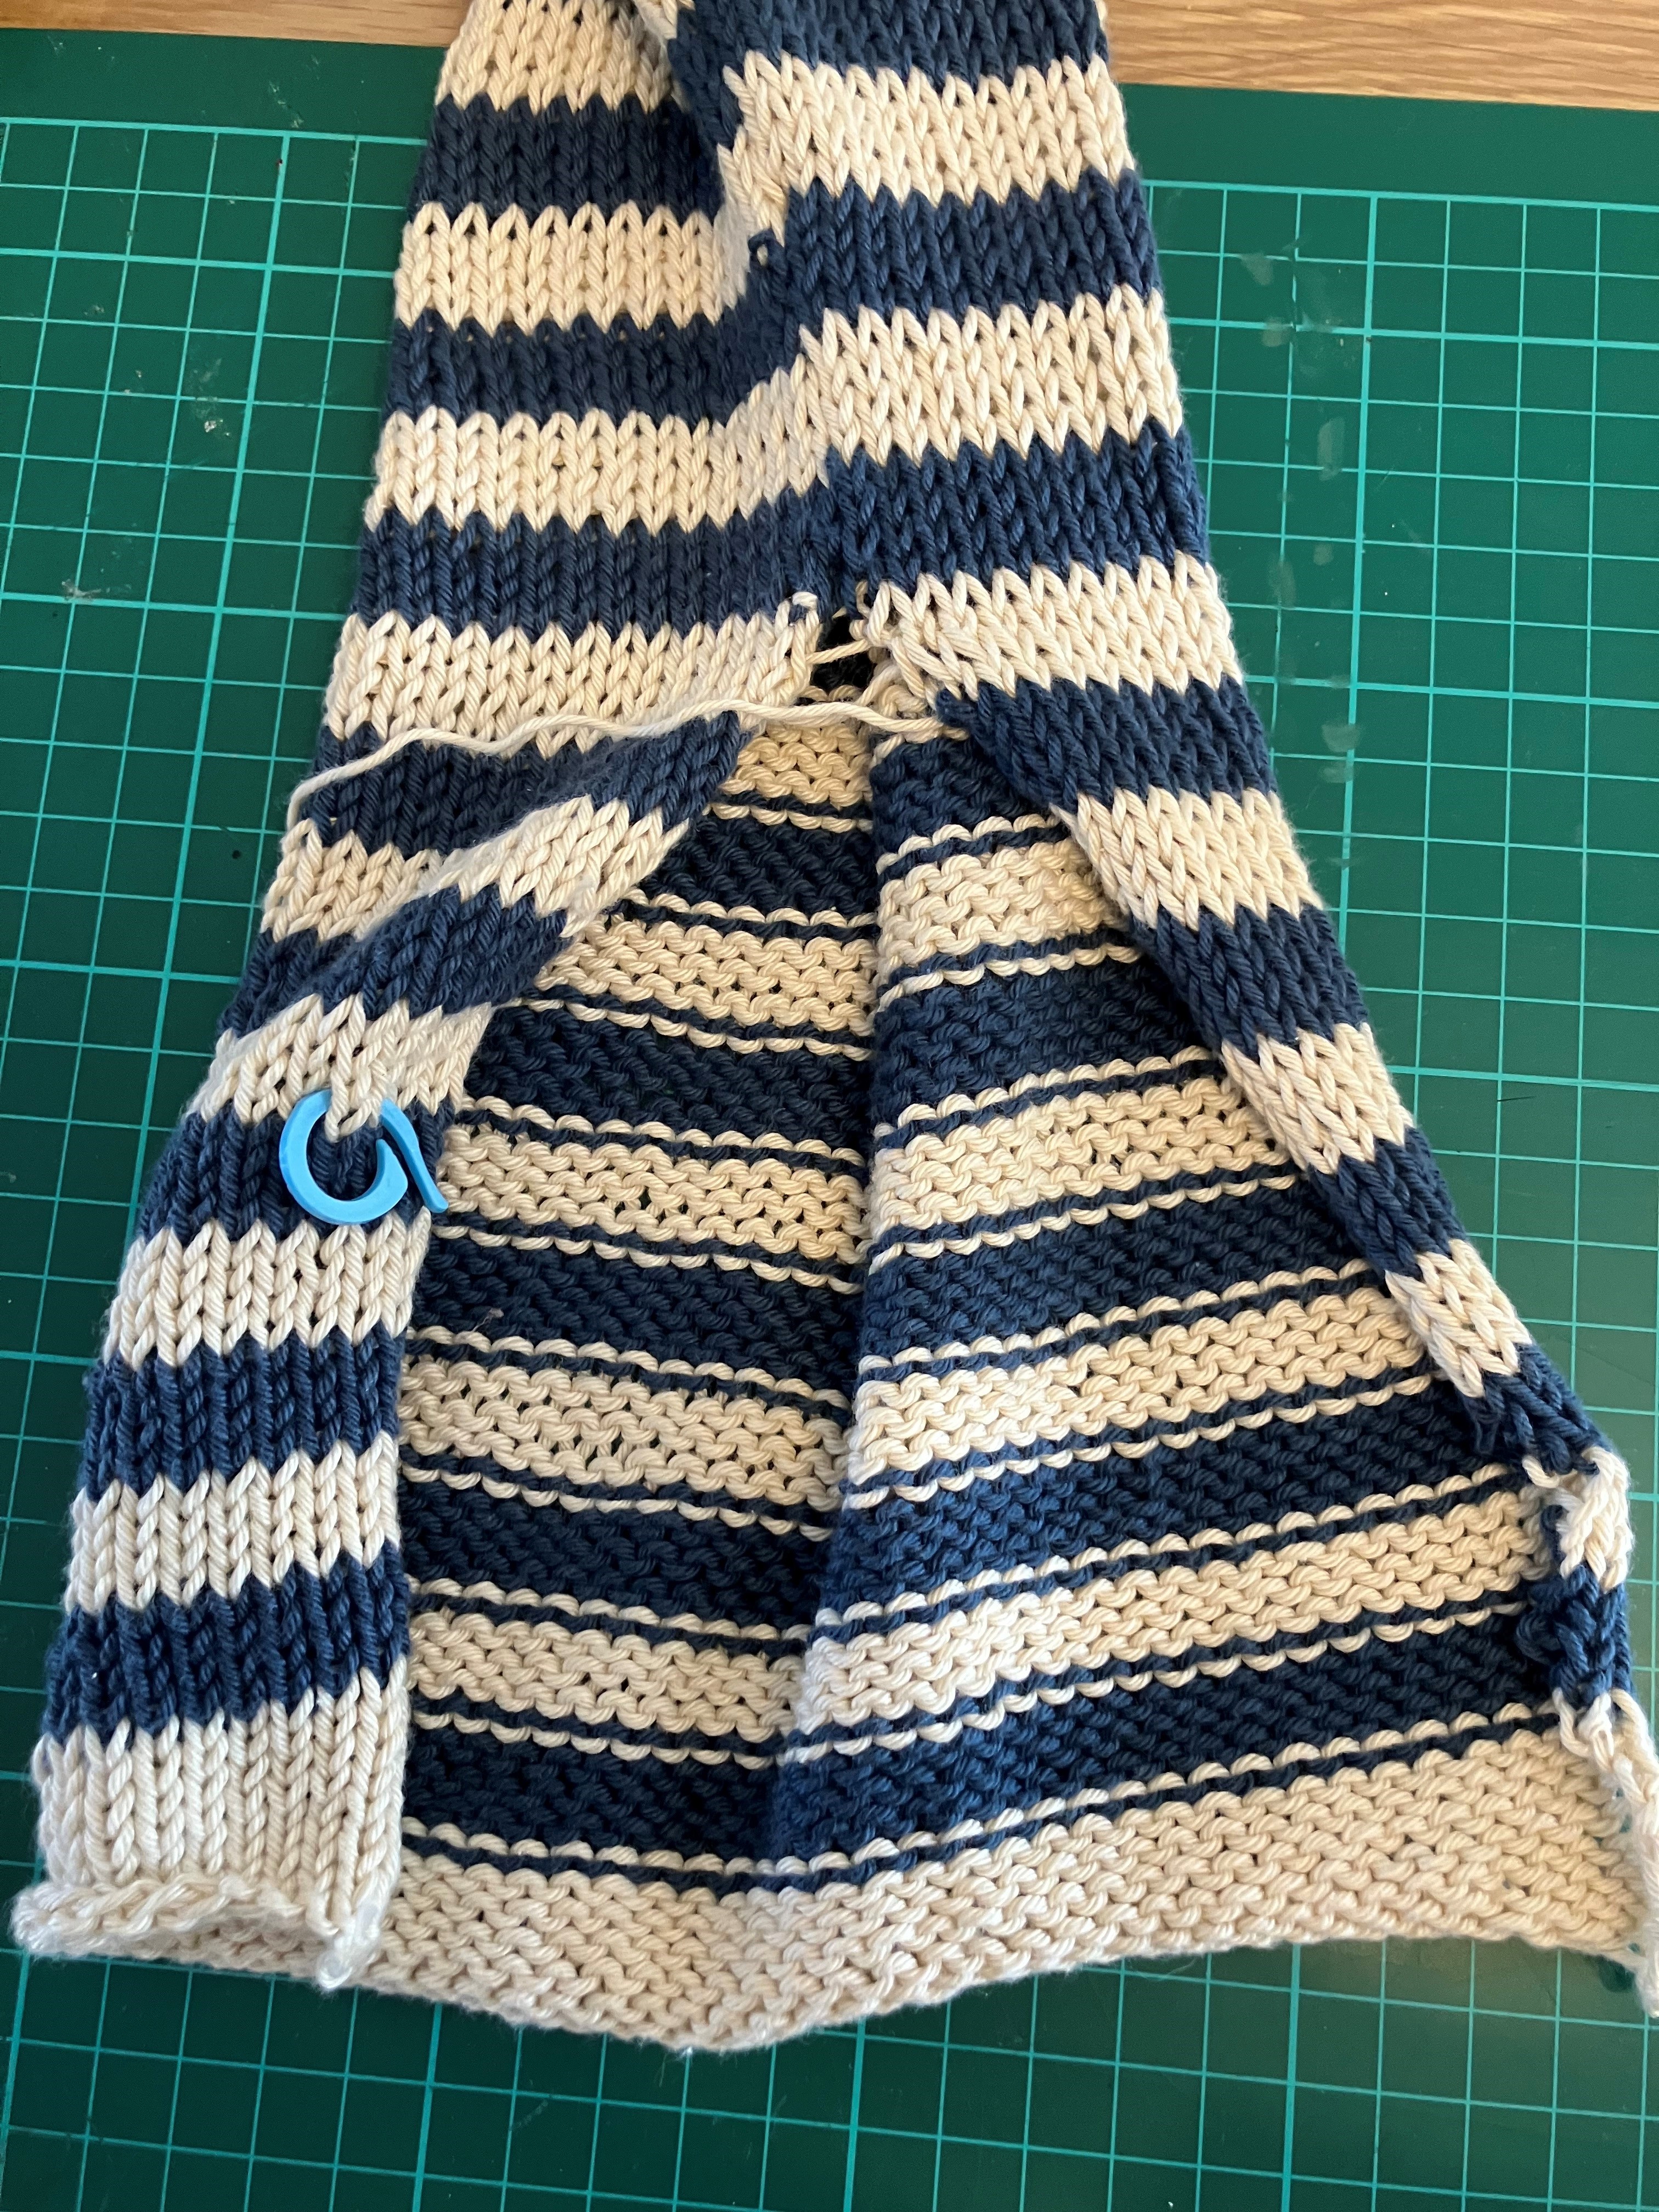
If your project was knitted flat and seamed together, you will need to undo some of your work. Take your time to ensure that you do not mistakenly cut your knitted fabric. I undid my sleeve a few rows above my marker to allow for flexibility.
Step 3
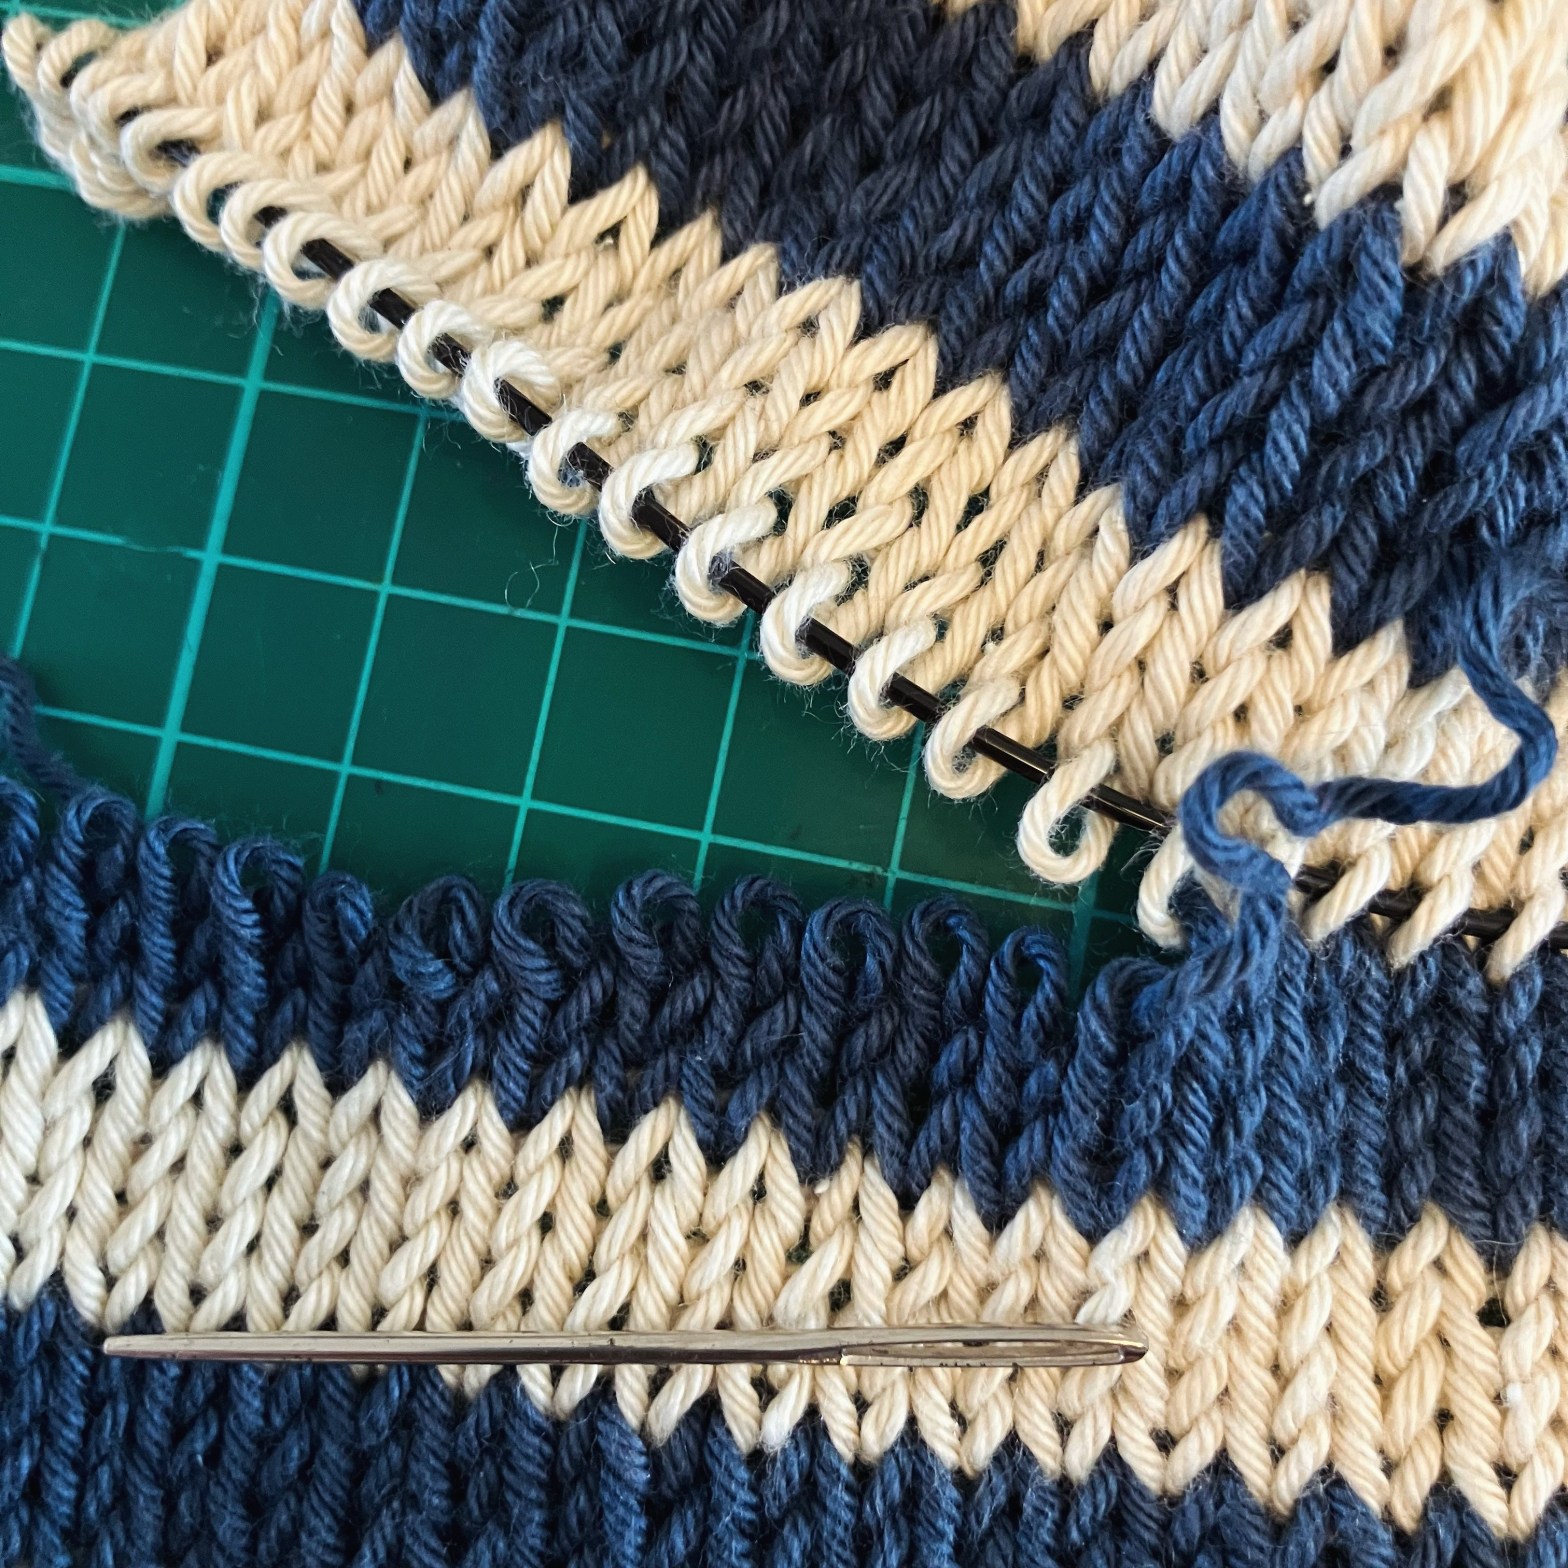
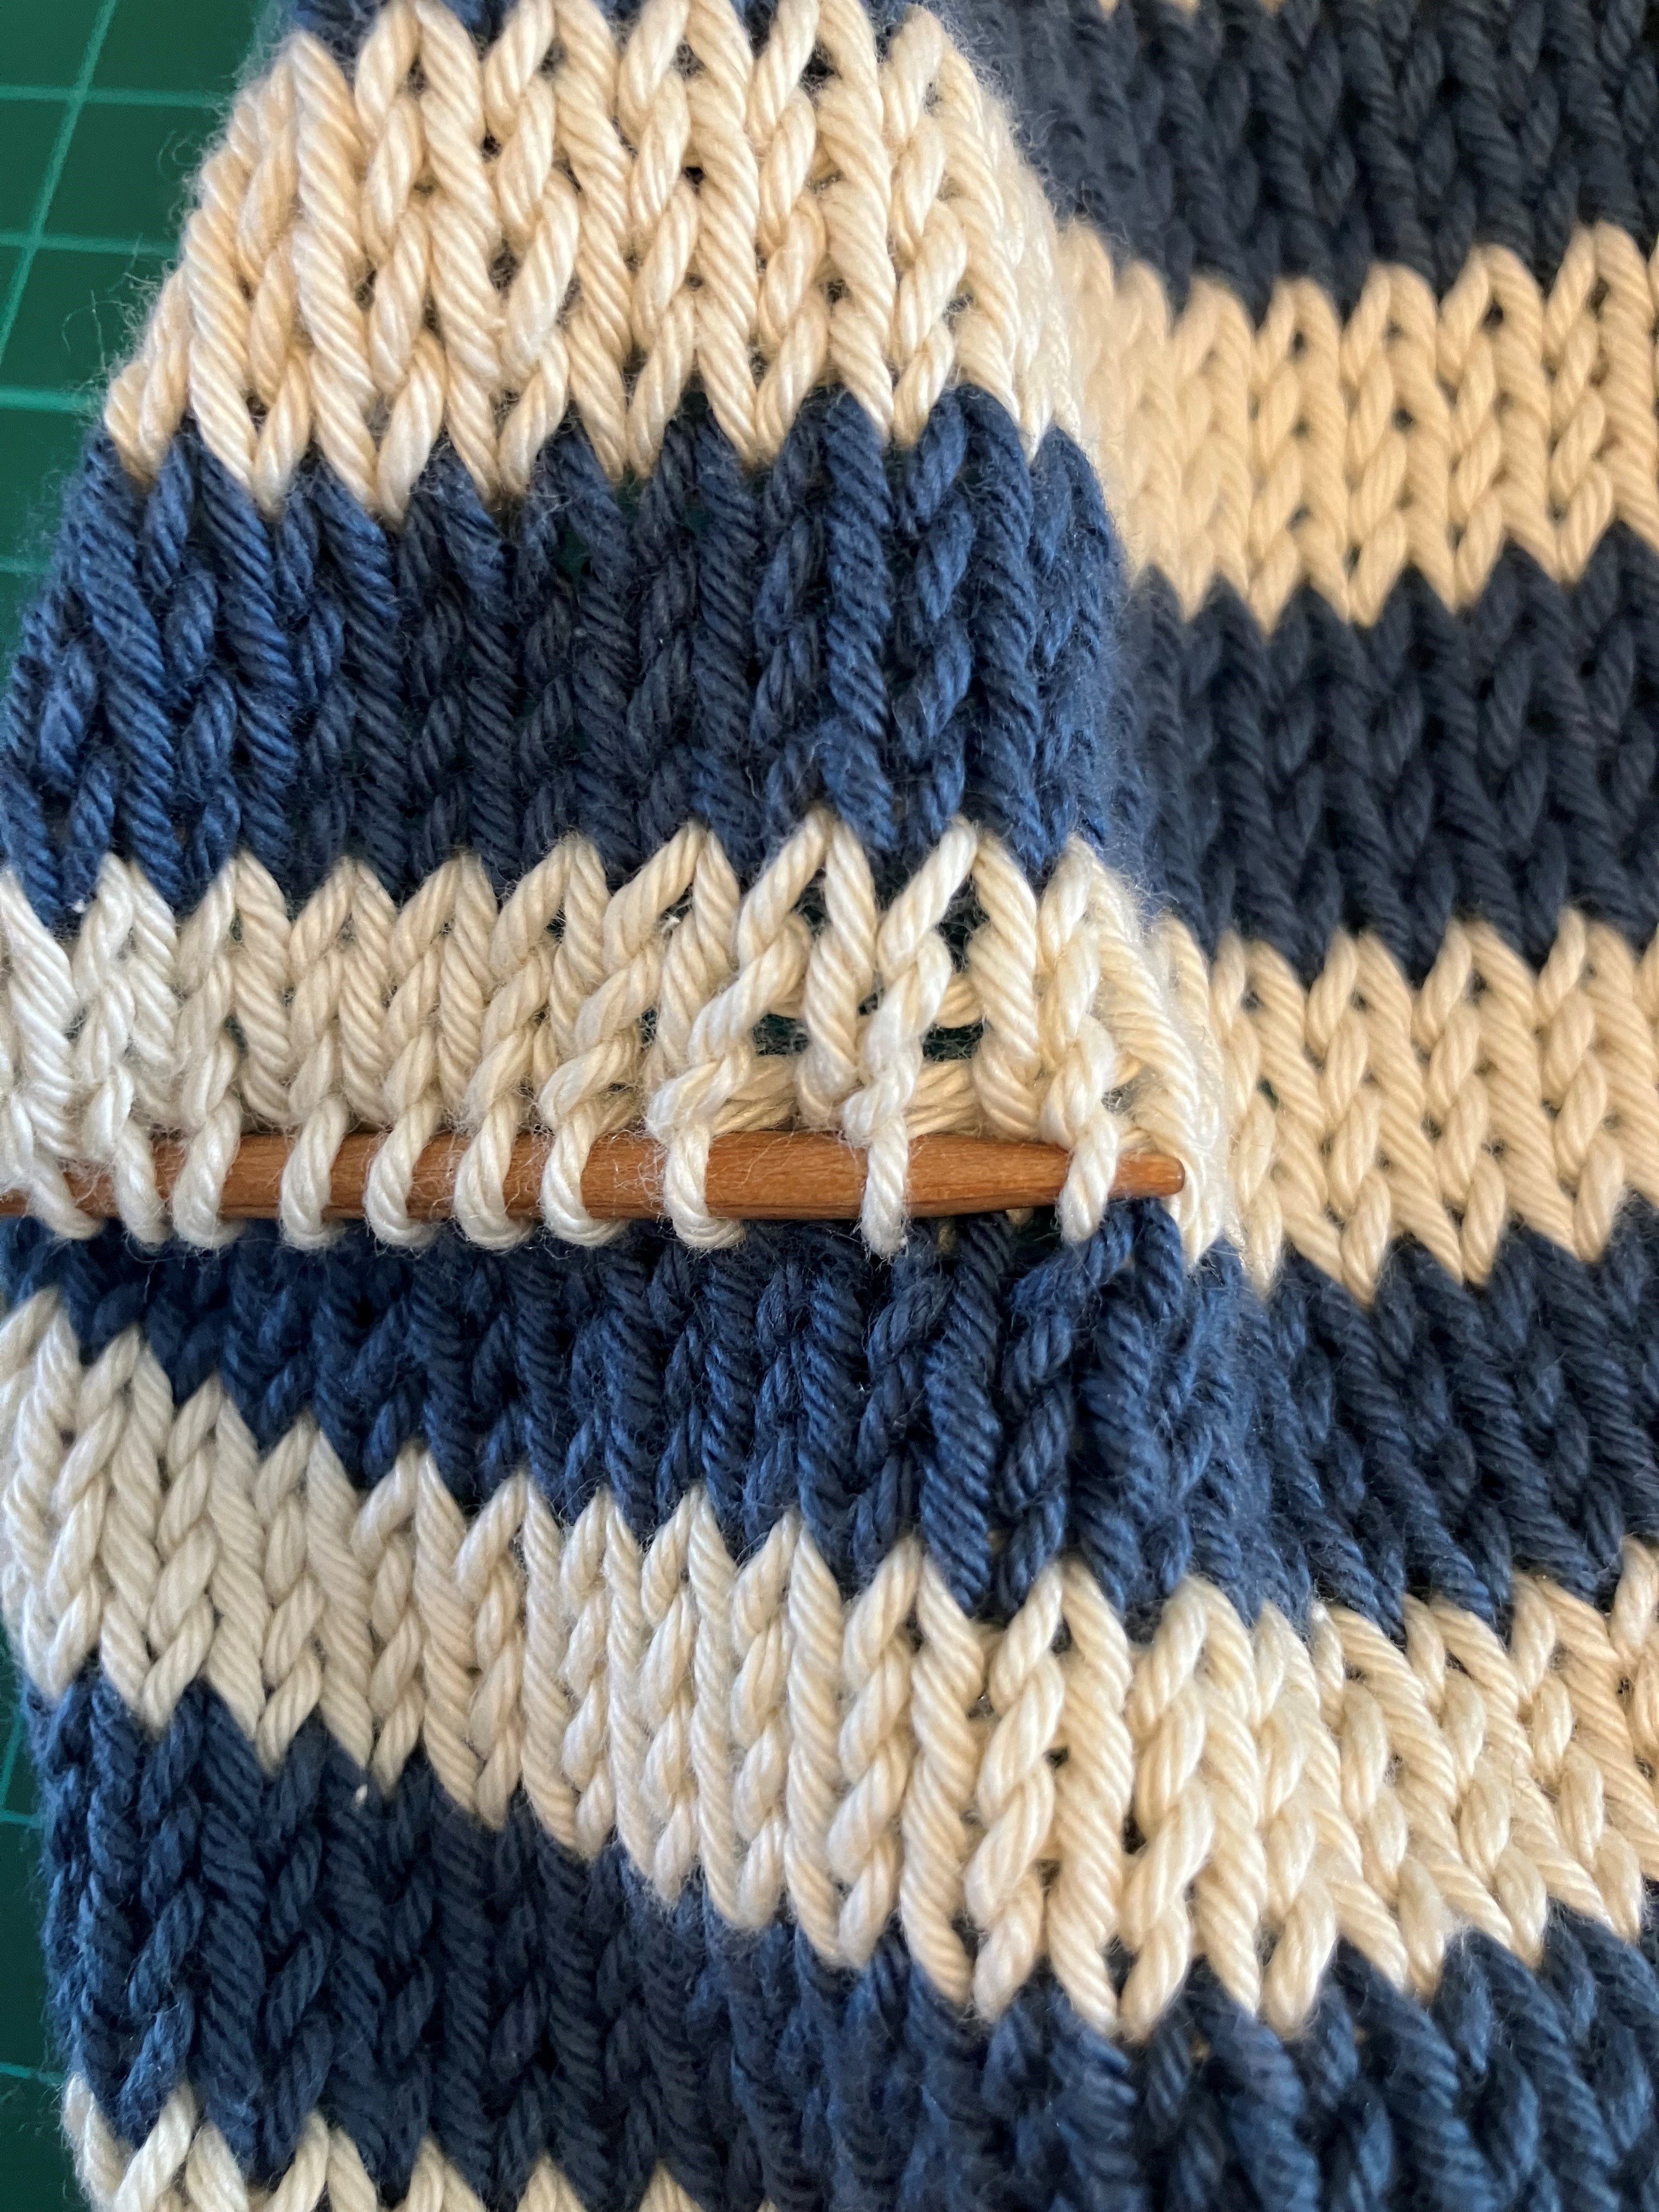
Pick up one ‘leg’ of each stitch. It helps that my work is in stripes and I can clearly see my stitches. If your work is a solid colour, it might be an idea to secure the stitches with a wool needle and length of scrap yarn first. It doesn’t matter if some stitches are facing the wrong way – these can be rectified later – the main thing is that every stitch is captured.
Another tip is to use a knitting needle smaller than what you knitted with: this makes it easier to pick up the stitches. Do not use a needle size any larger than what you worked in, as this will stretch the stitches.
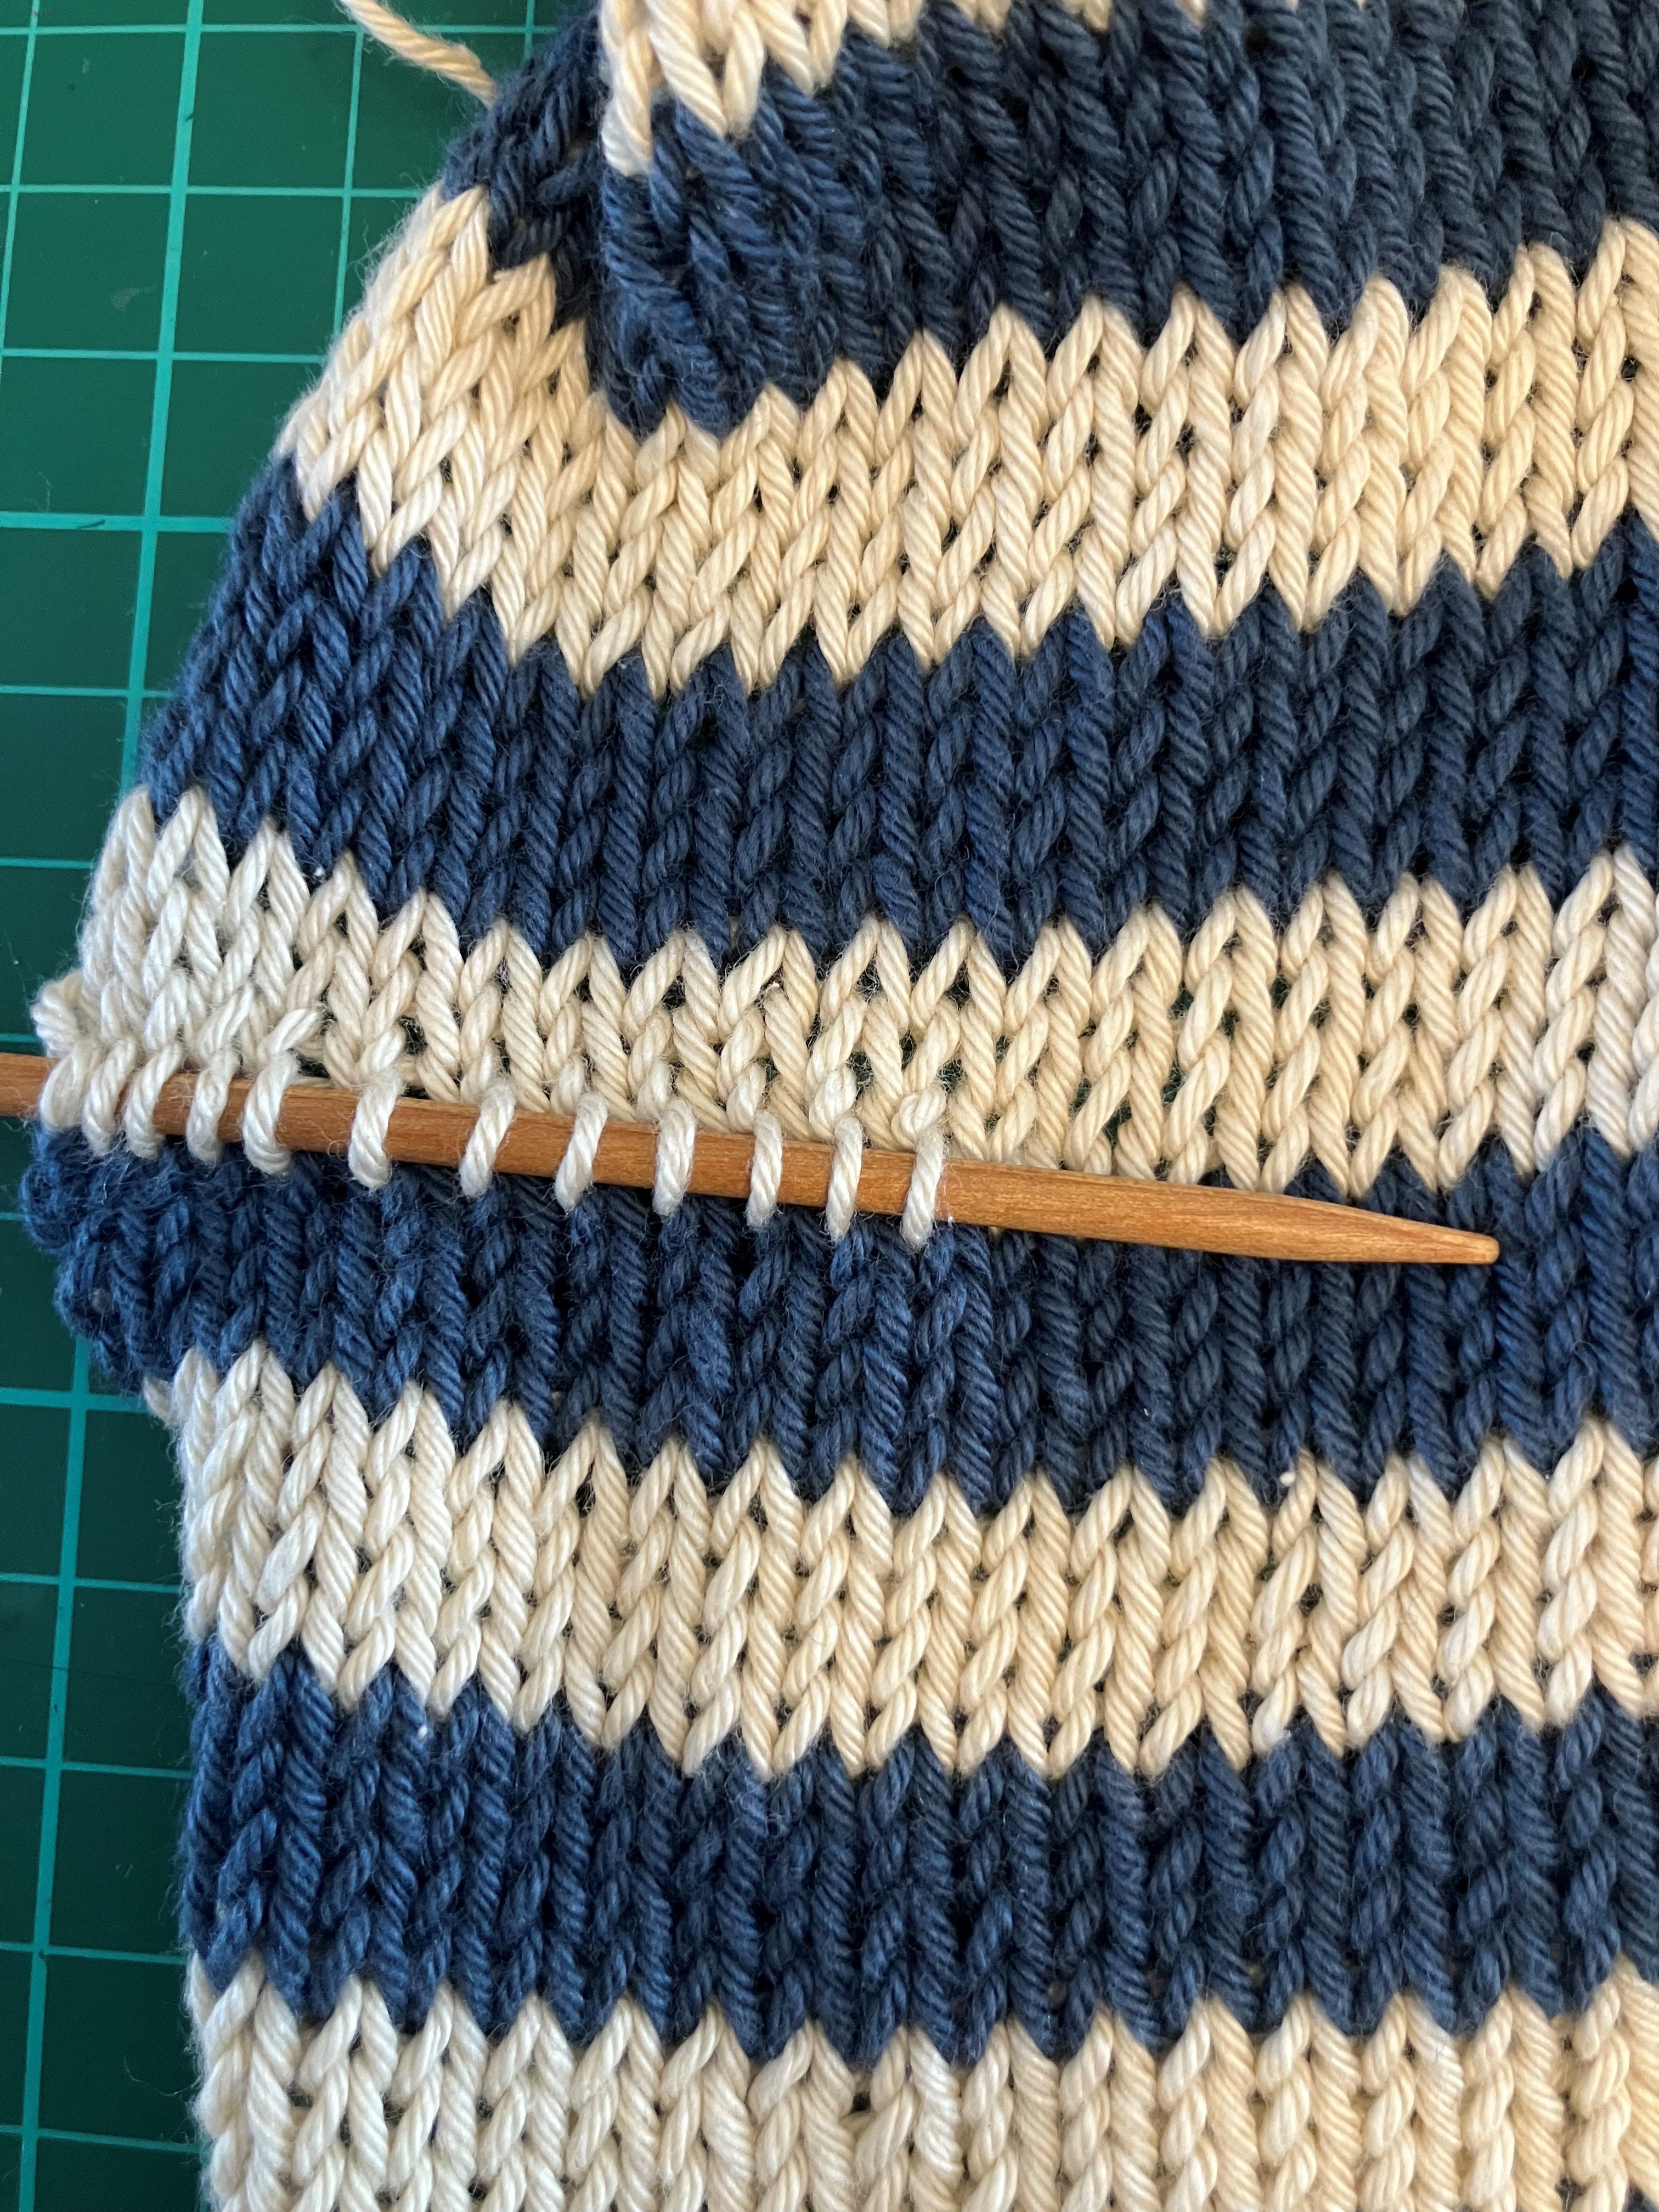
All stitches are now on your knitting needle. Mine are on the cable of my long circular needle.
Count the number is stitches. Is it correct? Check none are dropped. If there are any, secure them with a safety pin or stitch marker and add them to your needle in a moment.
Step 4
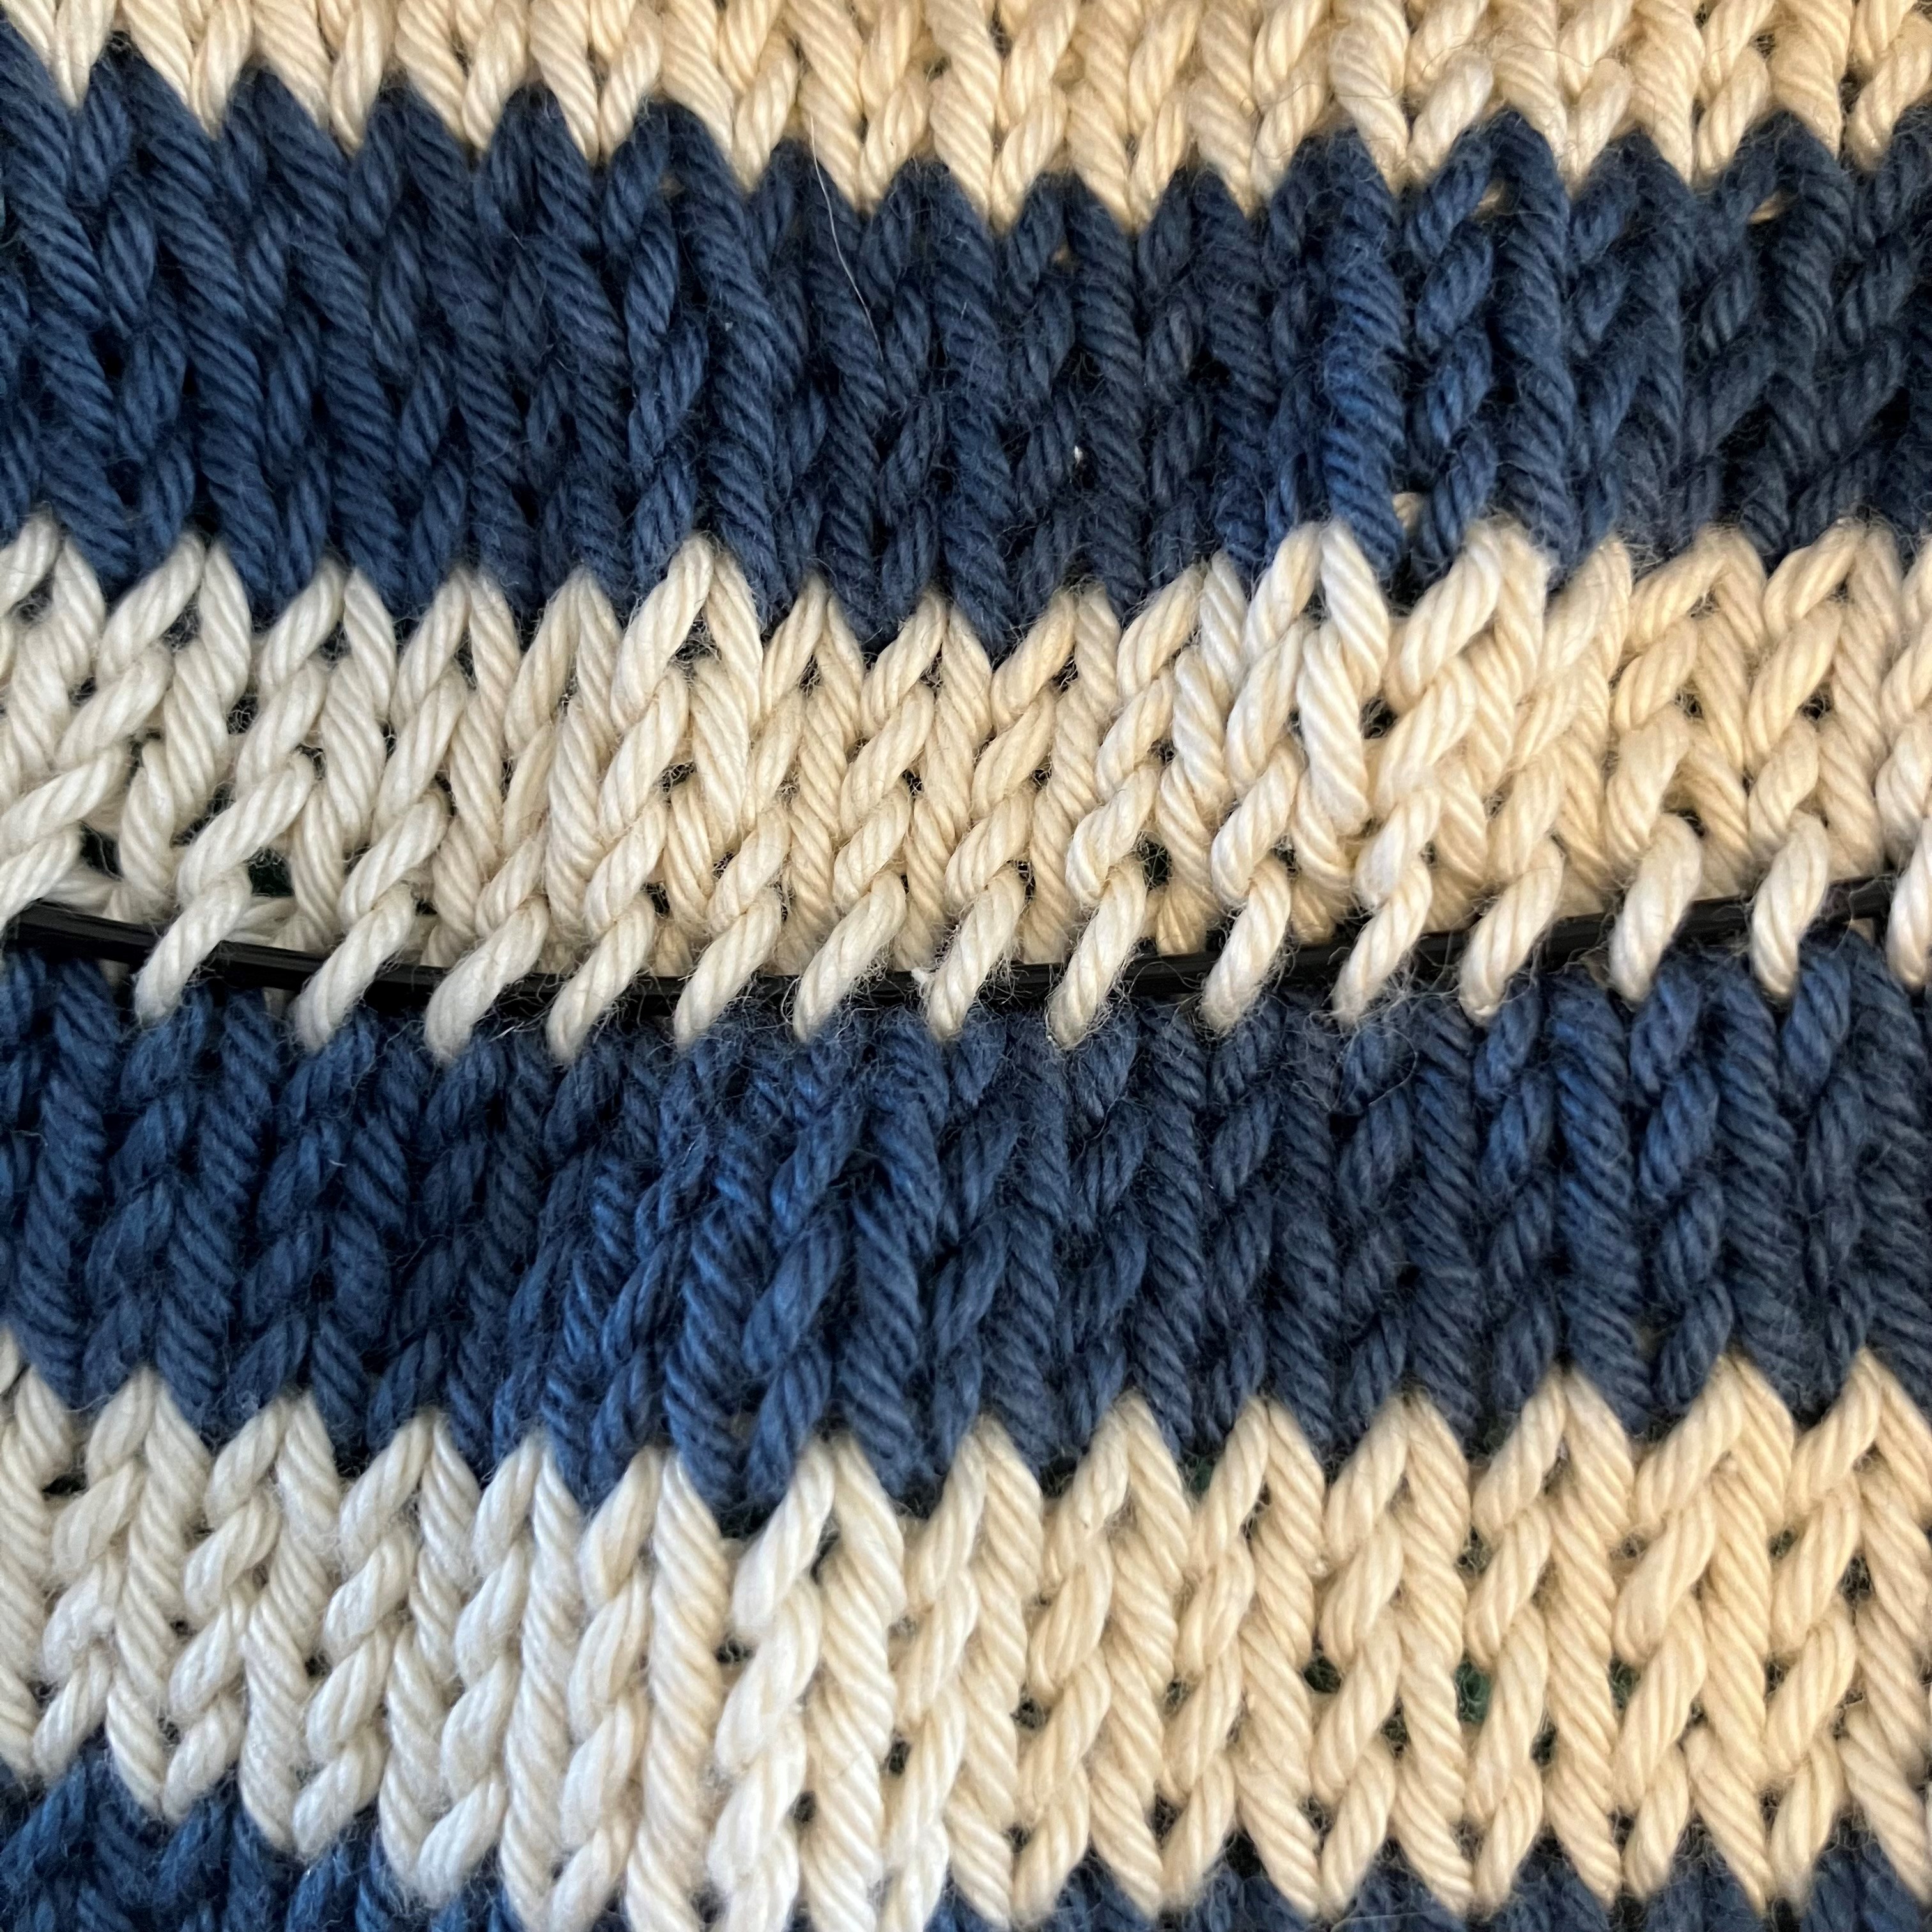
Now for the not so scary part. Get your little scissors and snip the leg of one stitch from the row below. You are snipping just one stitch and from the row below stitches on the needle.

Step 5
Use your wool needle to undo the row of stitches. For my project, I could unravel and ball up the section below. You make wish to put this on another needle for later, for example to lengthen a piece.
I tried to save the wool from this ‘undo row’ but it got very tatty. I cut off this bit.
Ta-da…the stitches on your knitting needle are now LIVE.

Then, I finished the last couple of rows of my sleeve and cast off. I always use a thumb method to cast on and this has a little stretch to it. Casting off can be tight the best of times. I found that it didn’t need a stretchy cast off, but did benefit from casting off loosely.
Not scary at all was it!? Do let me know in the comments if you’re going to give this technique a go.
