Over the years, I’ve been honing in my skills on the soft furnishings side of life. With the prospect of getting a house next year, I’m slowly building up my DIY skills as well as confidence using different tools.
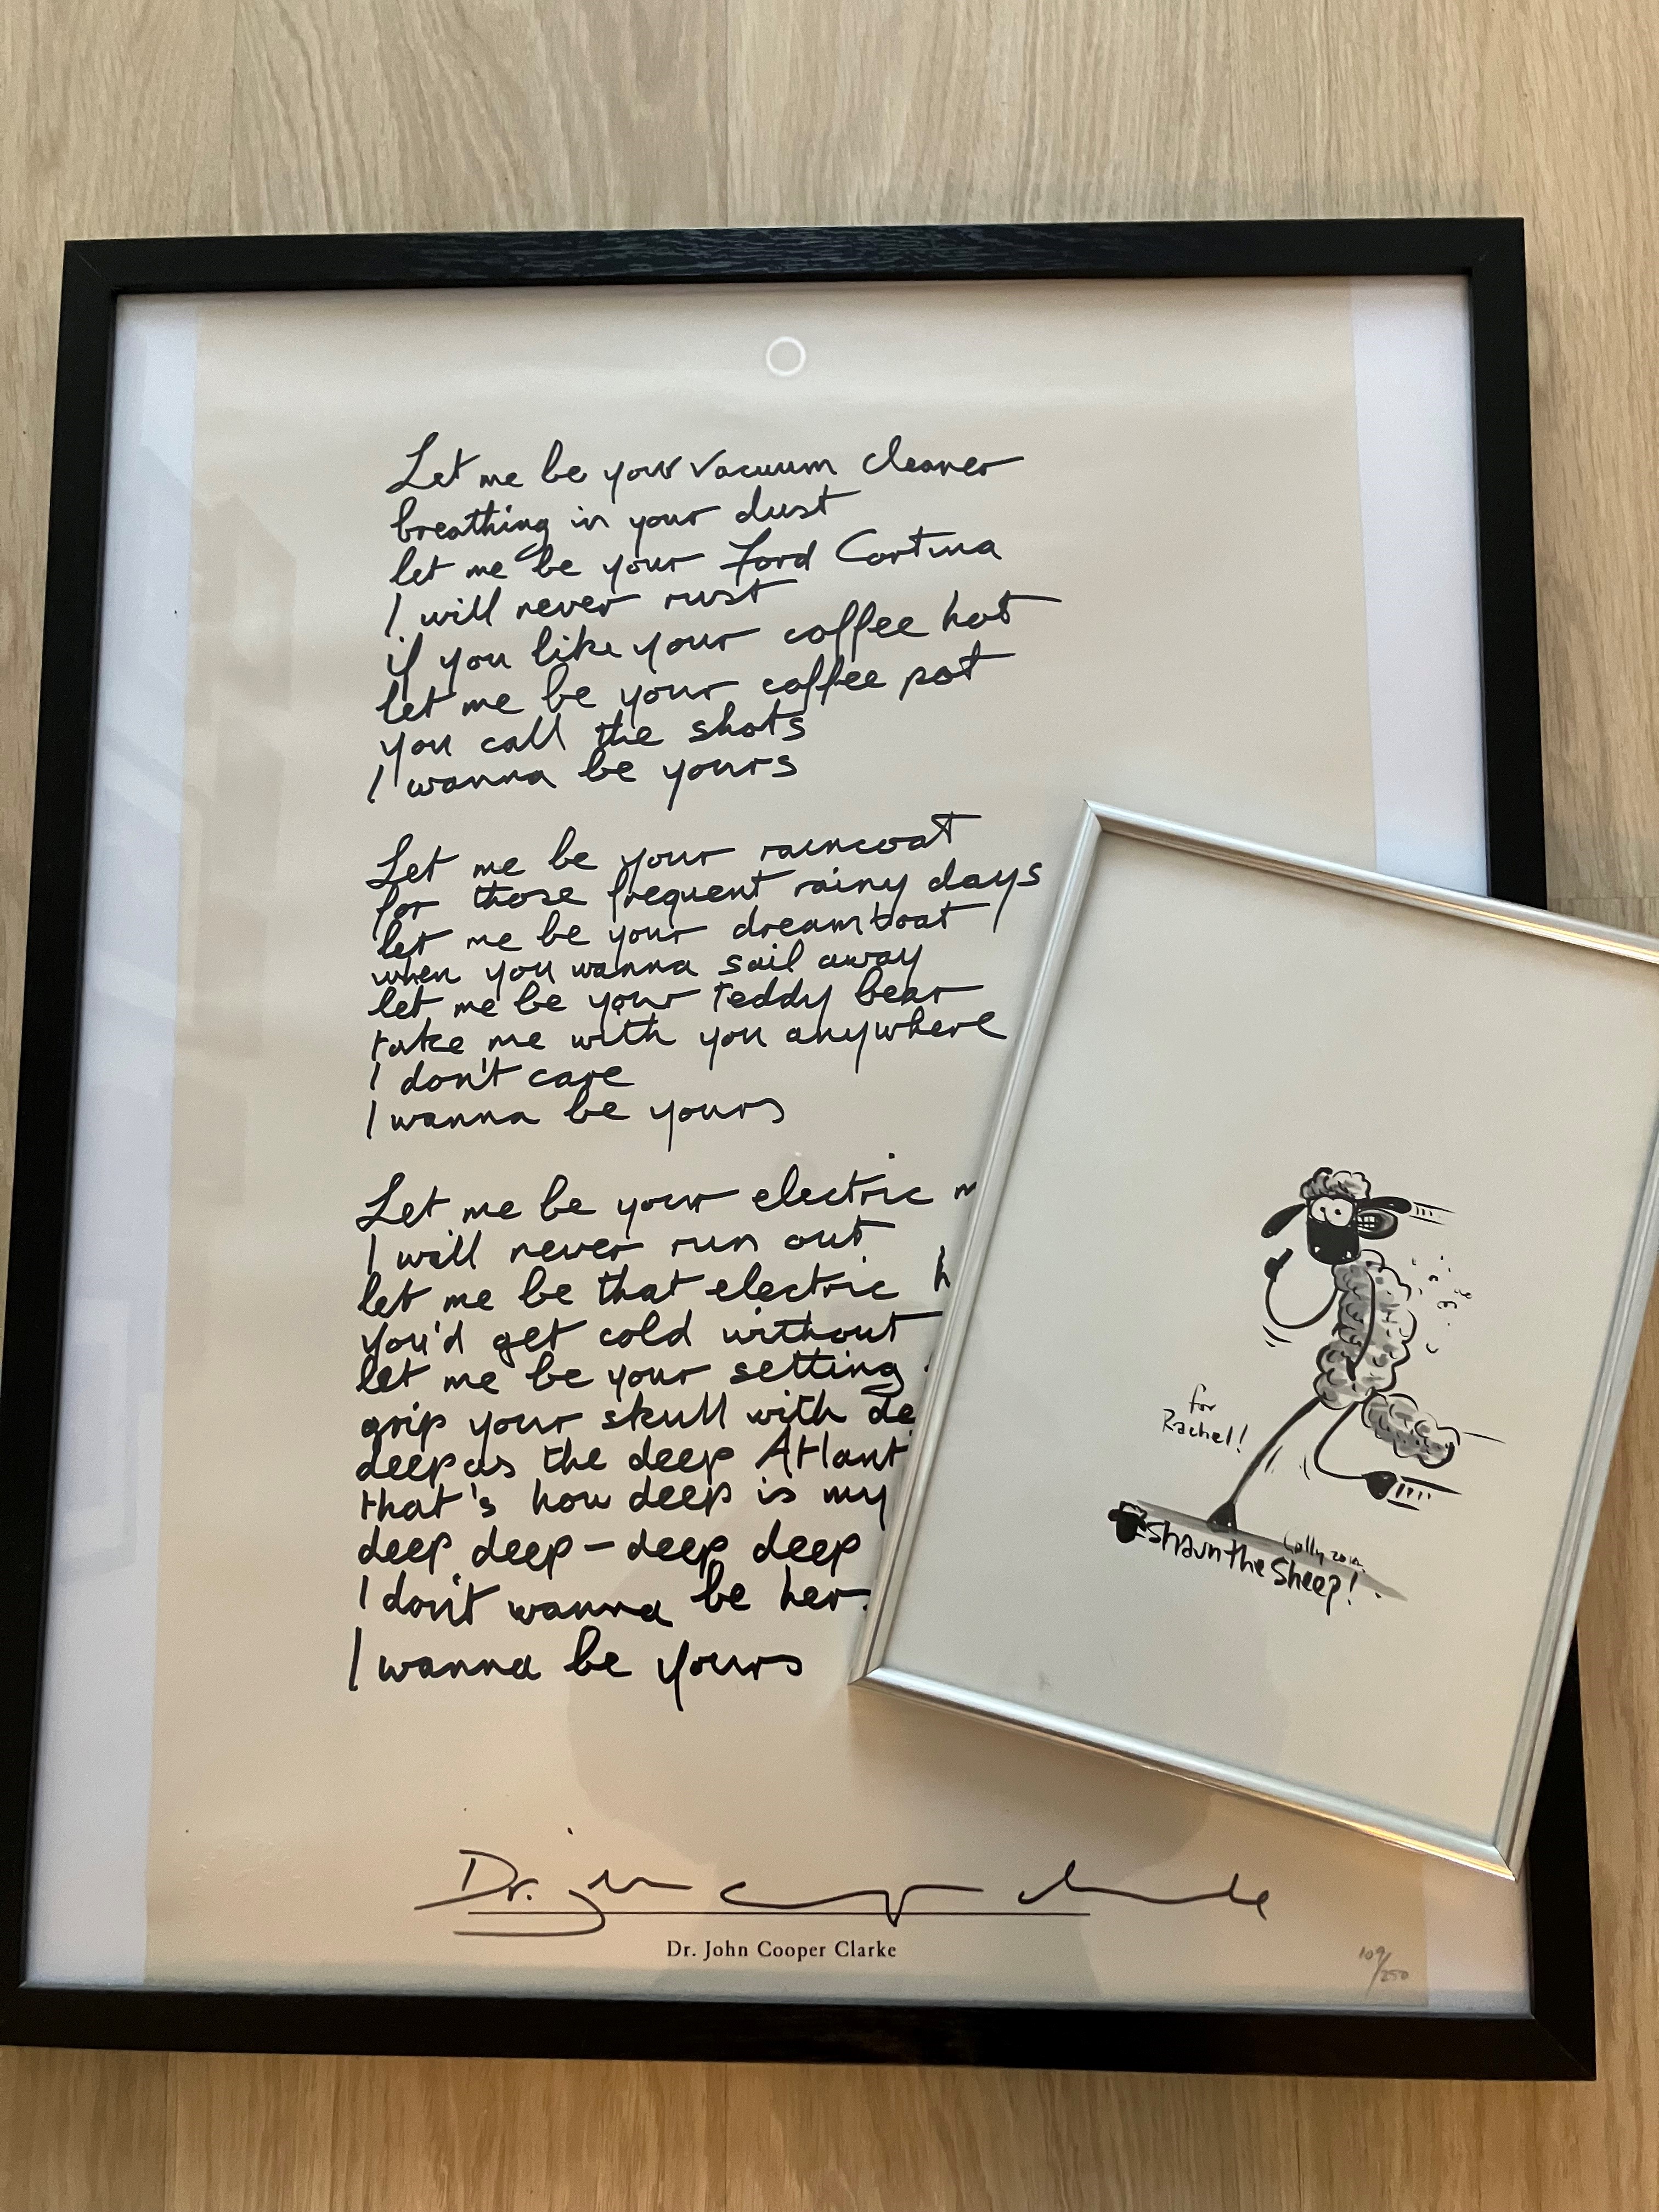
For my latest YouTube video, which you can watch HERE, I have been gathering my artwork and making sure it is all framed and proudly presented. I have some frames, however, that just won’t match my English country cottage décor.
With some top tips from my brother, I decided to just have a go. Worst case I have to buy new frames in the future, but best case I save money and get to feel the buzz of re-cycling.
I’m sharing my experience as a complete DIY beginner, so I’ve included all the tips beginners need and experts forget to mention.
You Will Need
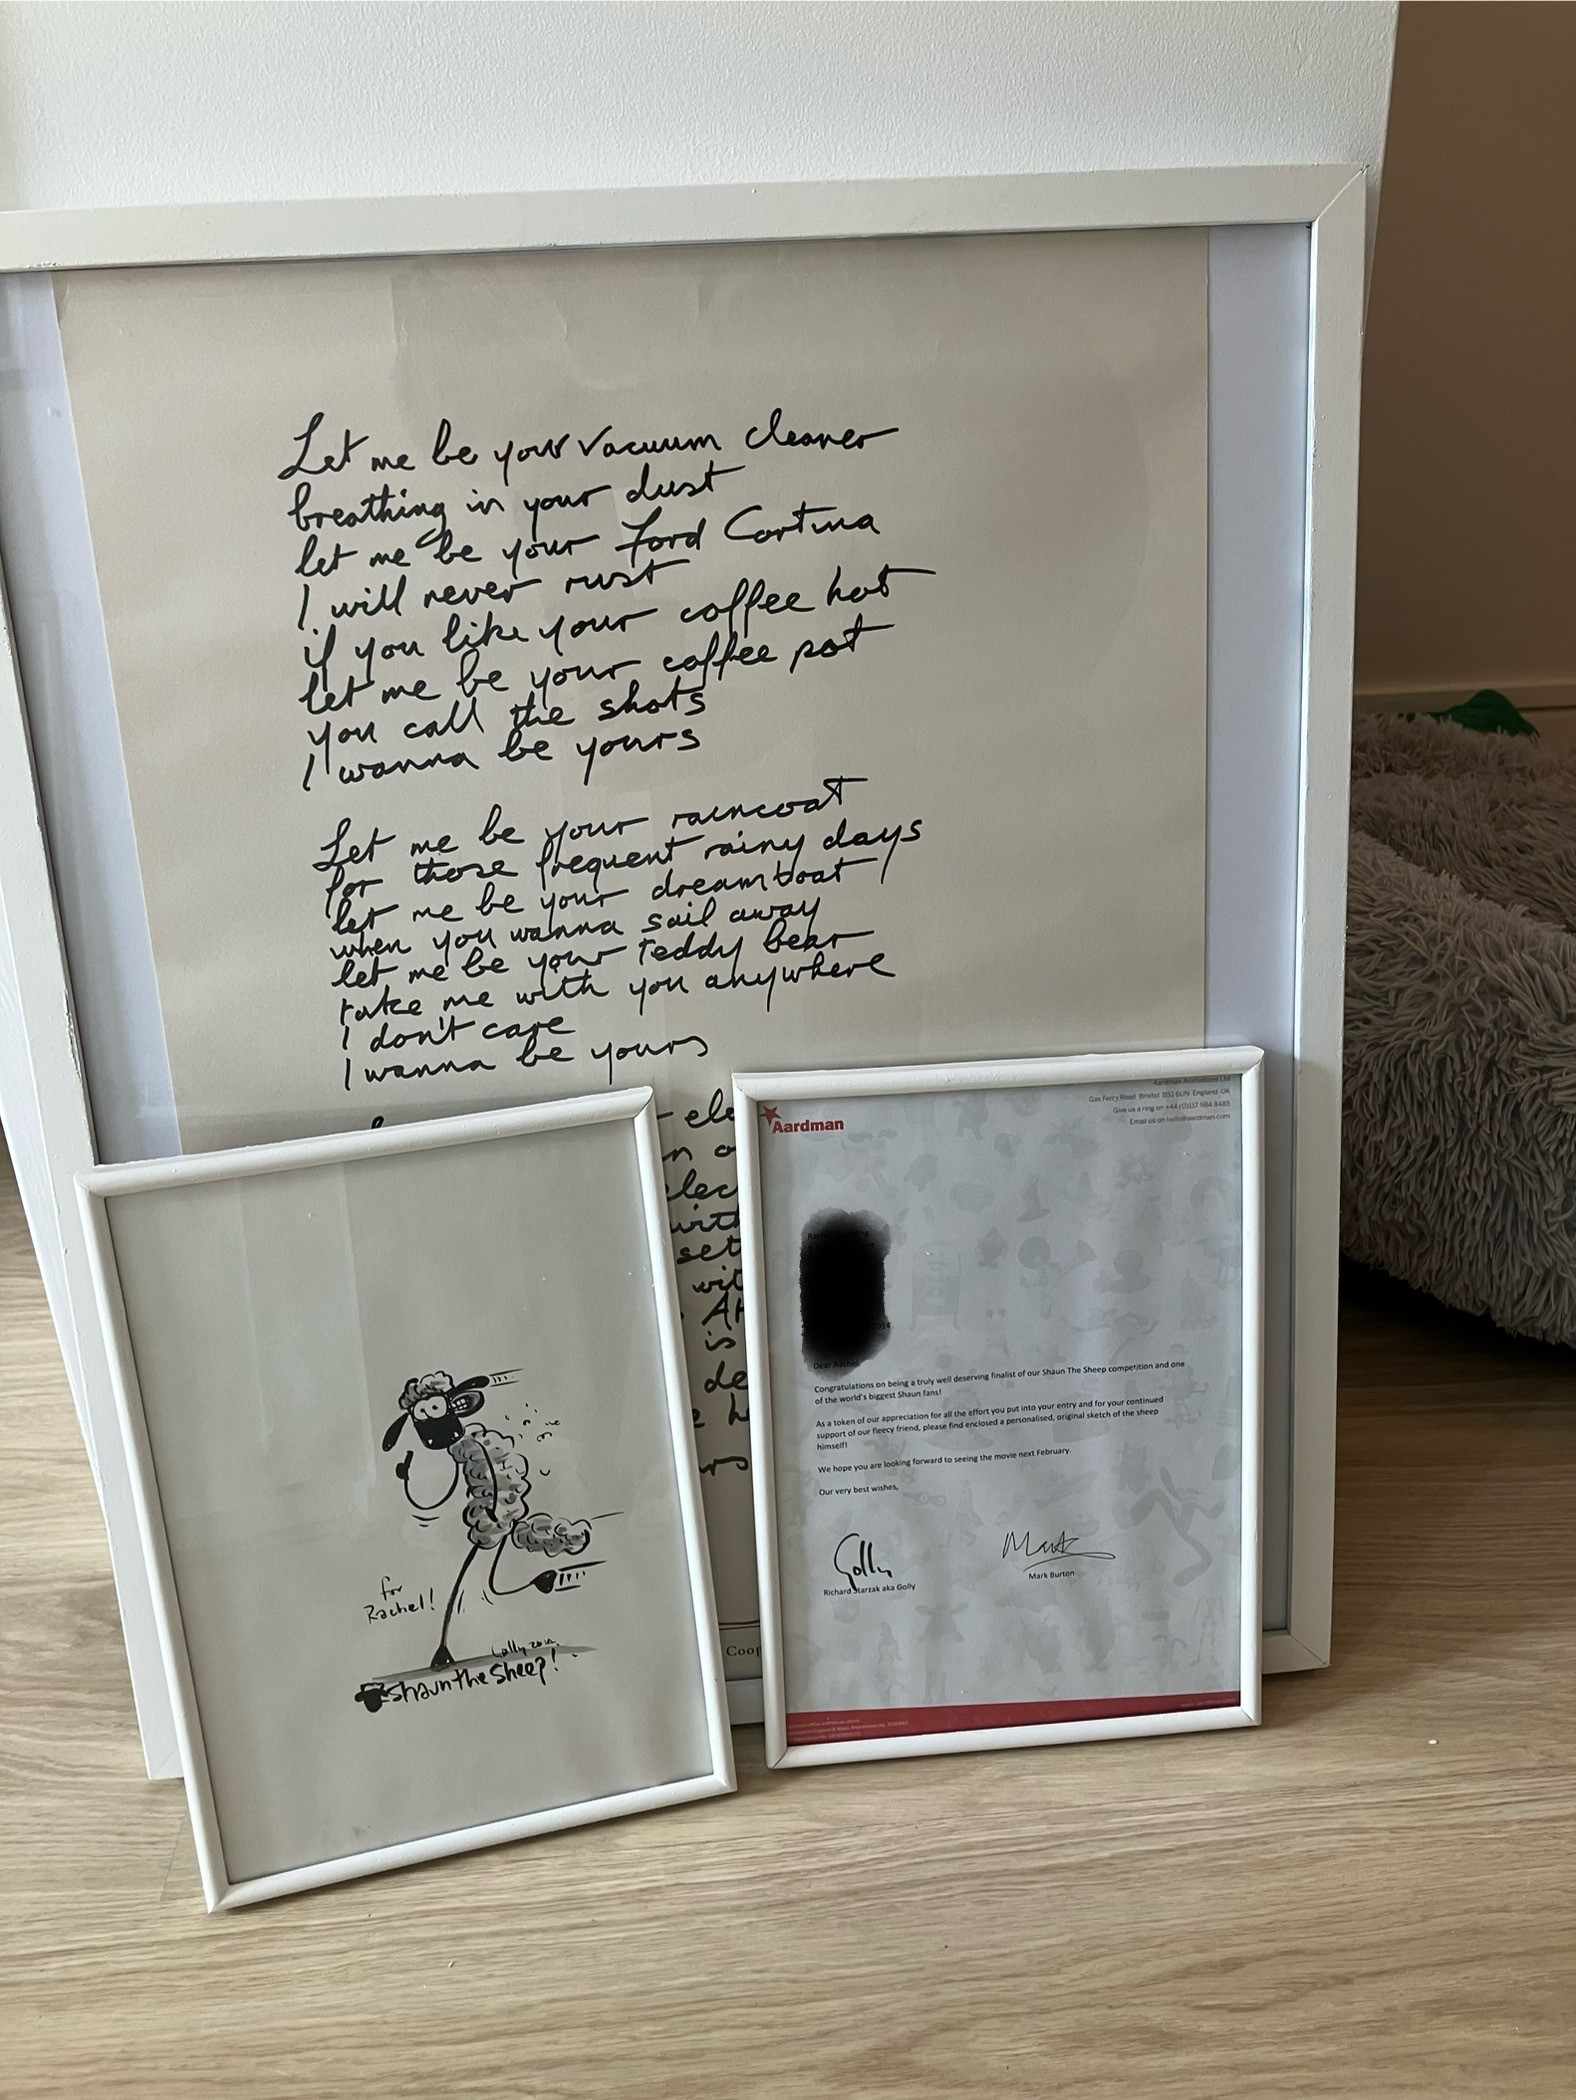
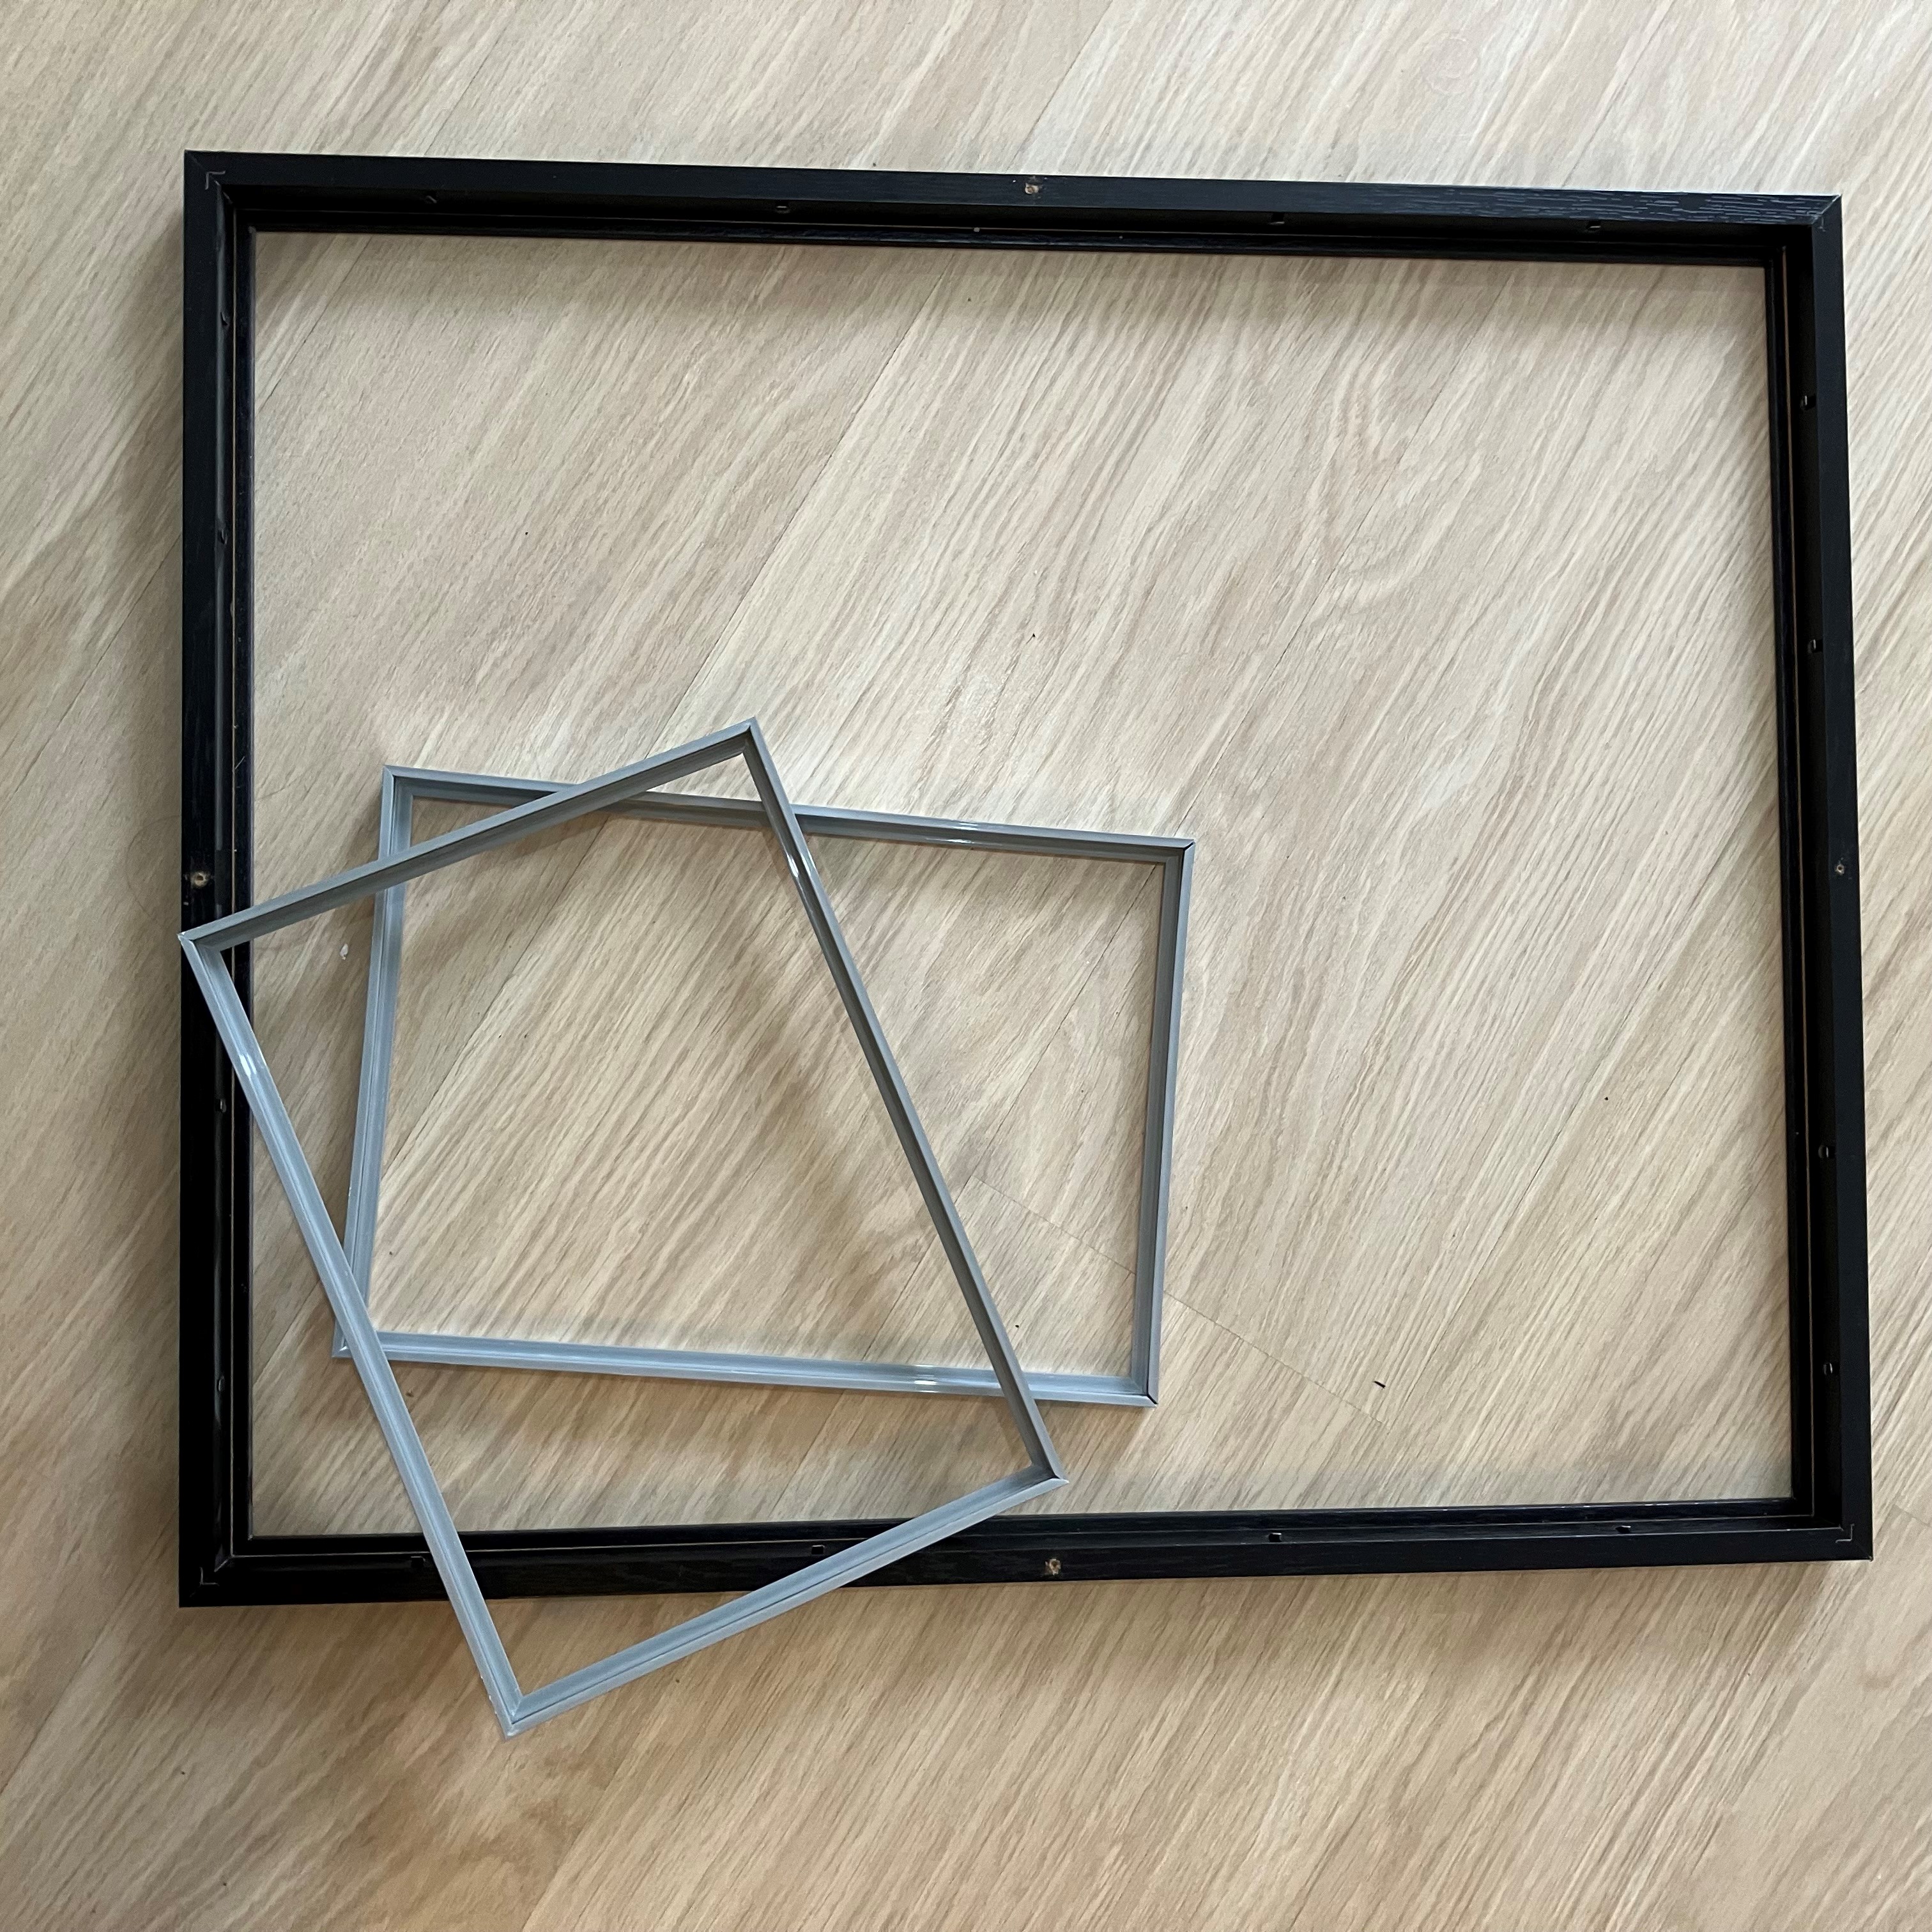
- Frames. One was black coloured wood and the other an awful silver metal -type coating.
- Something to sand with. Either sanding paper and sanding block (your fingers will get hot without the block!) or, I had the great idea to use a foot file. Why? Well the grit was too low for my feet and took them off and I thought it would help use the files up. The shape also has a long handle, so it’s actually perfect for prolonged sanding and keeping up the momentum.
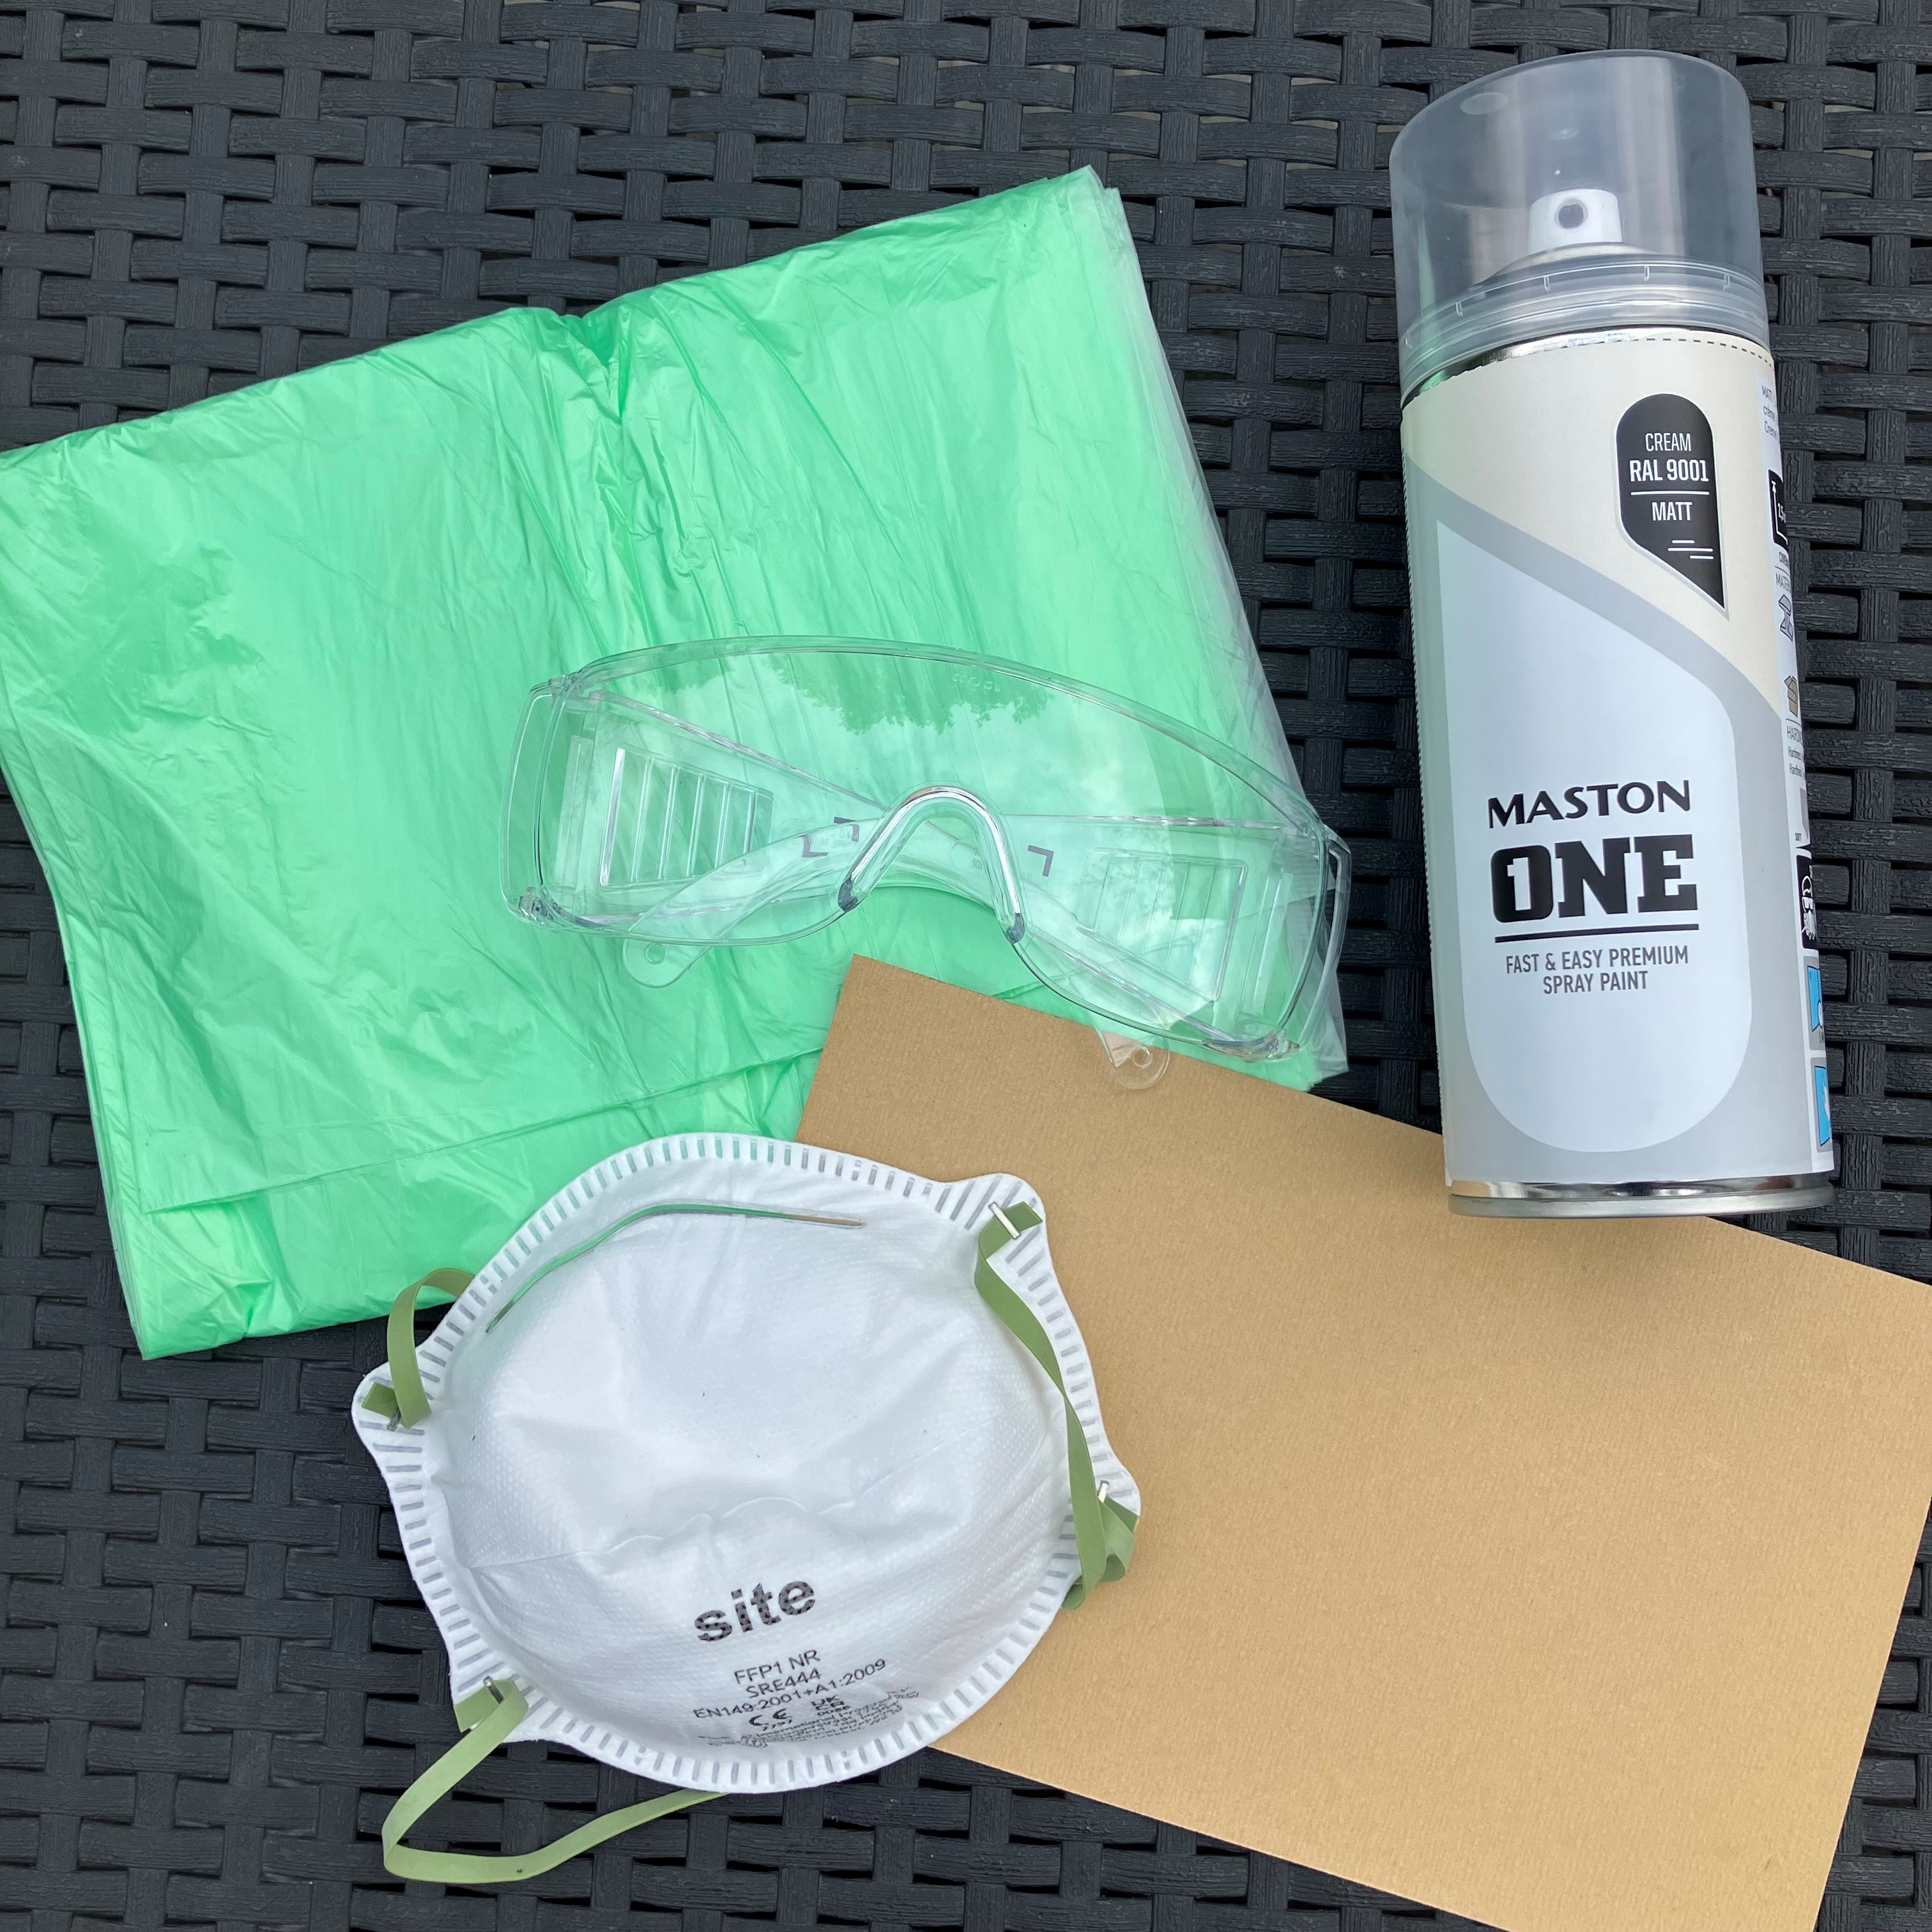
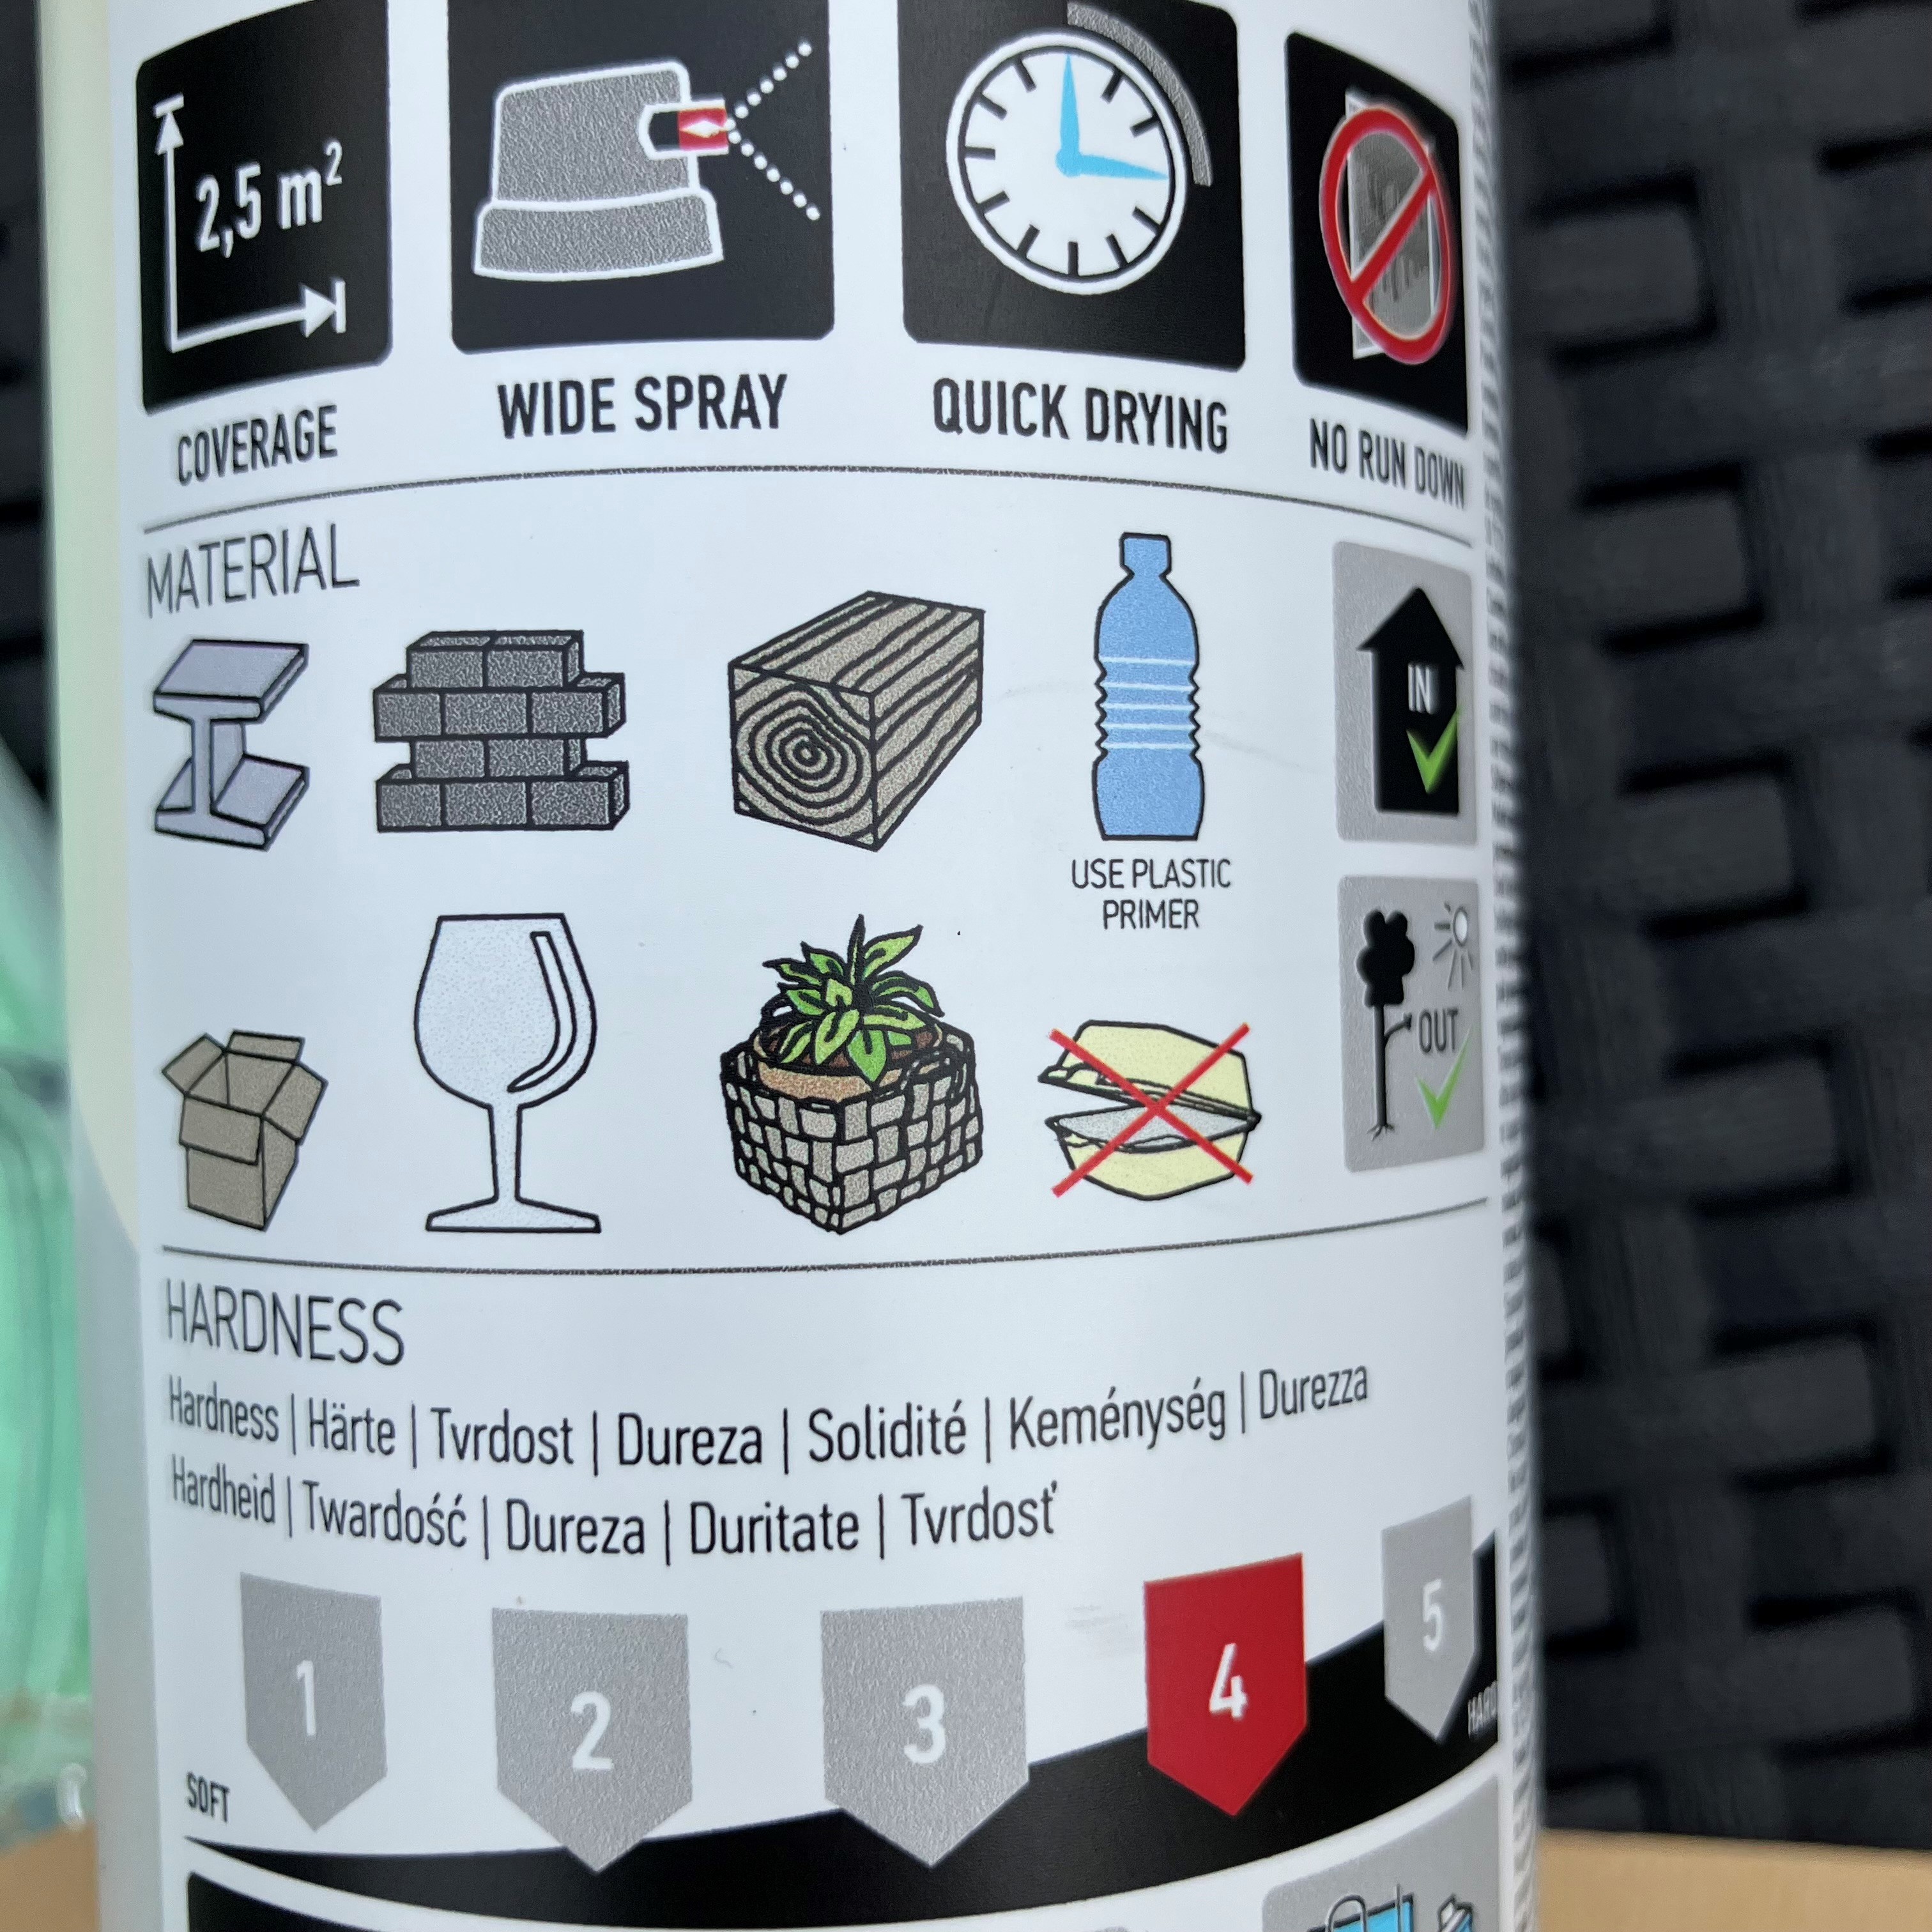
- Spray paint. My brother is my go-to for anything that doesn’t involve a sewing needle. He advised spray paint over a paint brush so it wouldn’t leave streaks. Do have a look at the cans when buying…not every brand or finish covers all surfaces e.g wood, metal, plastic. Finishes can include matt, satin, metallic and even chalk. I picked a beautiful matt cream.
- Plastic covers or plenty of newspaper.
- Something to raise your project away from the plastic covers or newspaper. I used sticks. Another idea it to use kindling or paper folded a few times.
- Preferably an outdoor space (with no rain!) or a very well ventilated room or garage with the door open. For obvious reasons of me being completely clumsy and messy, mum wouldn’t let me do this in the garage…which I agree with!
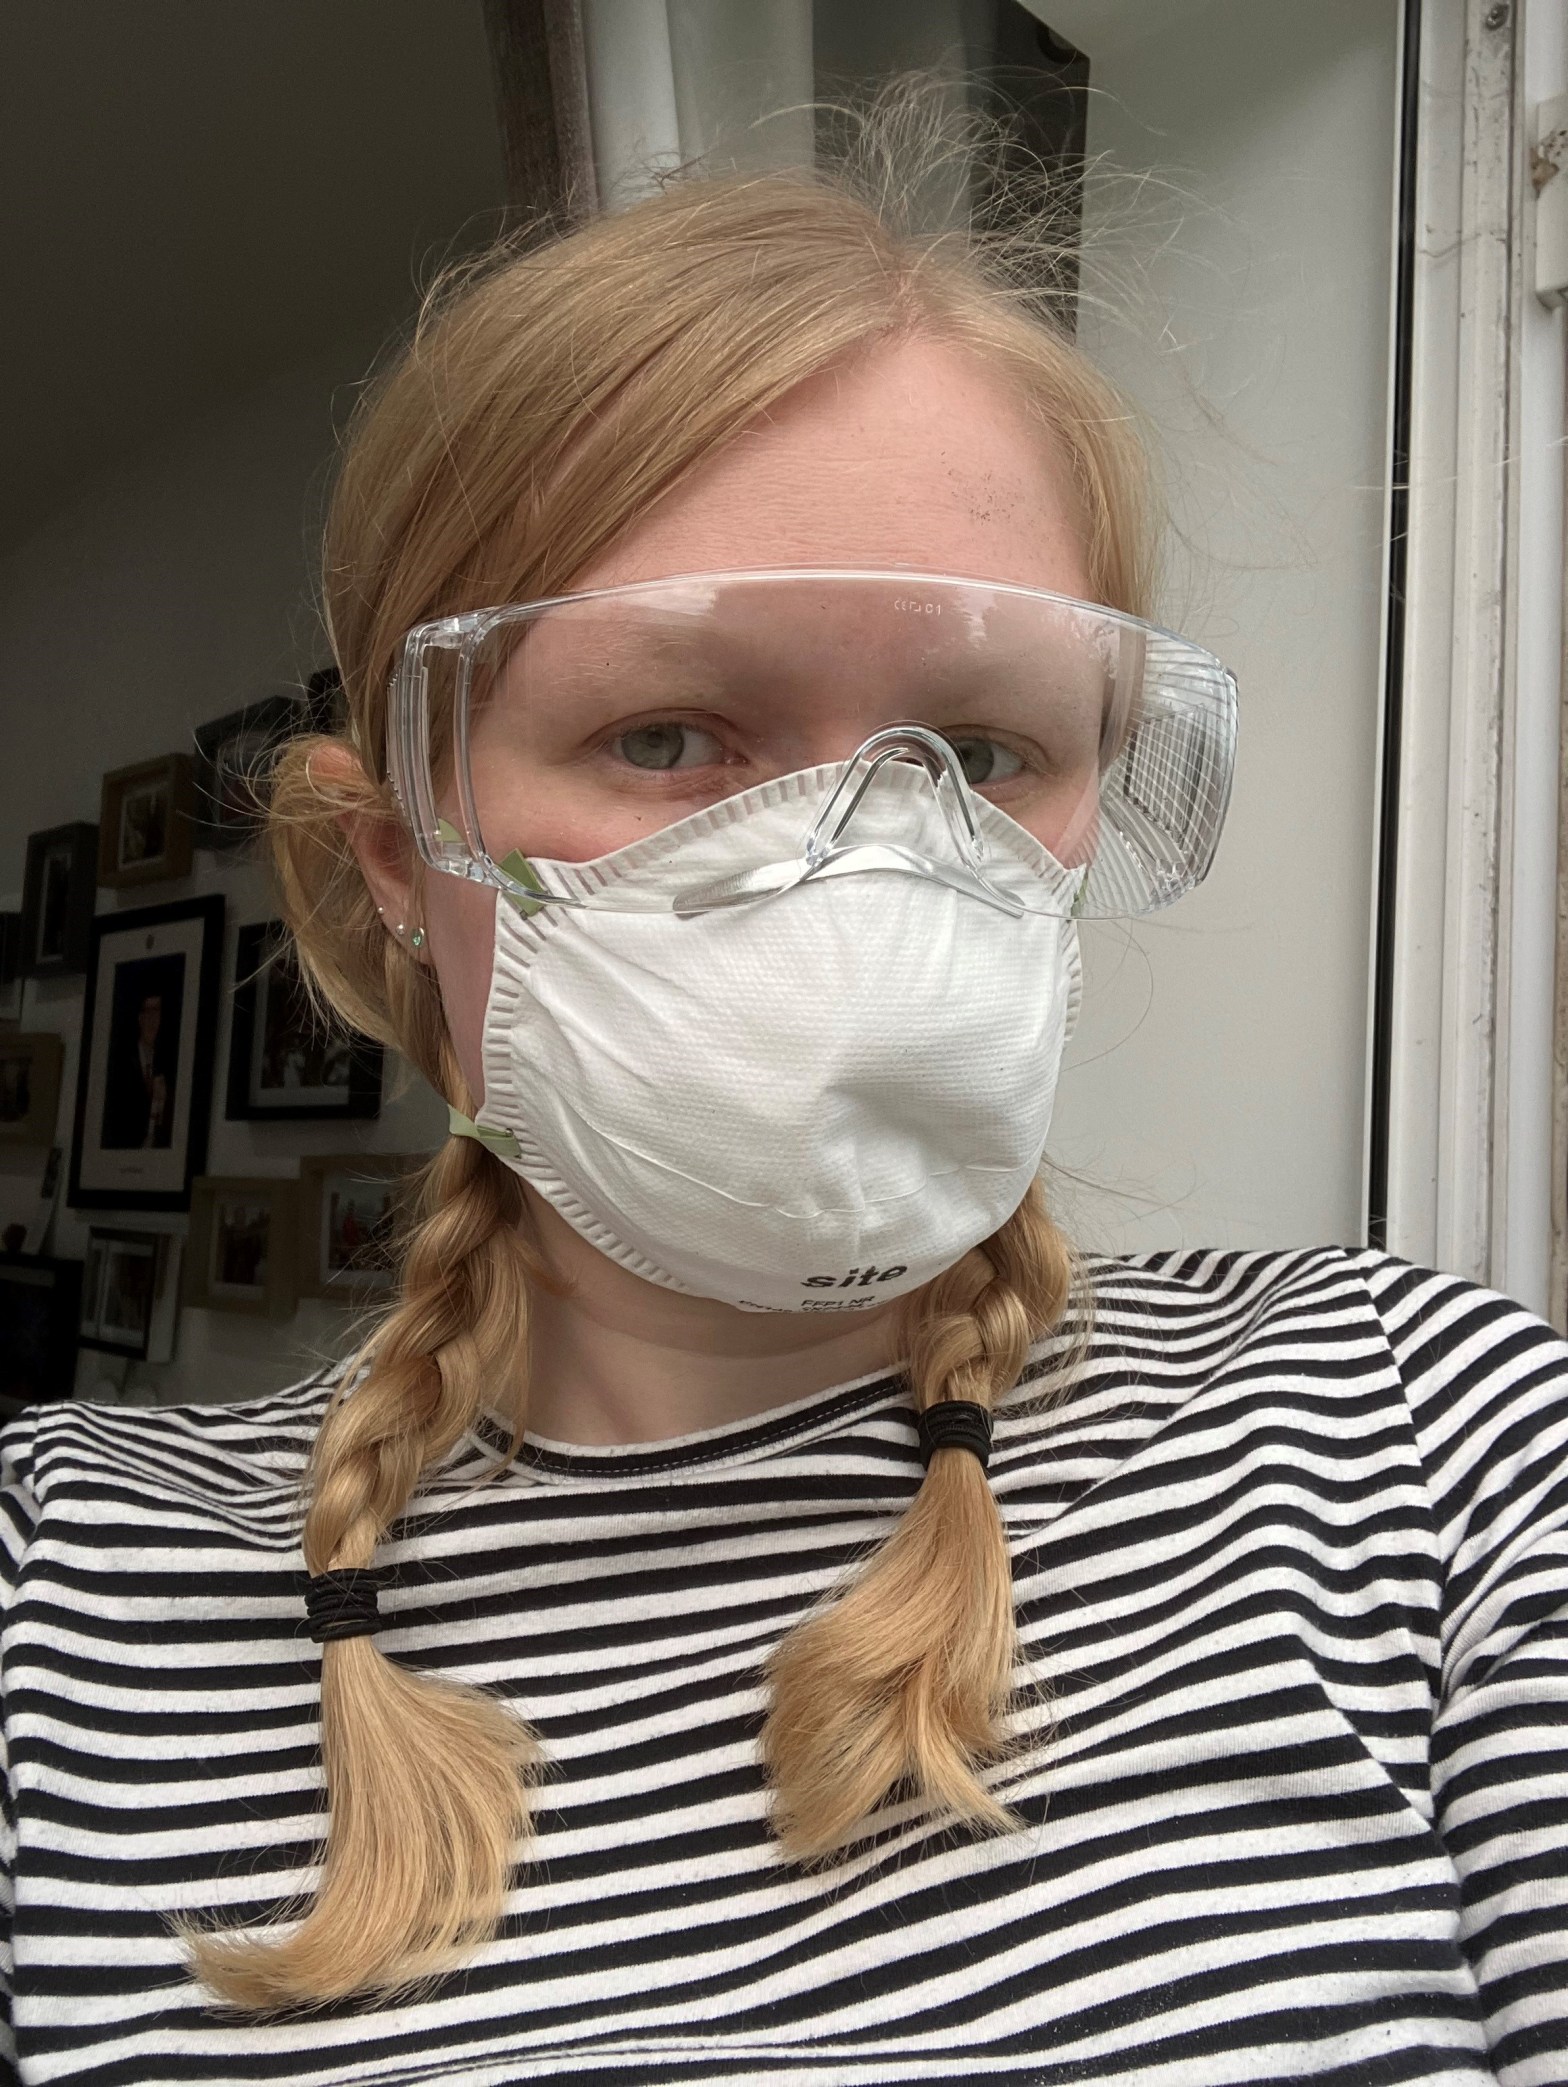
- Face mask and optional goggles.
- Kitchen roll or a cloth.
How to
- Remove the frame back, anything in the frame and glass. This is also a good opportunity to clean the glass with damp kitchen roll or glass cleaner if it has been hung up for a few years (mine were filthy). Put these bits to one side and you are just left with the frame.
- The first step is to sand the frames. You are not after taking all the paint/surface off, but to abrade it so that the new paint will adhere. If something isn’t properly sanded, the paint can come off in a short amount of time. Remember to sand anywhere you will be painting, including the inside of the frame.
- Run over the frame with a lightly damp cloth or kitchen roll. This will remove any dusty bits as we don’t want to include them in our painting. Another reason is that paint would stick to the dust rather than the frame.
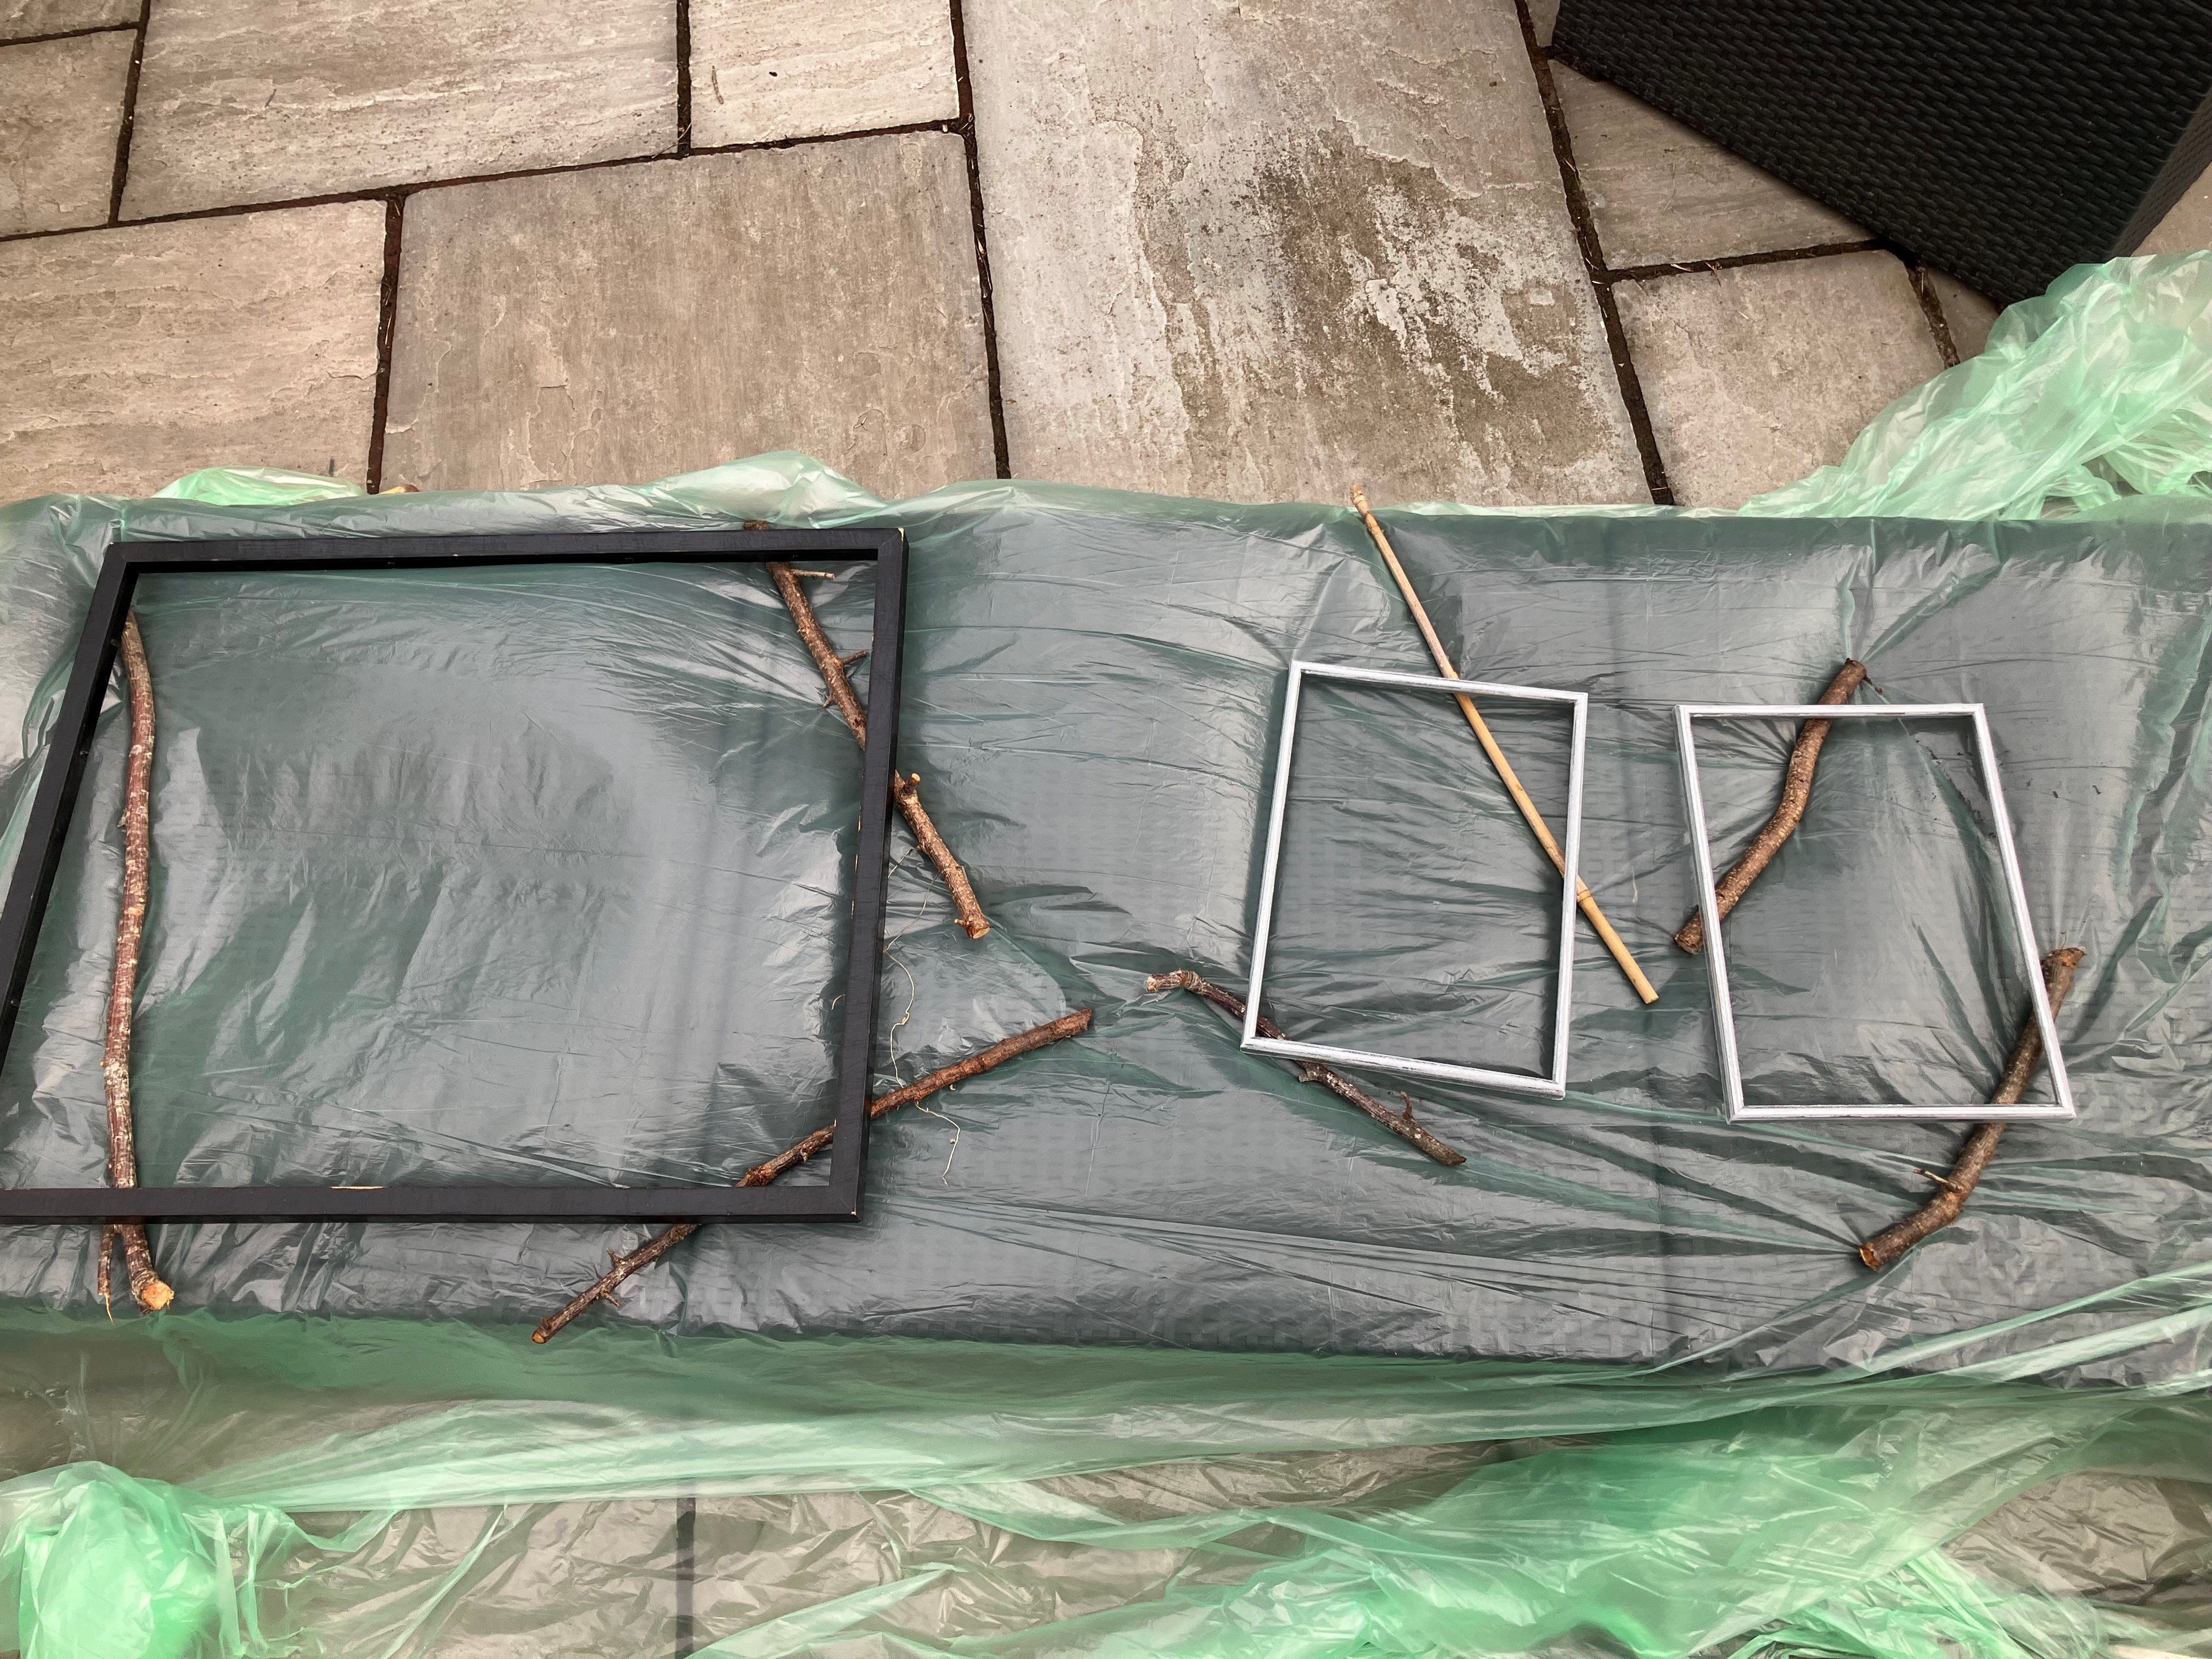
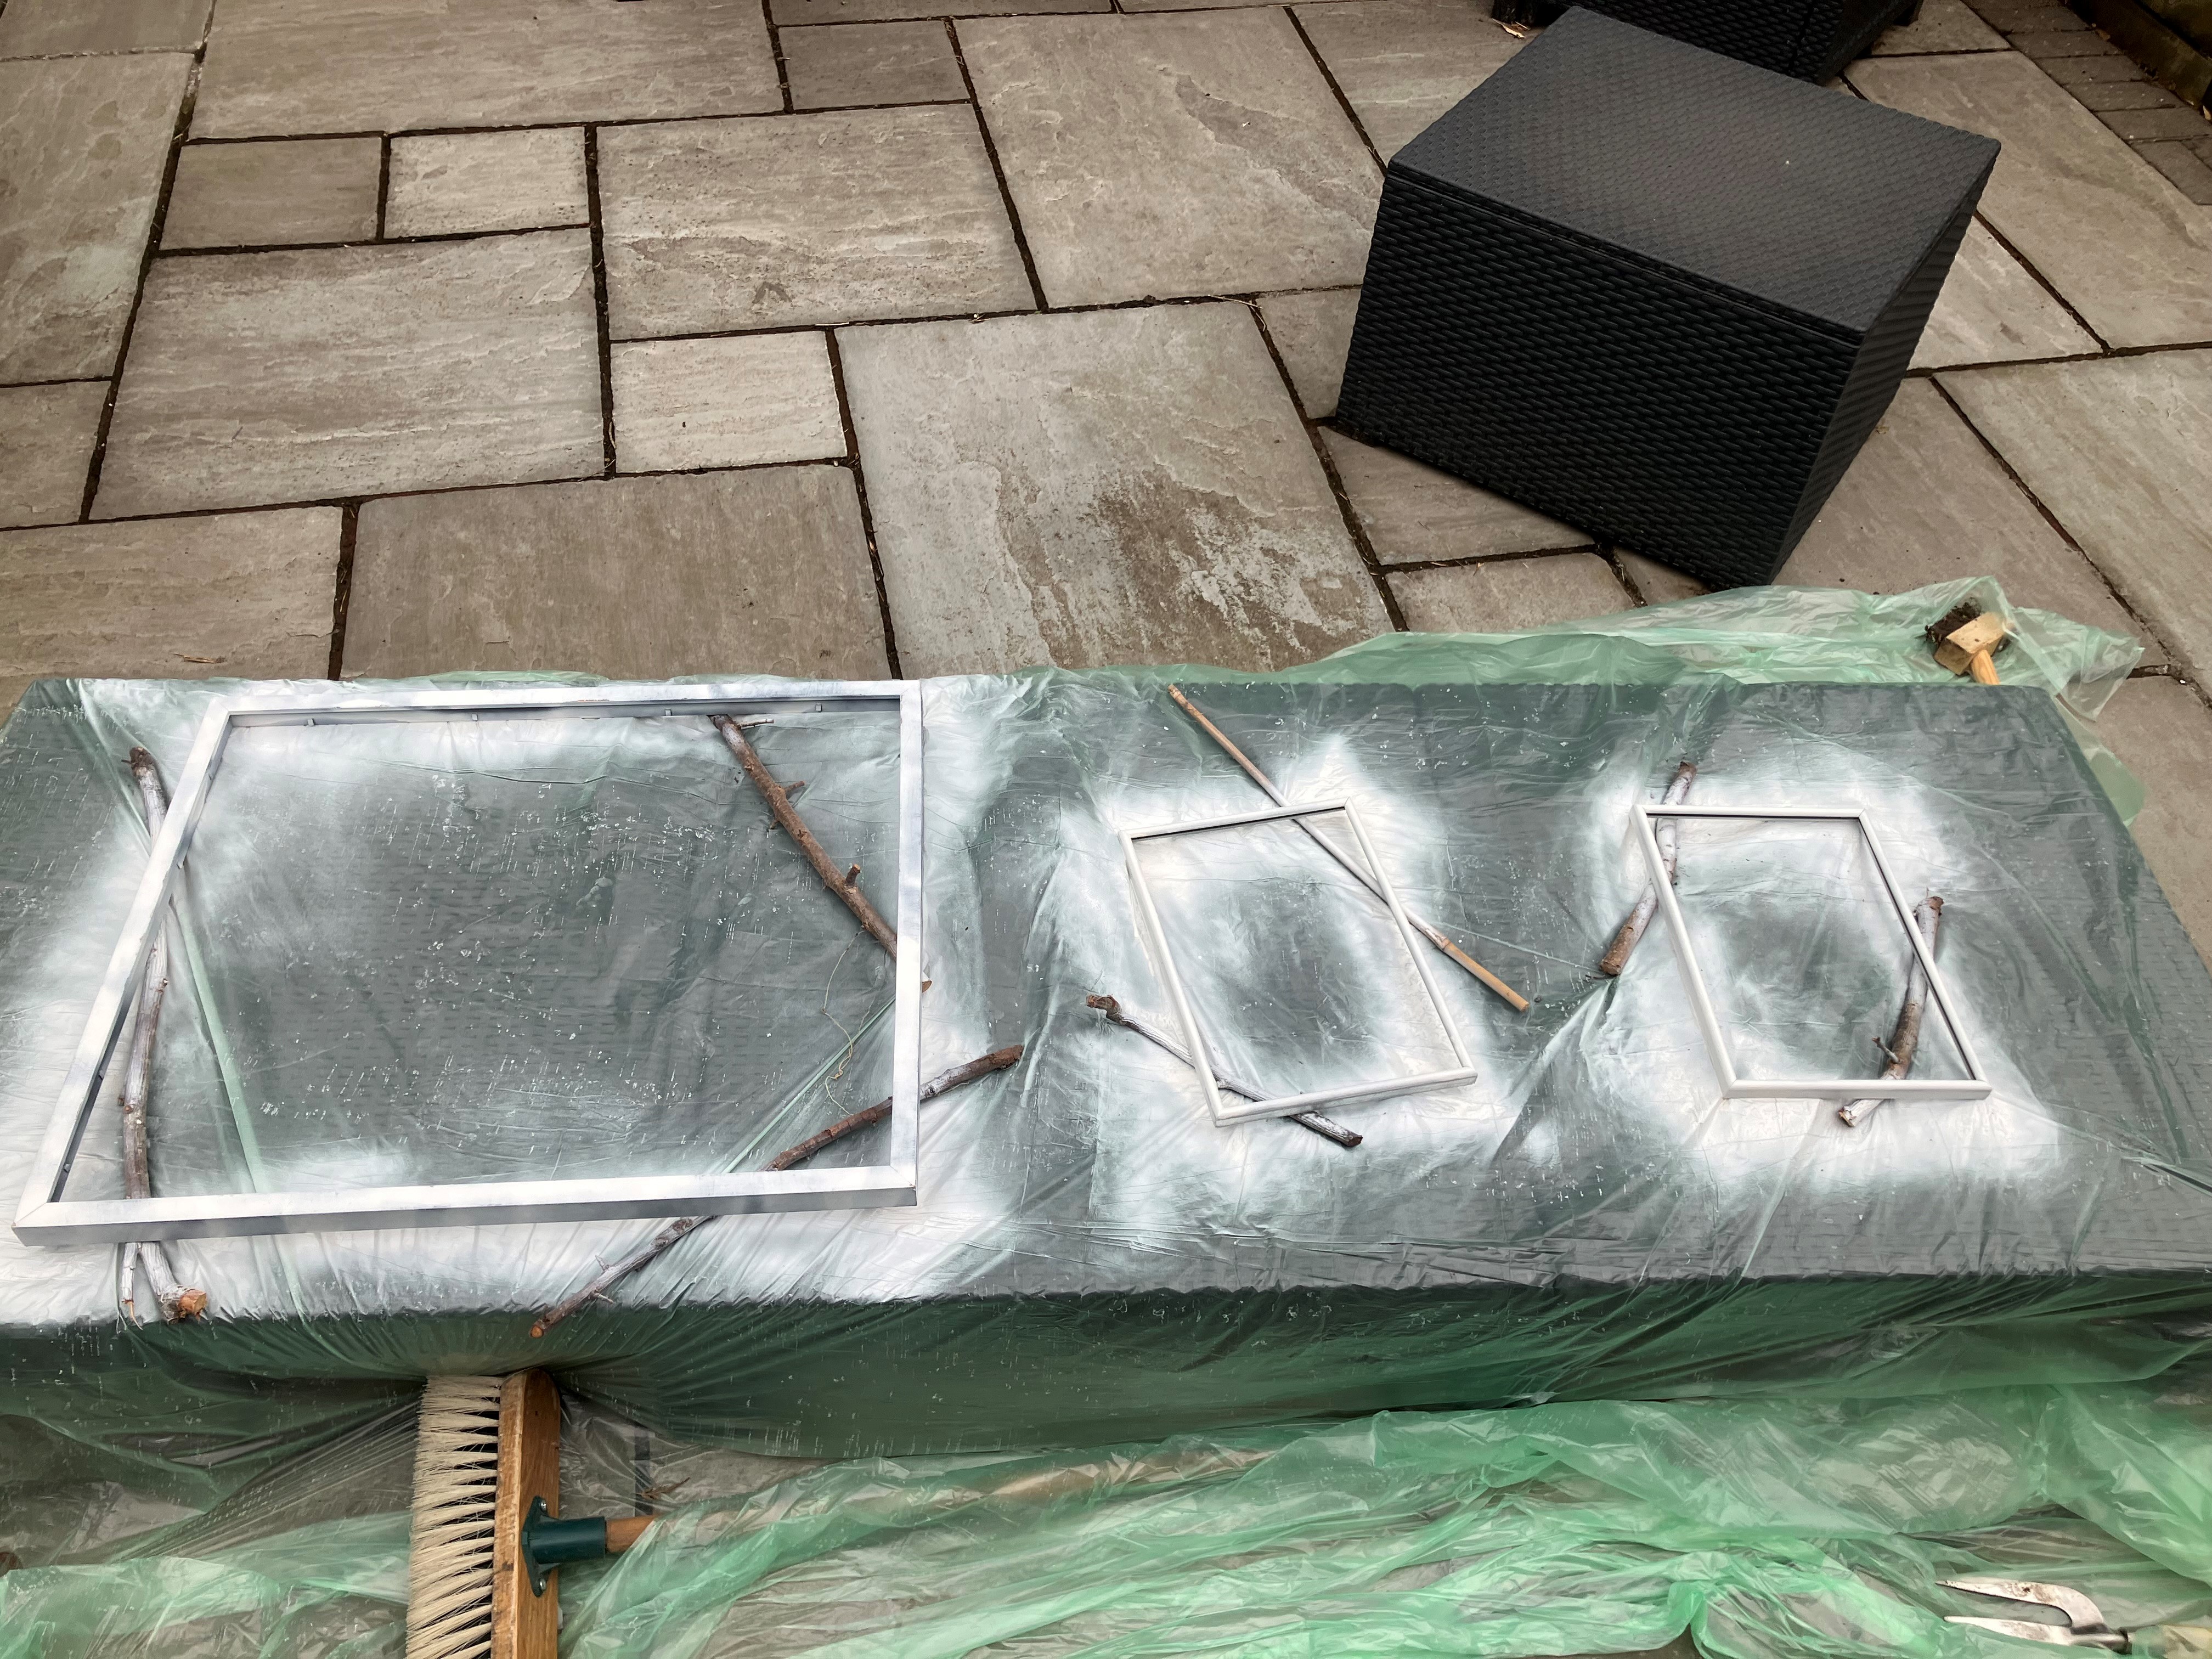
- Prepare the area for painting. First step is to paint-proof the area. I used a massive plastic decorator’s sheet. I wasn’t thrilled about using disposable plastic, but I had it in already and the area I needed to cover was a bit big for newspaper.
- I actually covered a sun lounger, but the ground will work fine. It was windy! So I had to tuck various gardening tools around the plastic to stop it blowing onto the paintwork.
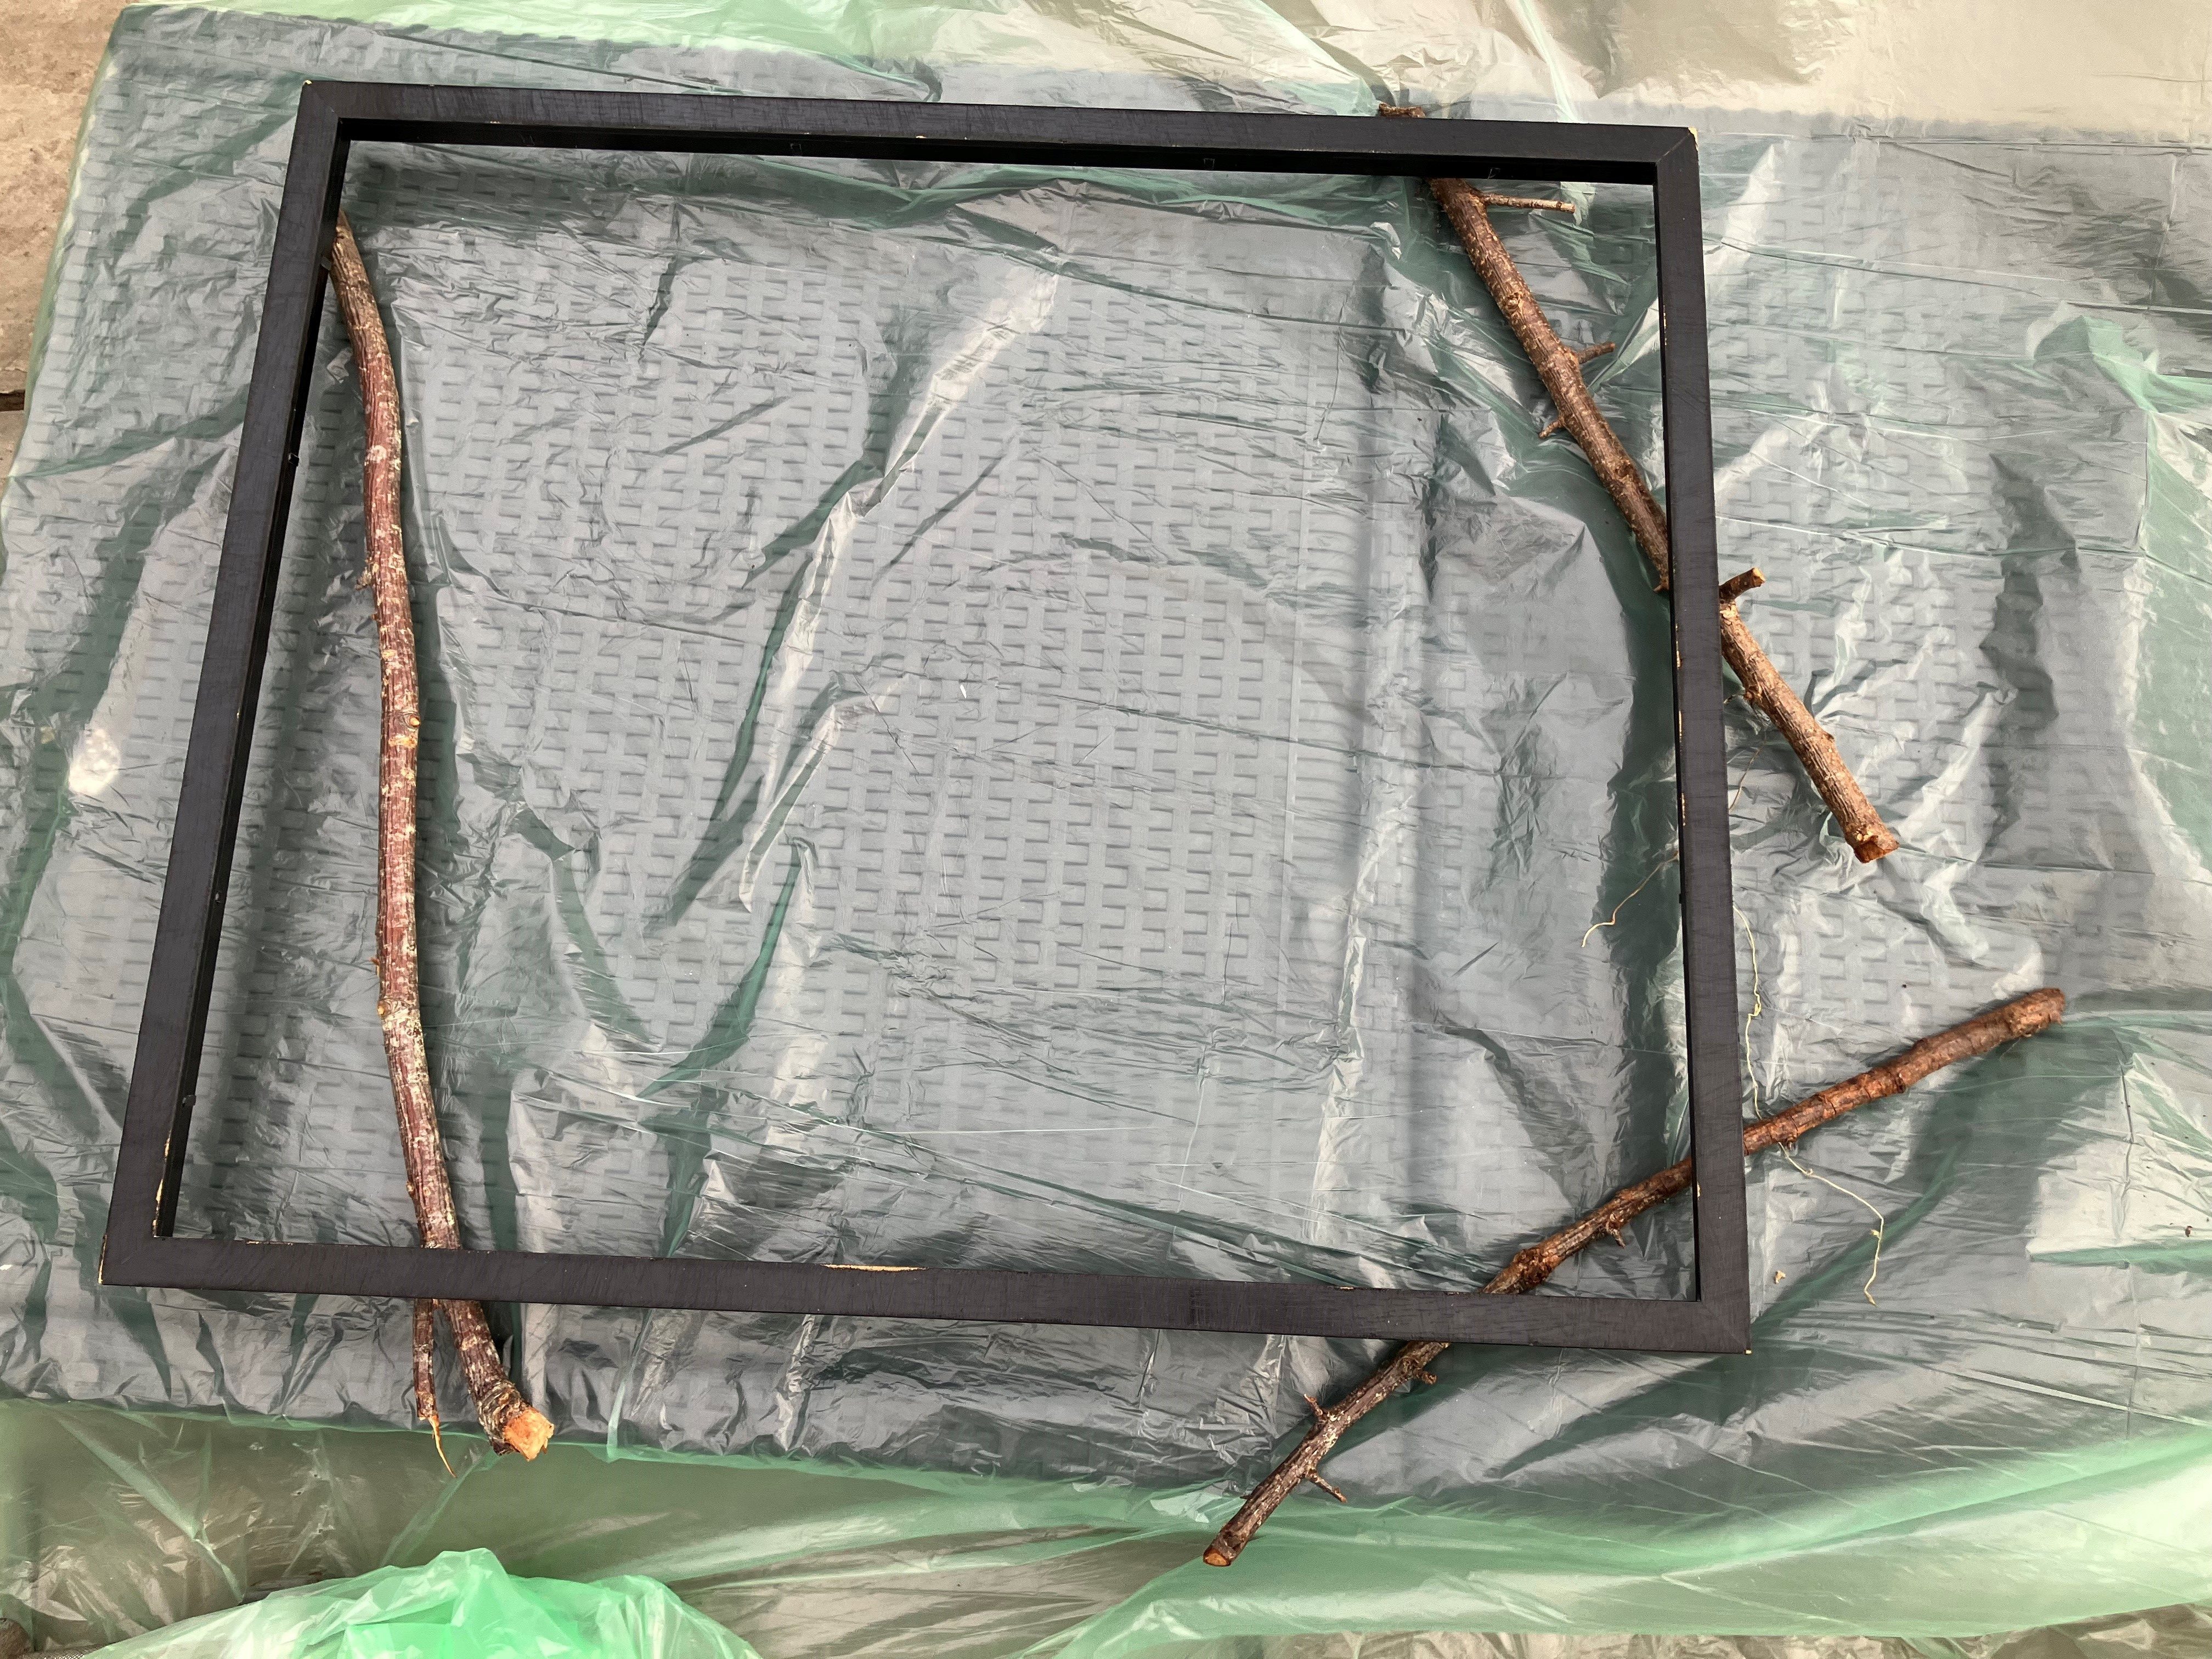
- Final prep is to raise the frames from your protective surface. This is because the spray paint will stick and when you remove, the protective surface will be stuck to the frame (especially paper). I raised my frames with sticks placed diagonally at the corners.
- Now to paint. Shake for the recommended time on the can and spray in continuous strokes. Now, I was a bit hopeless at this as my fingers seemingly lost all strength after one frame. My brother later sent me a link to a tool which can clip onto the can and be used as a trigger. This massively affected my painting ability, but with there bring three coats the overall result was just fine.
- Next is to wait just 10 mins and do another coat. Repeat again. Don’t forget to spray in the areas you don’t instantly see, such as the inside of the frame.
- Next it to clear the nozzle. Admittedly, I was going to skip this until my brother asked over text if I had. I didn’t quite realise that the can really won’t work if you don’t clear the nozzle. So, to do this, hold the can upside down and spray. Continue to spray (ideally against your protective surface) until no paint comes out. You will still hear a hissing noise and this the the propellant. Store according to the instructions on the can.
- As it was then night time, I moved them into the garage overnight to cure. If bringing inside, ensure the room is well ventilated.
Note: When I got to the frames the day after, there was some paint hanging off. Even though my frames were propped up with sticks, the strong winds we have been having in the UK this year caused the protective plastic to blow up towards the frame. As I used plastic, the excess paint just flaked away and didn’t affect the finished work. If I had used newspaper, it would certainly have stuck to the frame.
I have successfully done my first bit of She-IY. And you know what, I’m proper chuffed. Banksy might not be out of a job but the point is it’s not something I’d usually do and I saved a bit of money by doing it myself.
Now to wait for life to unfold and next year I will be hanging them up in my own home.
What are your DIY projects suitable for a novice? Share your ideas in the comments.

