
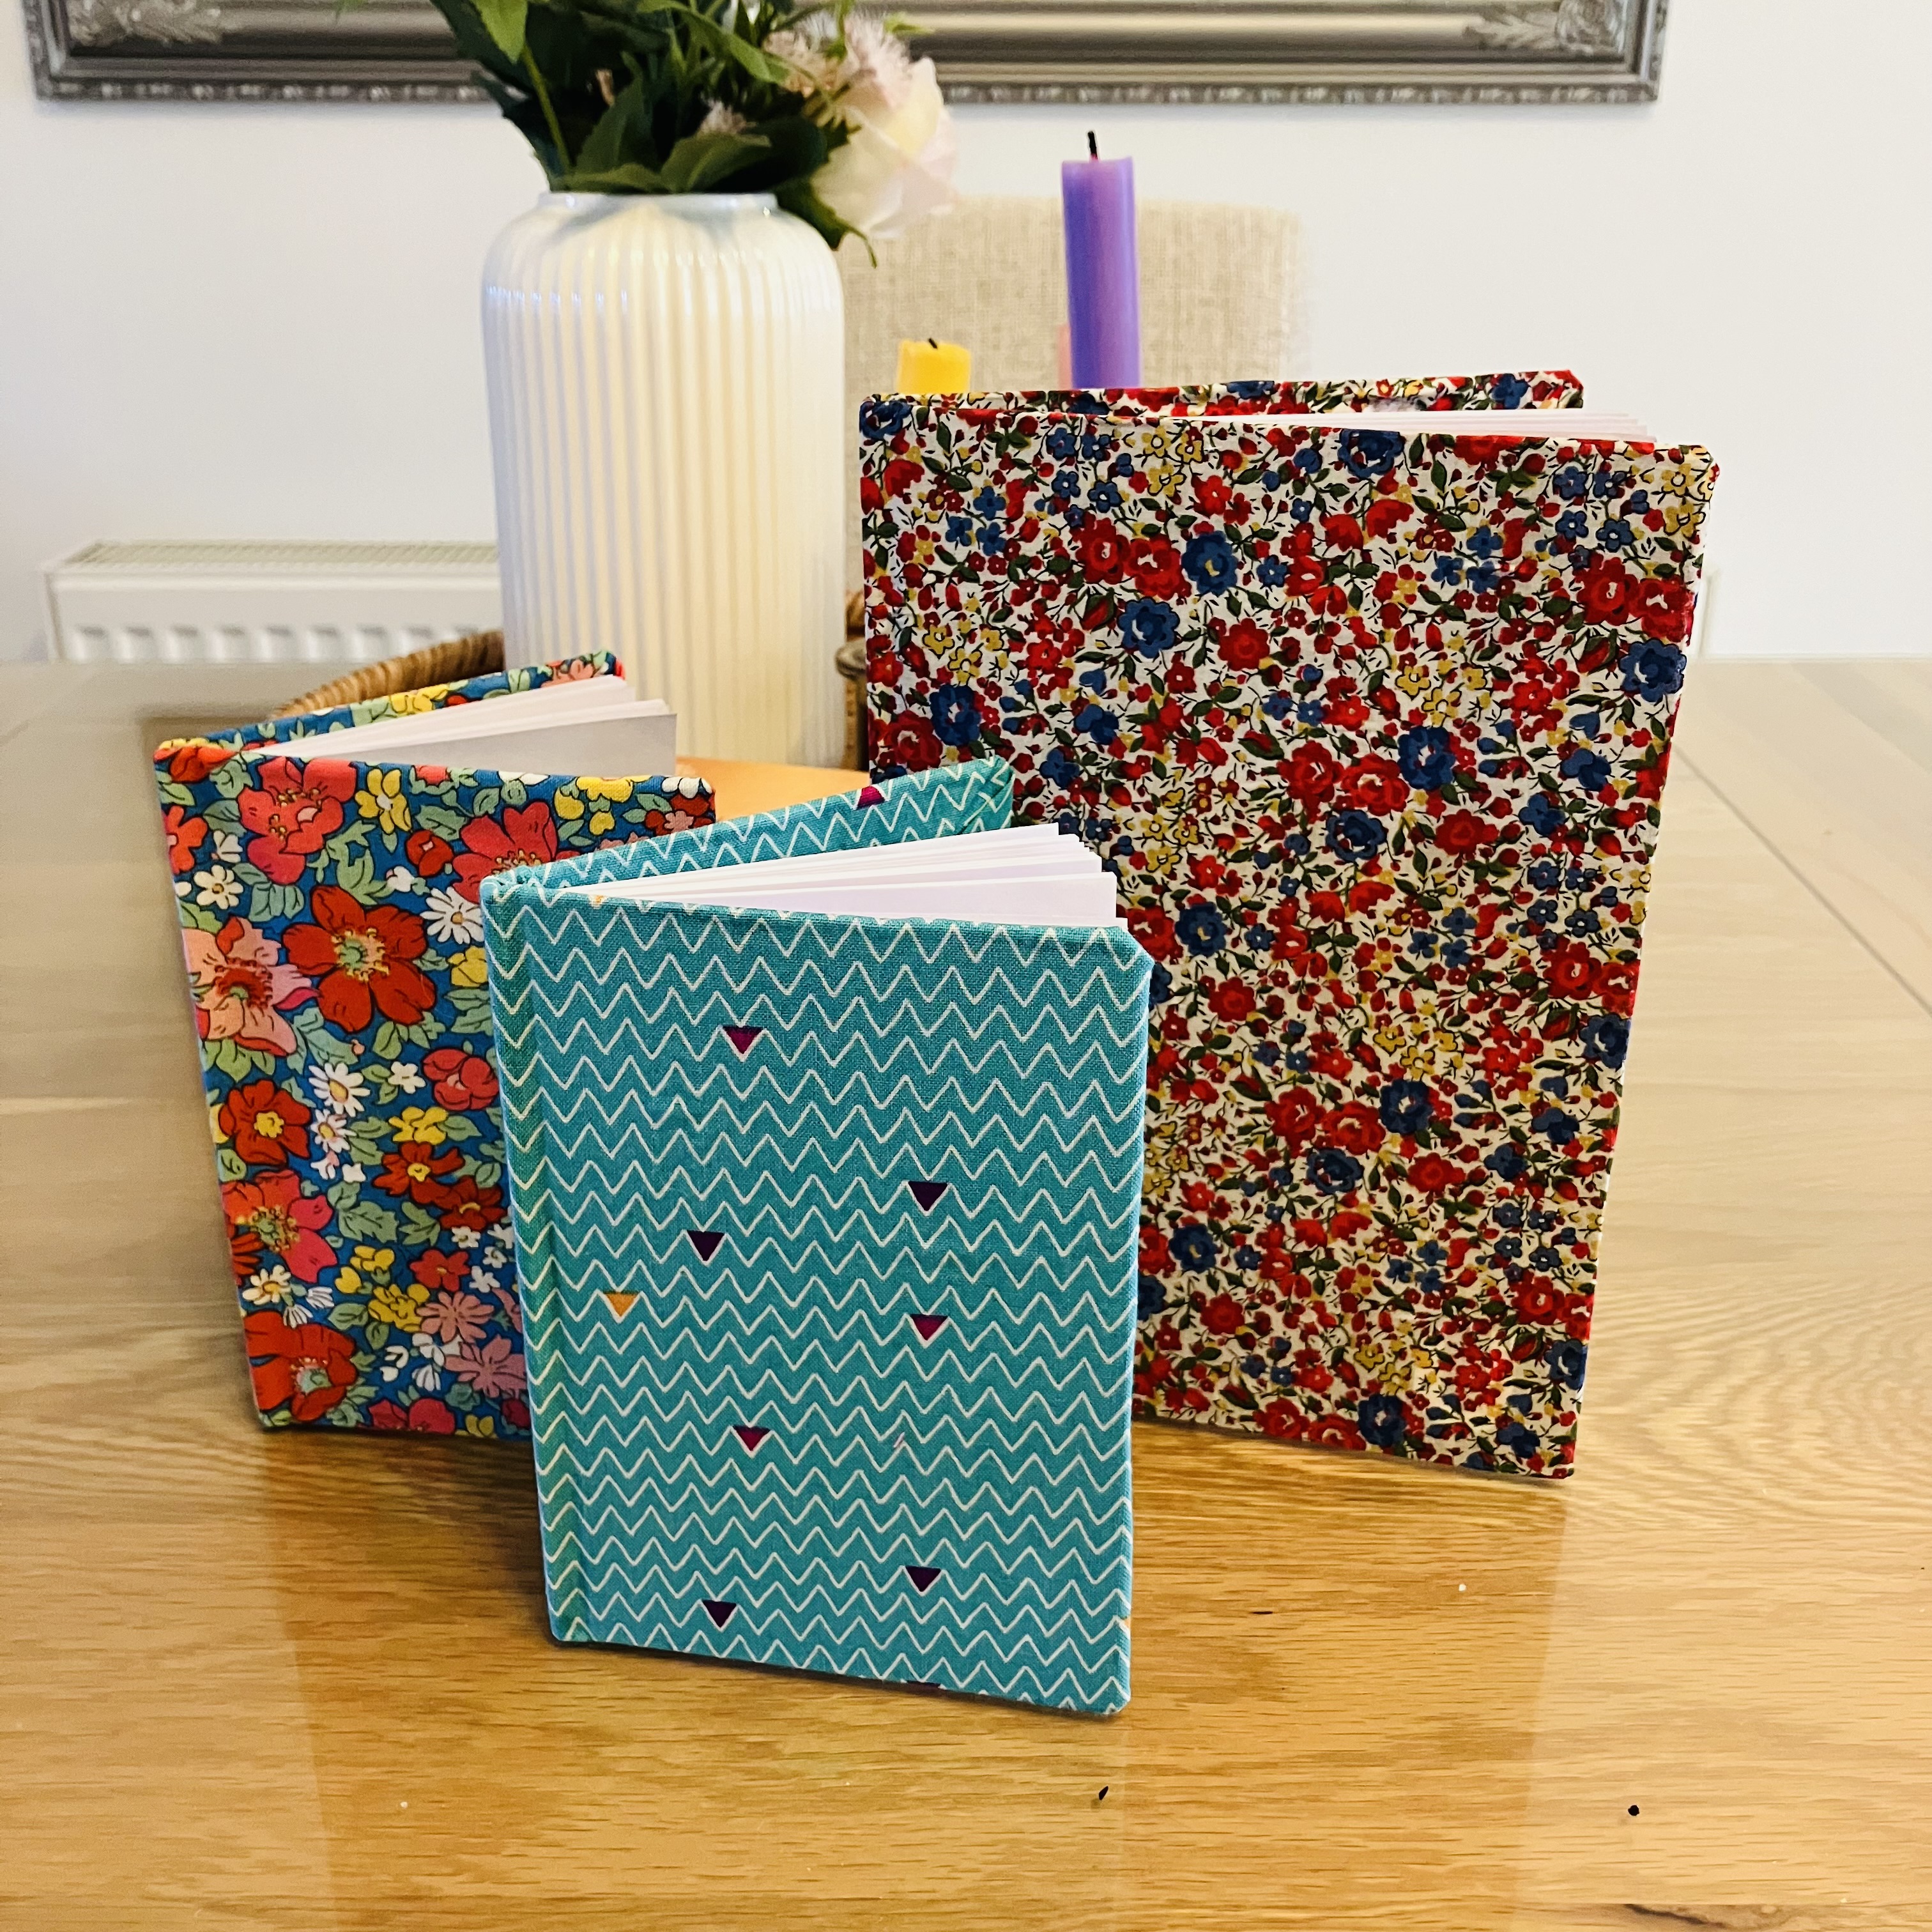
We are loving this simple upcycle tutorial which makes a perfect and affordable gift. Better still, a great little stash buster for your fabric pile.
As always, we aim to produce of tutorials in a few different formats, to suit all learners.
Click here for the full YouTube video tutorial
Head to our channel page for a YouTube short.
You Will Need
Very few materials!

- Fabric.
- Something to measure with.
- Scissors.
- Notebook with a spine (not spiral bound).
- PVA glue; sometimes known as white clue or craft glue.
- Old paint brush to spread glue. A decoupage brush could also be used.
Step 1
Cut fabric 1.5″/3.8cm around the book. Don’t forget to include the spine. This measurement has been chosen to work with any size book.


Step 2
Use the paintbrush to spread glue thinly over the back of the notebook. You may with to water down the glue.
Fold over the fabric (maintaining 1.5″ around the edge). Smooth over the back of the fabric to remove wrinkles. Thinner fabric may need to be pulled taught at the edges. The good thing about PVA glue is that there is plenty of time to re-adjust before it dries.


Step 3
Make a cut in the fabric towards the edge of the spine. Repeat for the top of the book. We suggest looking at the pictures for the next cut in step 9 to better understand where to cut and the purpose.

Step 4
Glue the corners of the fabric and stick down at a right angle. Go back and glue any loose fabric at the corner.
We prefer to glue the fabric, rather than the book, as you could end up gluing beyond the fabric and making a stain on the finished product.

Step 5
Glue down the fabric on the long side.

Step 6
Glue down the fabric on the shorter sides.

Step 7
Glue the spine and glue the book front. Remember to apply the glue thinly.
Again, fold onto the fabric and smooth over.

Step 9
Cut the fabric to the spine for this side of the book.

Follow steps 4-6 to complete the front of the notebook.
Step 10
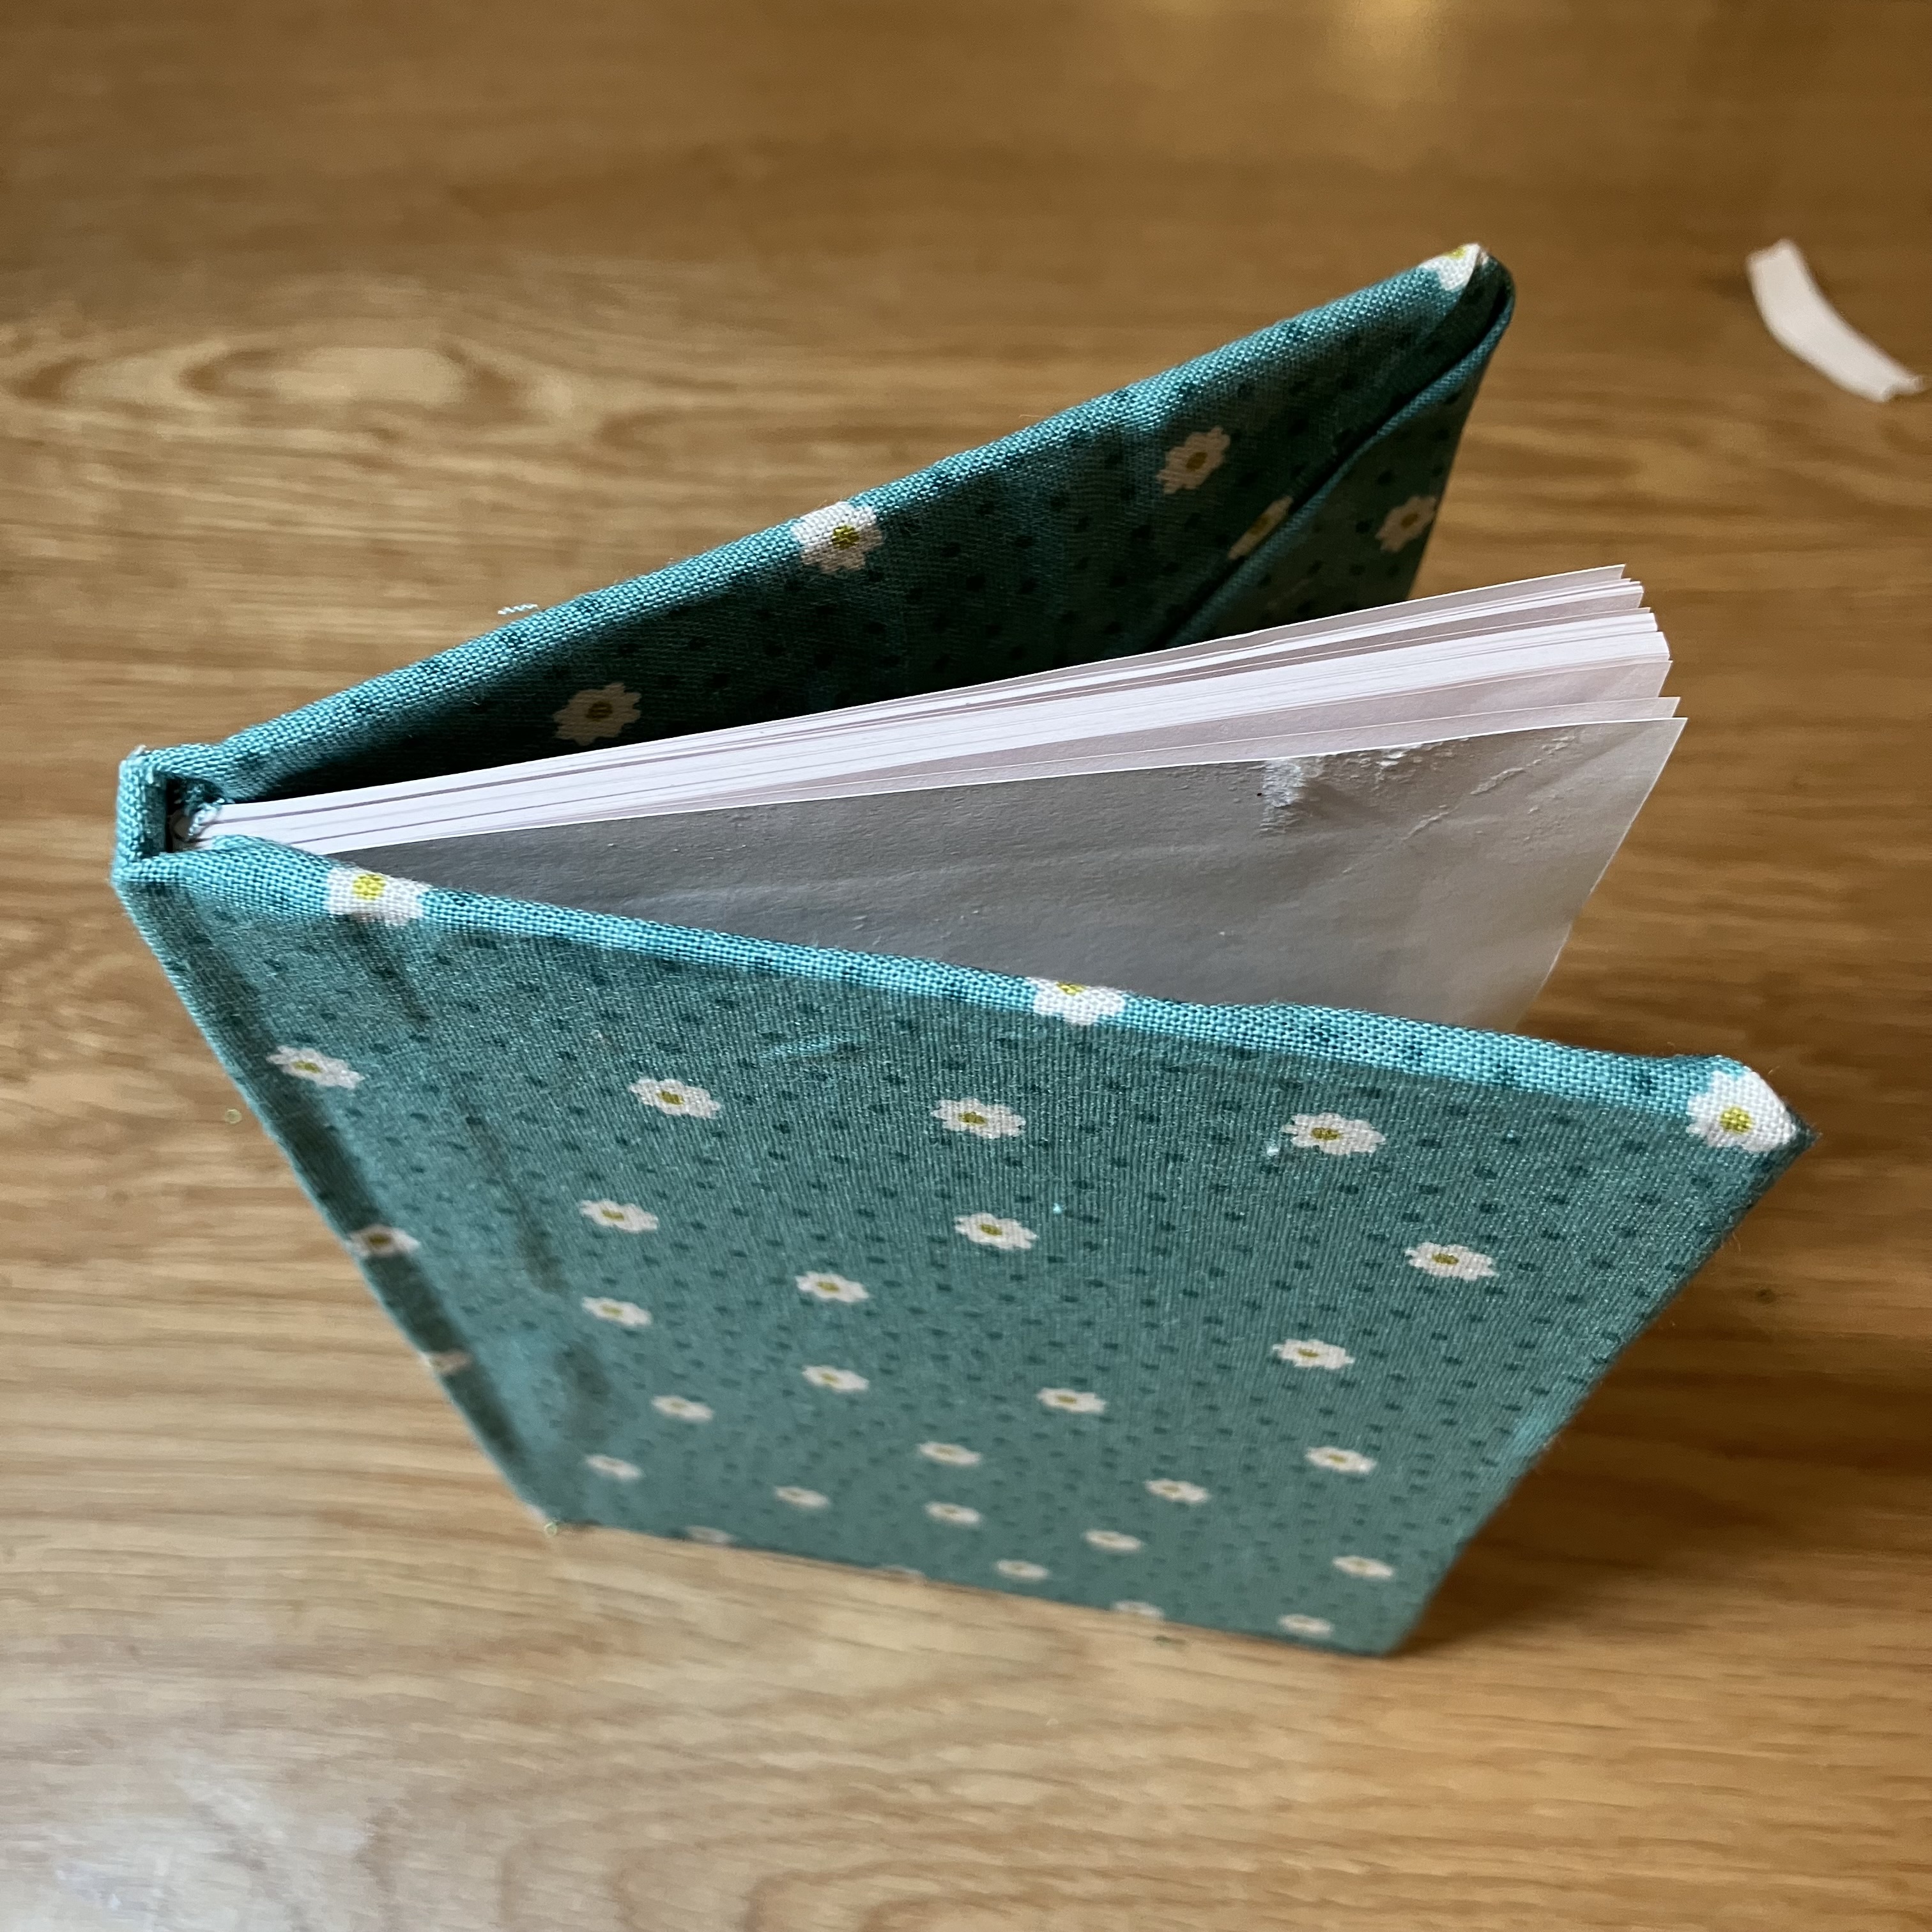
Cut the spine fabric a little shorter, if required. Open the book wide; this makes the next step easier.
Push the fabric down into the gap. Using a pen, scissors, etc will make this easier. Repeat on the other side.


Step 11
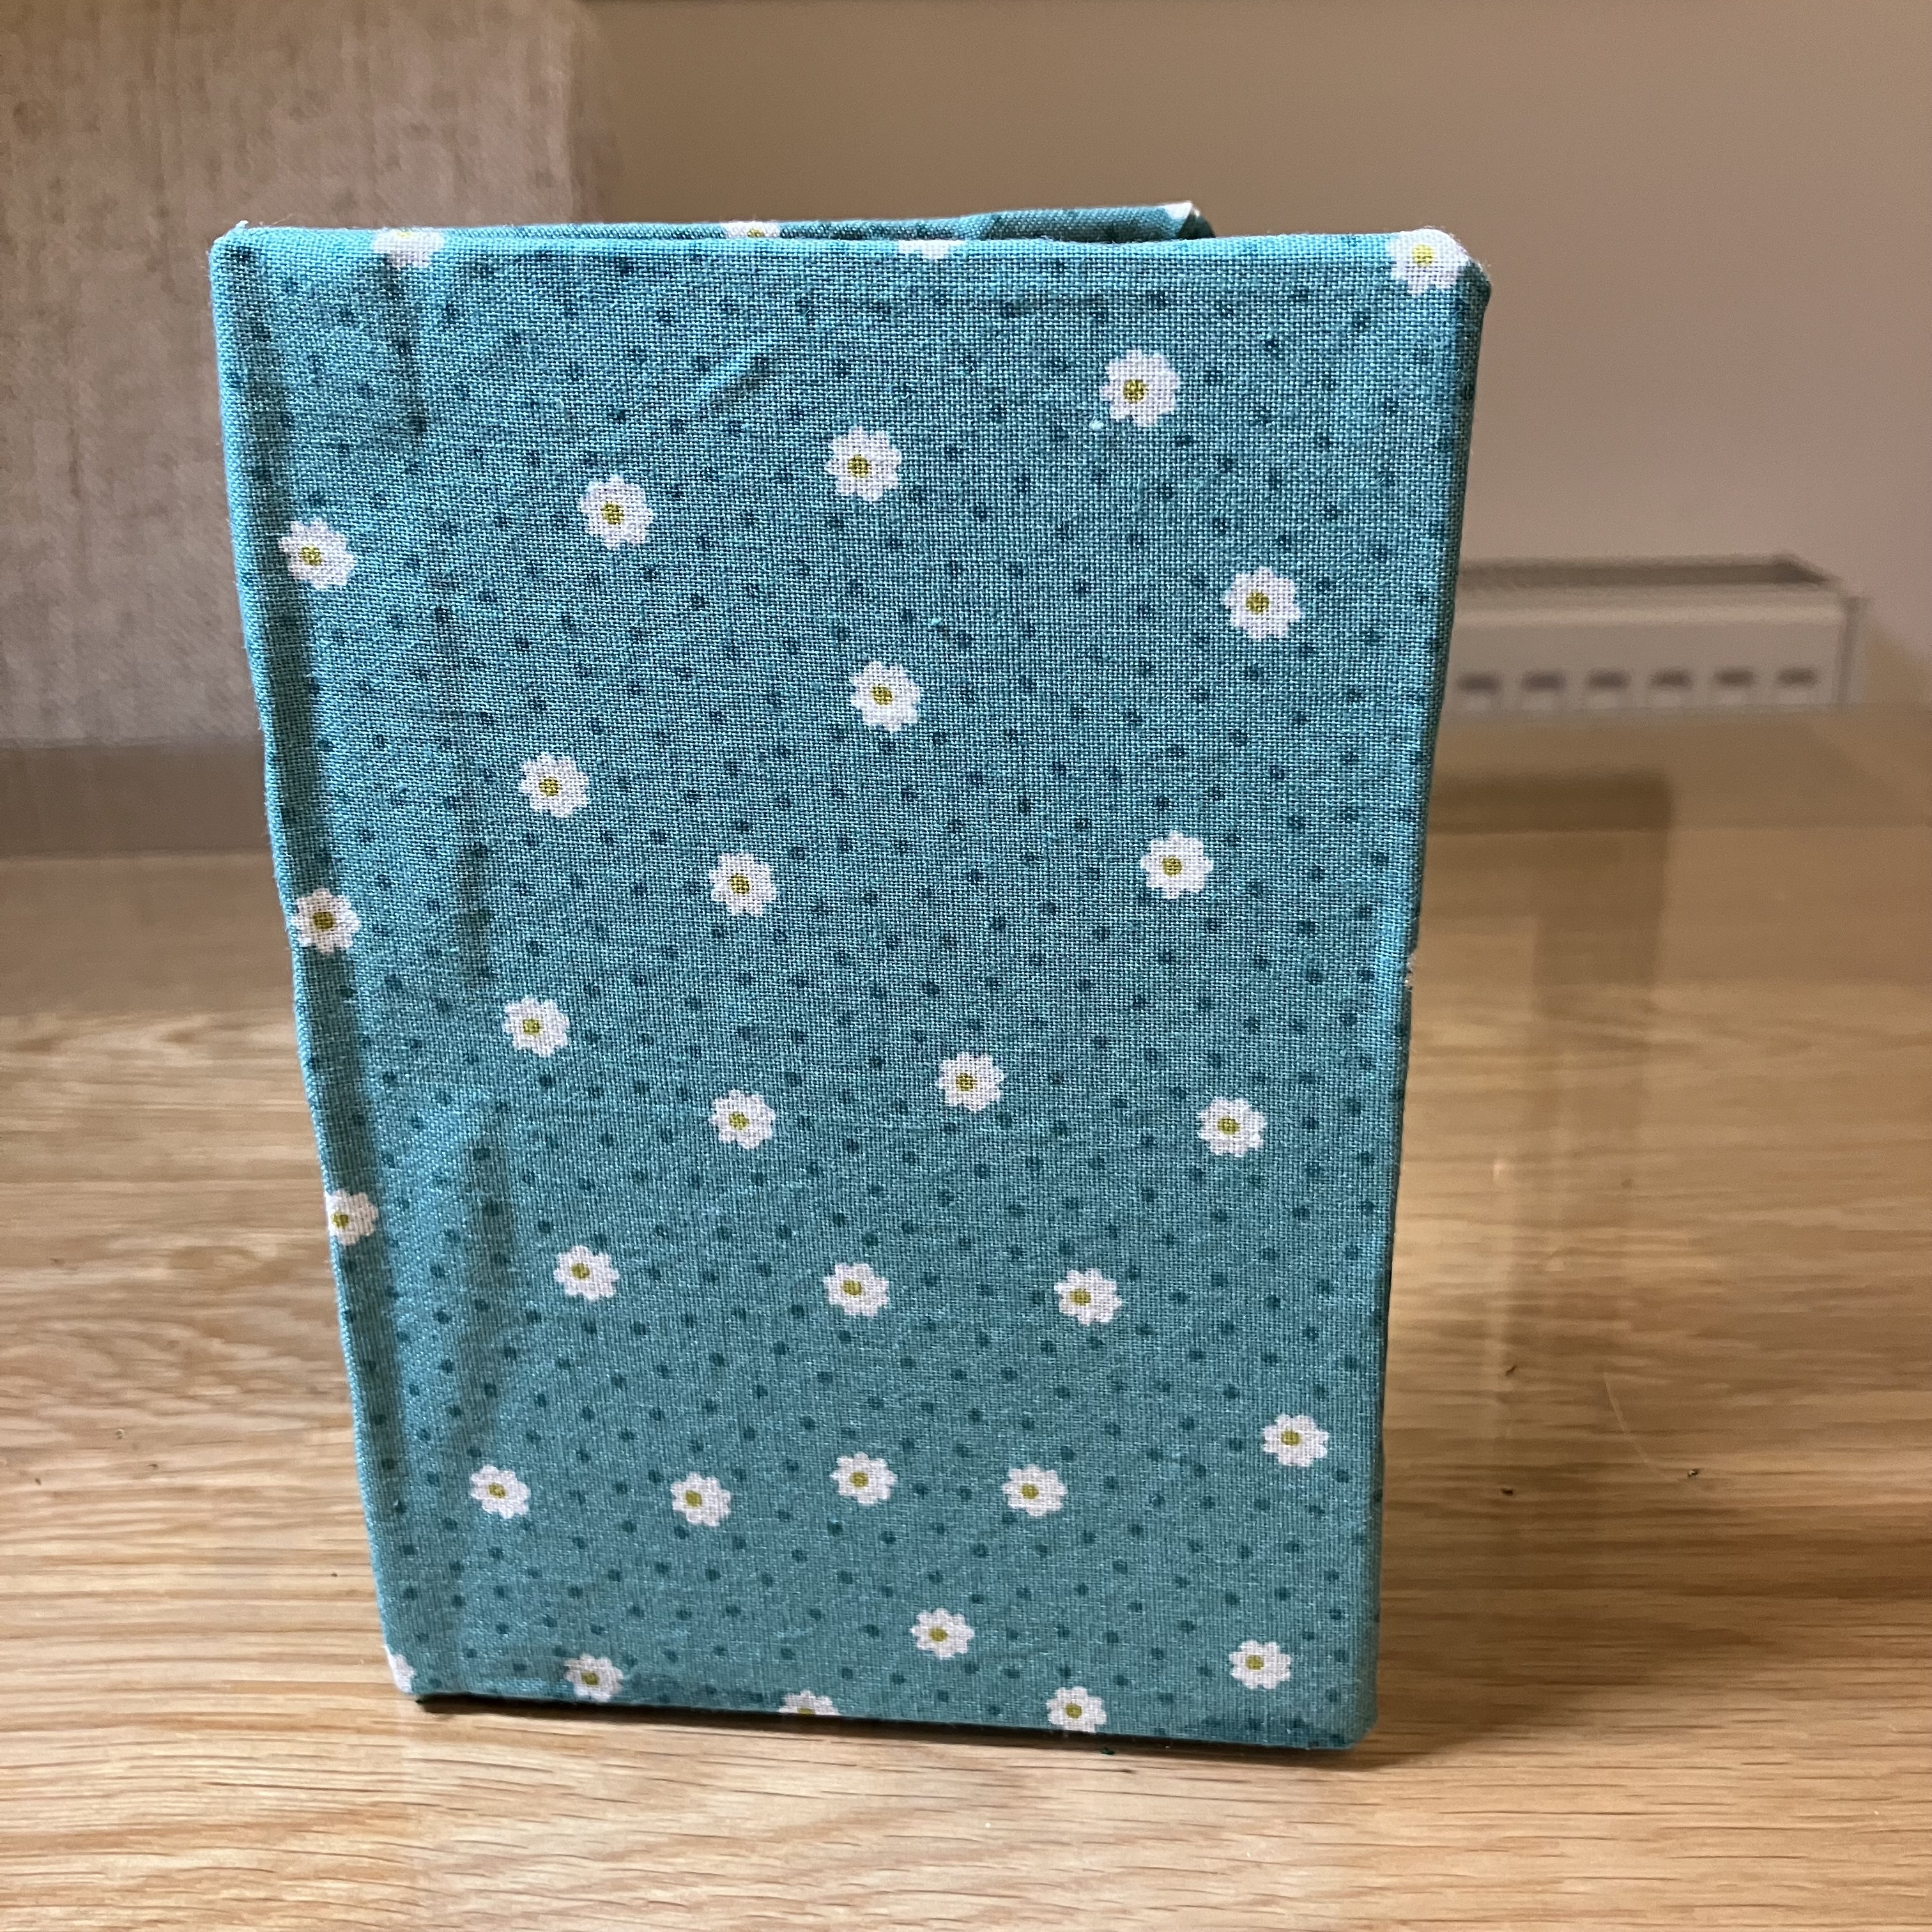
Stand book up so that the pages are away from the fabric and leave to dry.

We are addicted to making these as gifts and using up fabric along the way. We’d love to see your covered books, too!
