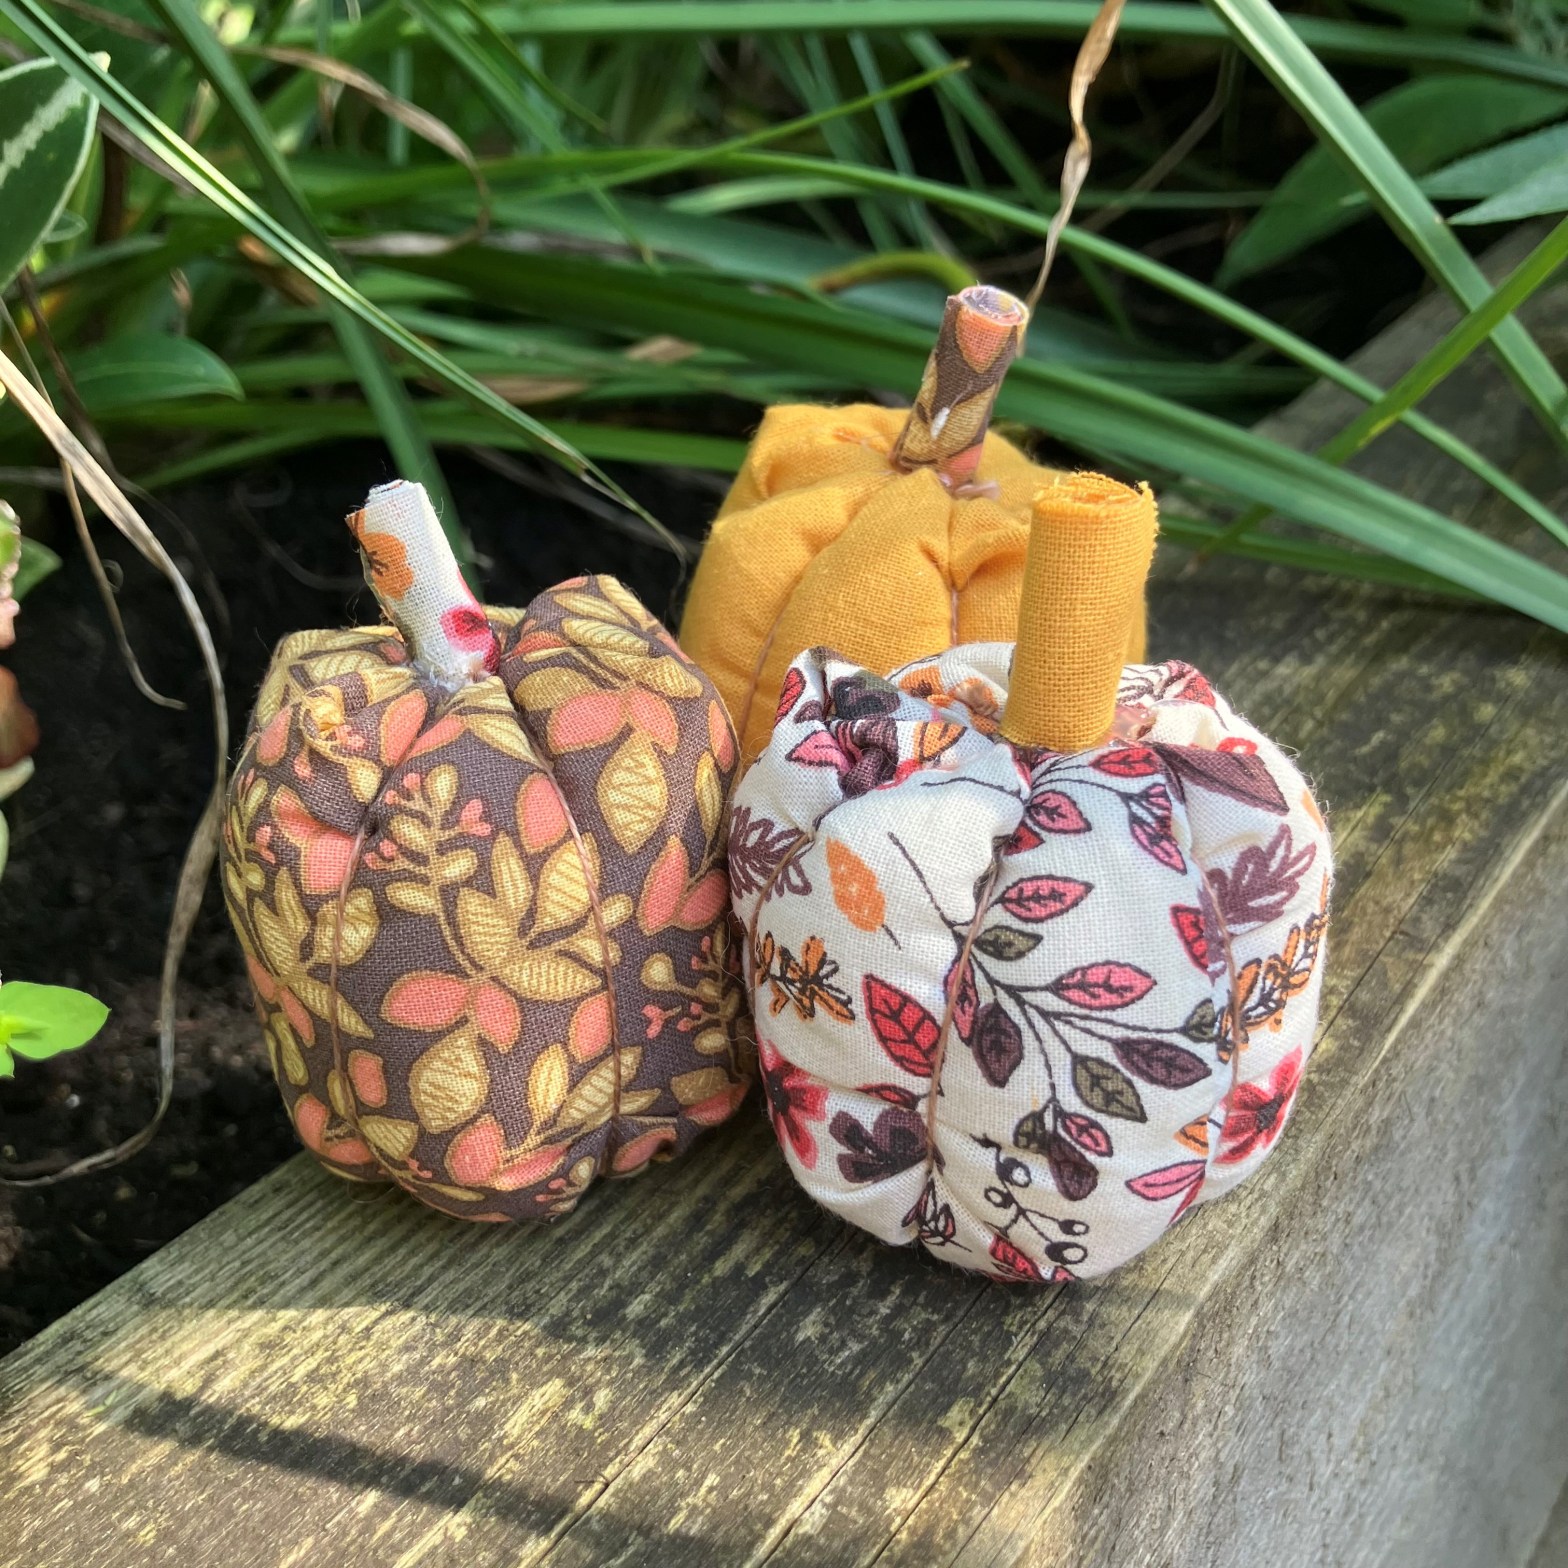
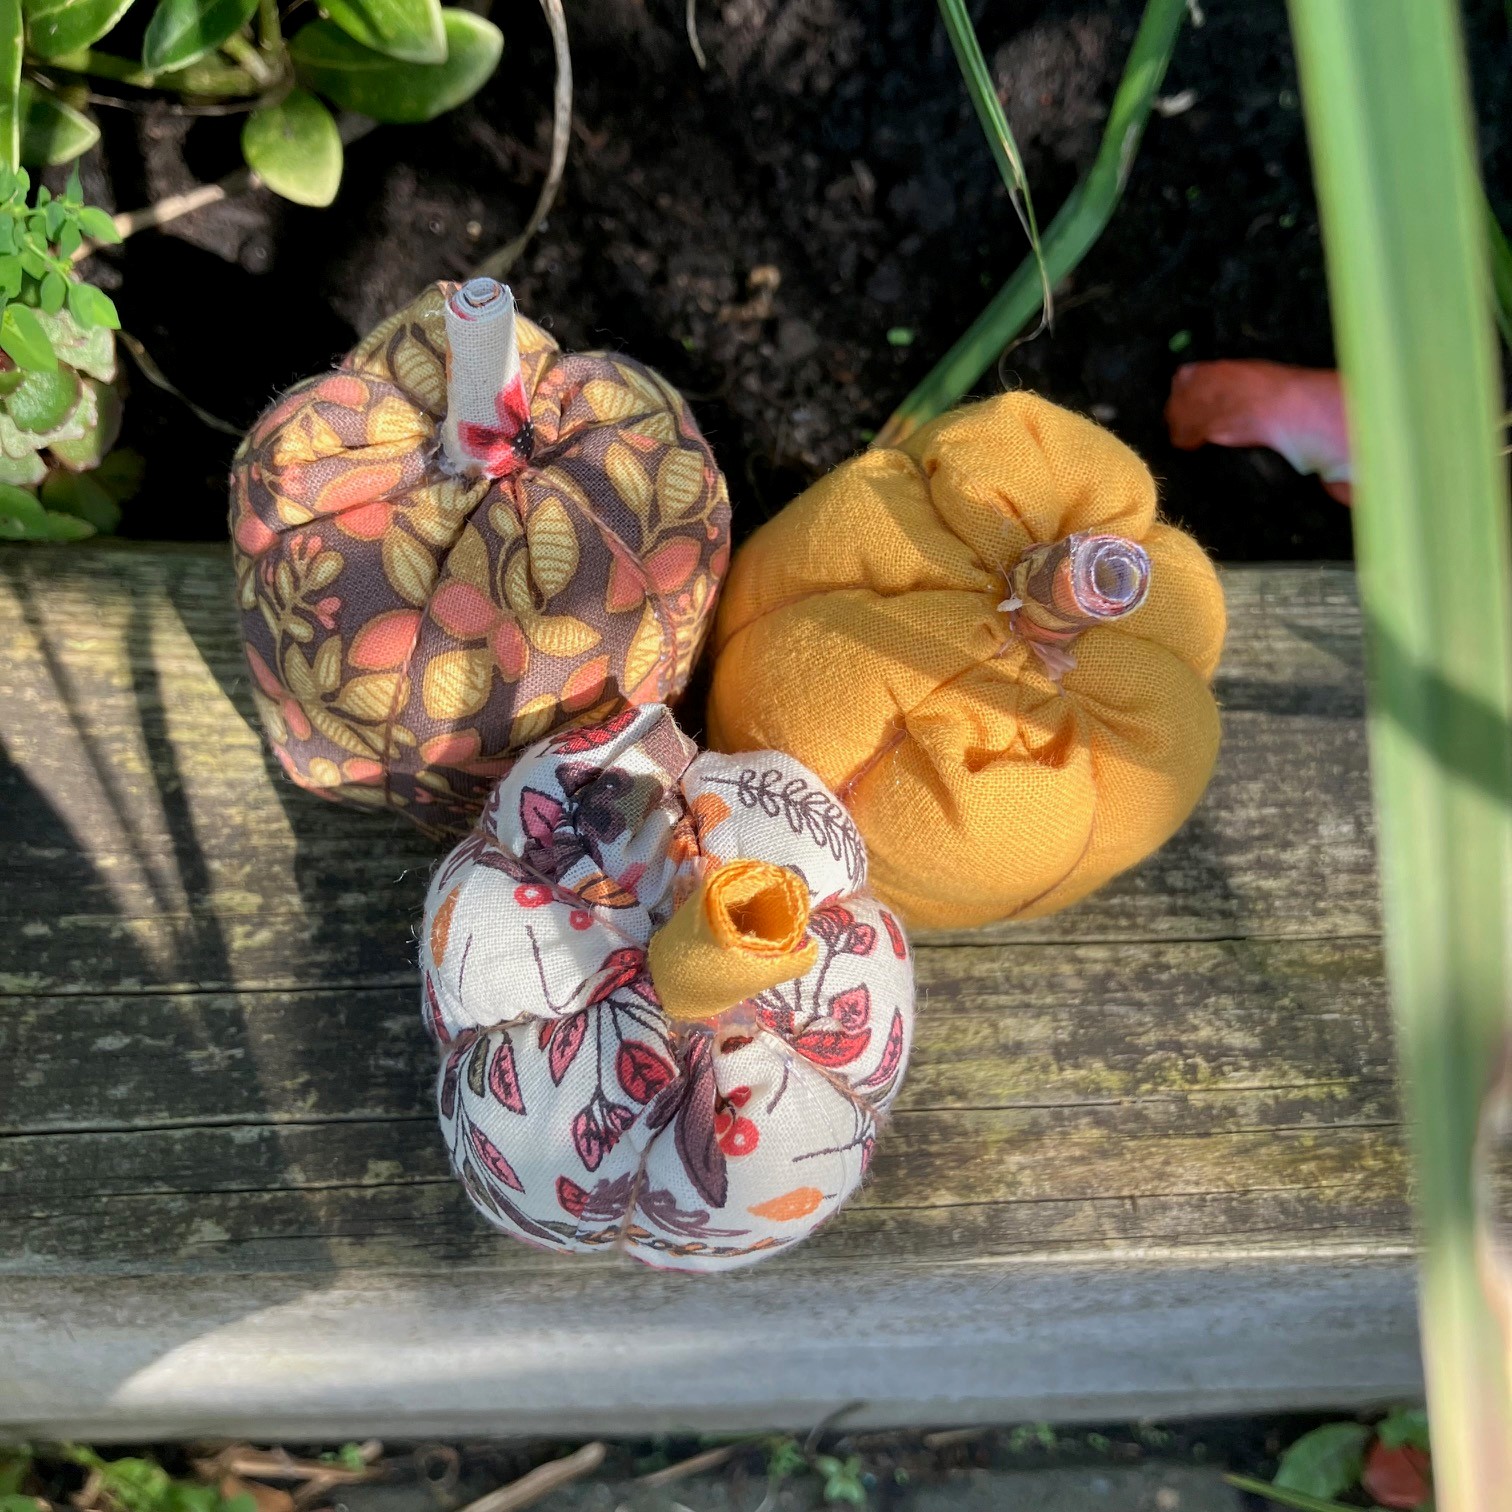
We had lots of fun this Autumn dropping handmade pumpkins around Scotland and England.

Enjoy our free tutorial for how to make these lovely little sewn pumpkins. A great way to use fabric scraps, or make 9 per fat quarter. This project can be made with or without a sewing machine.
We aim to make crafting for as many people as possible, therefore we have produced this tutorial as a full length YouTube video, short and written instructions. Also available on TikTok.
You will need
- Fabric
- Thread and needle
- Stuffing
- Sewing machine (optional)
- Glue/glue gun (optional)
Step 1
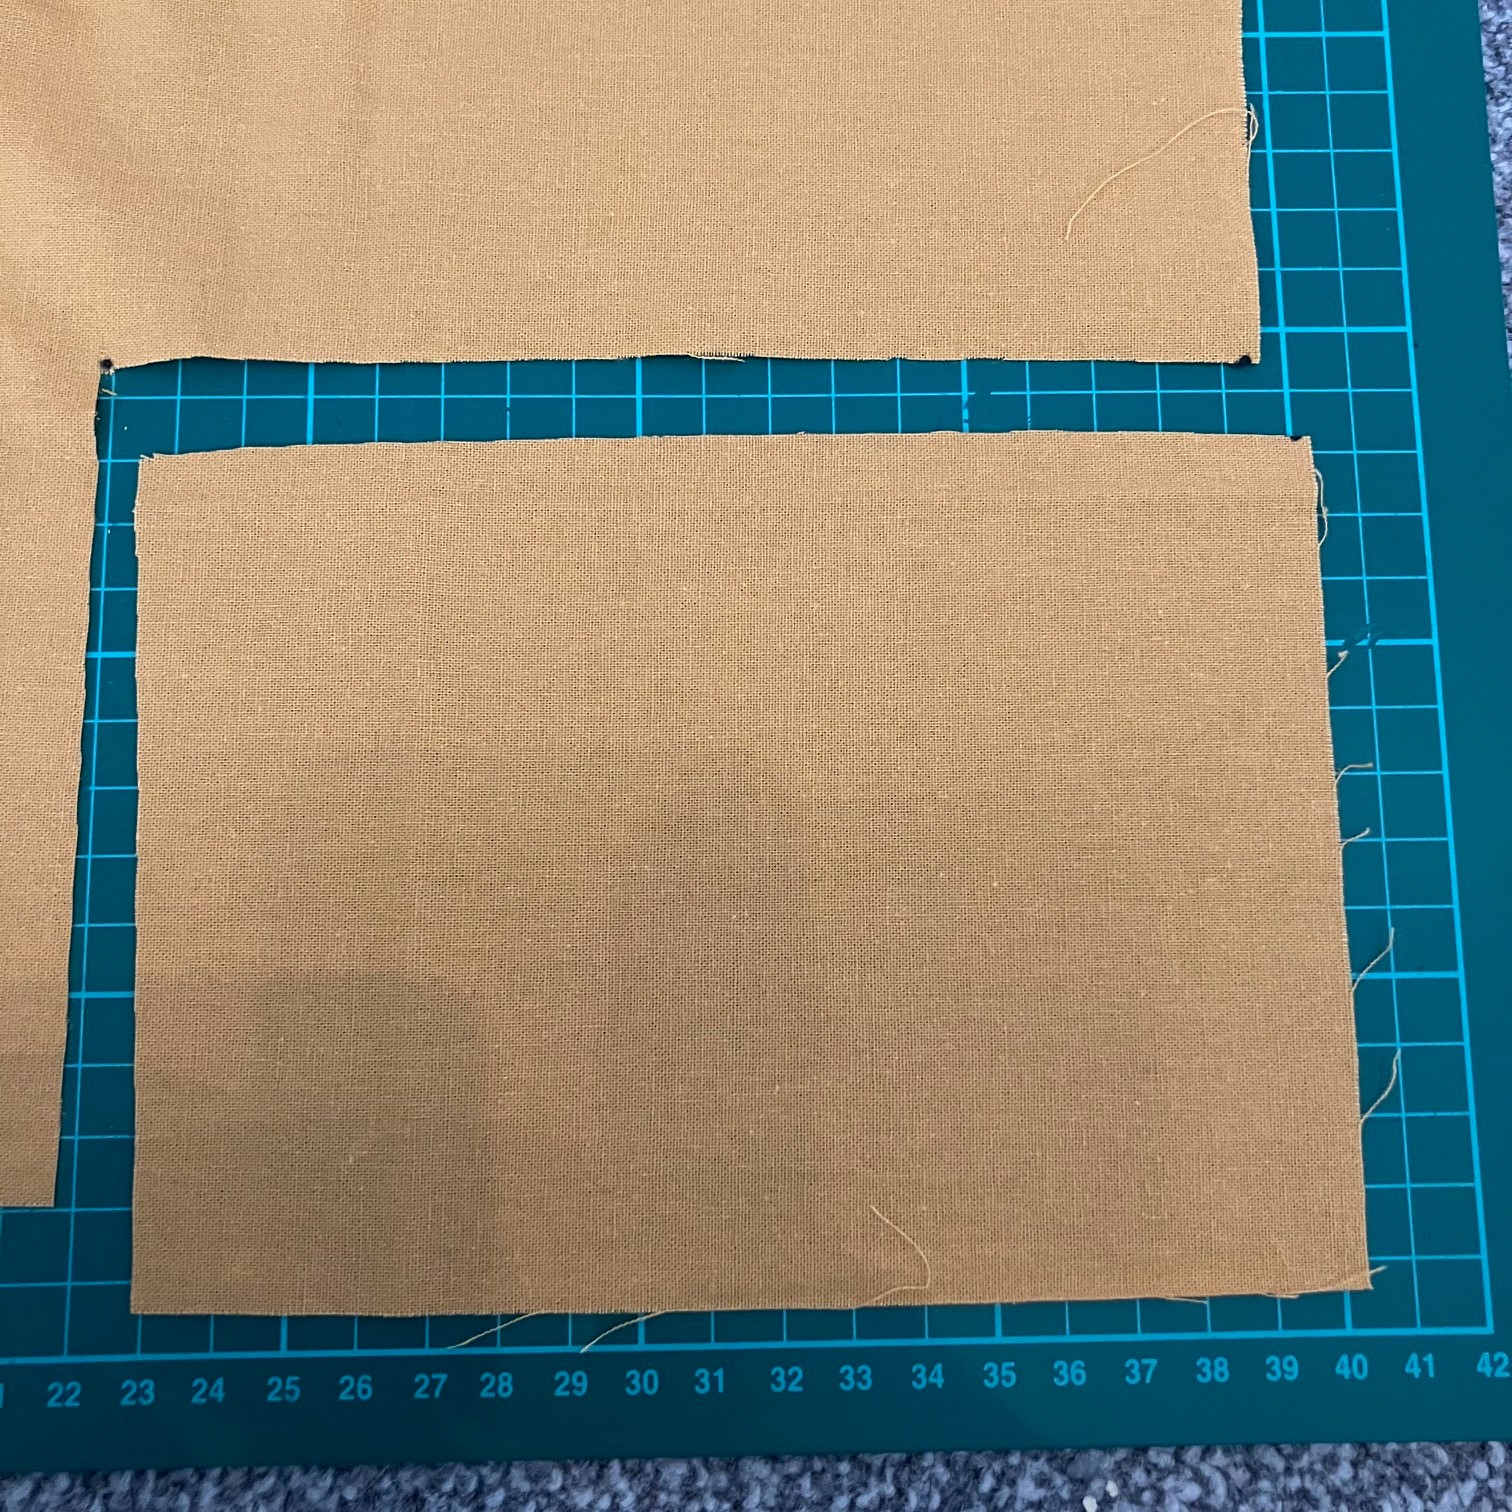
Cut a piece of fabric 7″ x 5″ (18cm x 13cm). 7″ being the width and 5″ the height.
Step 2
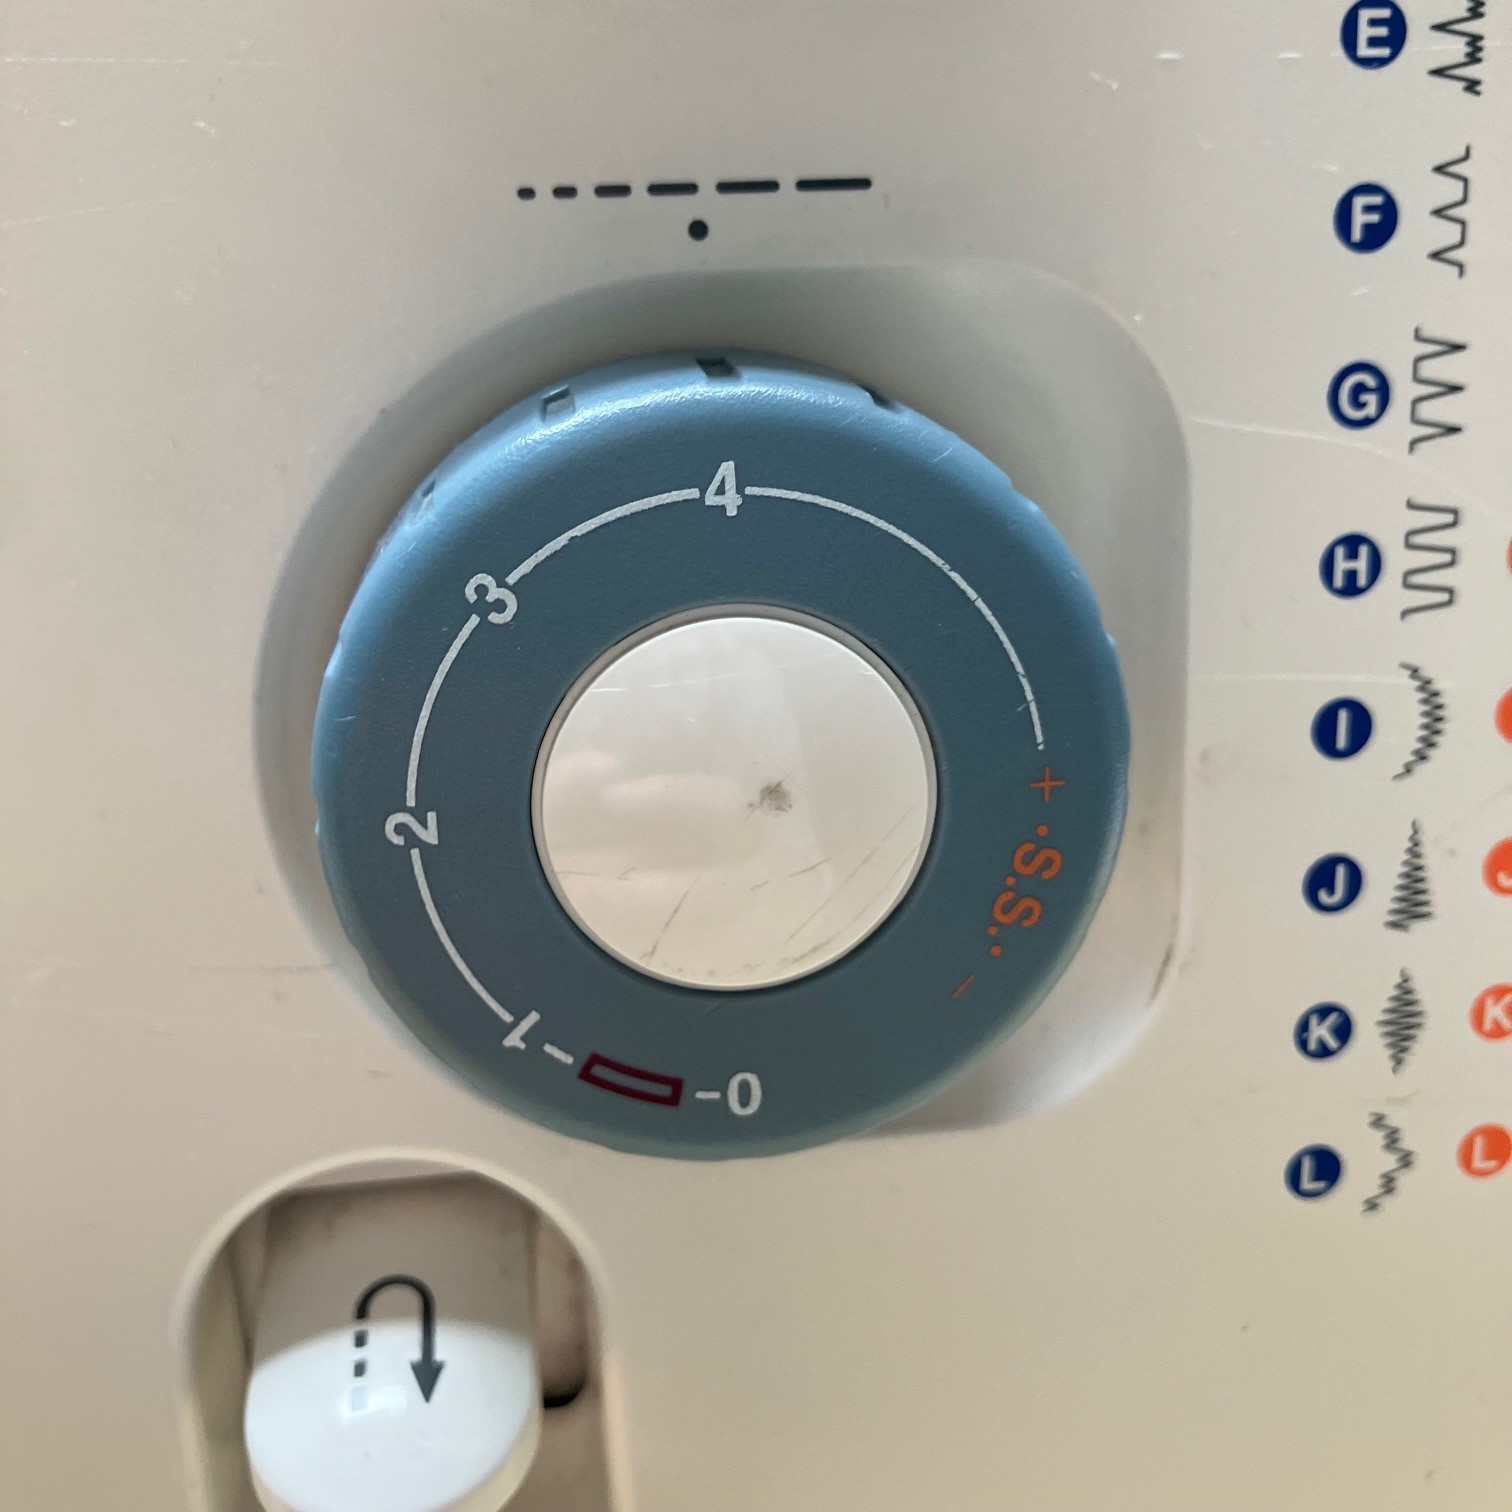
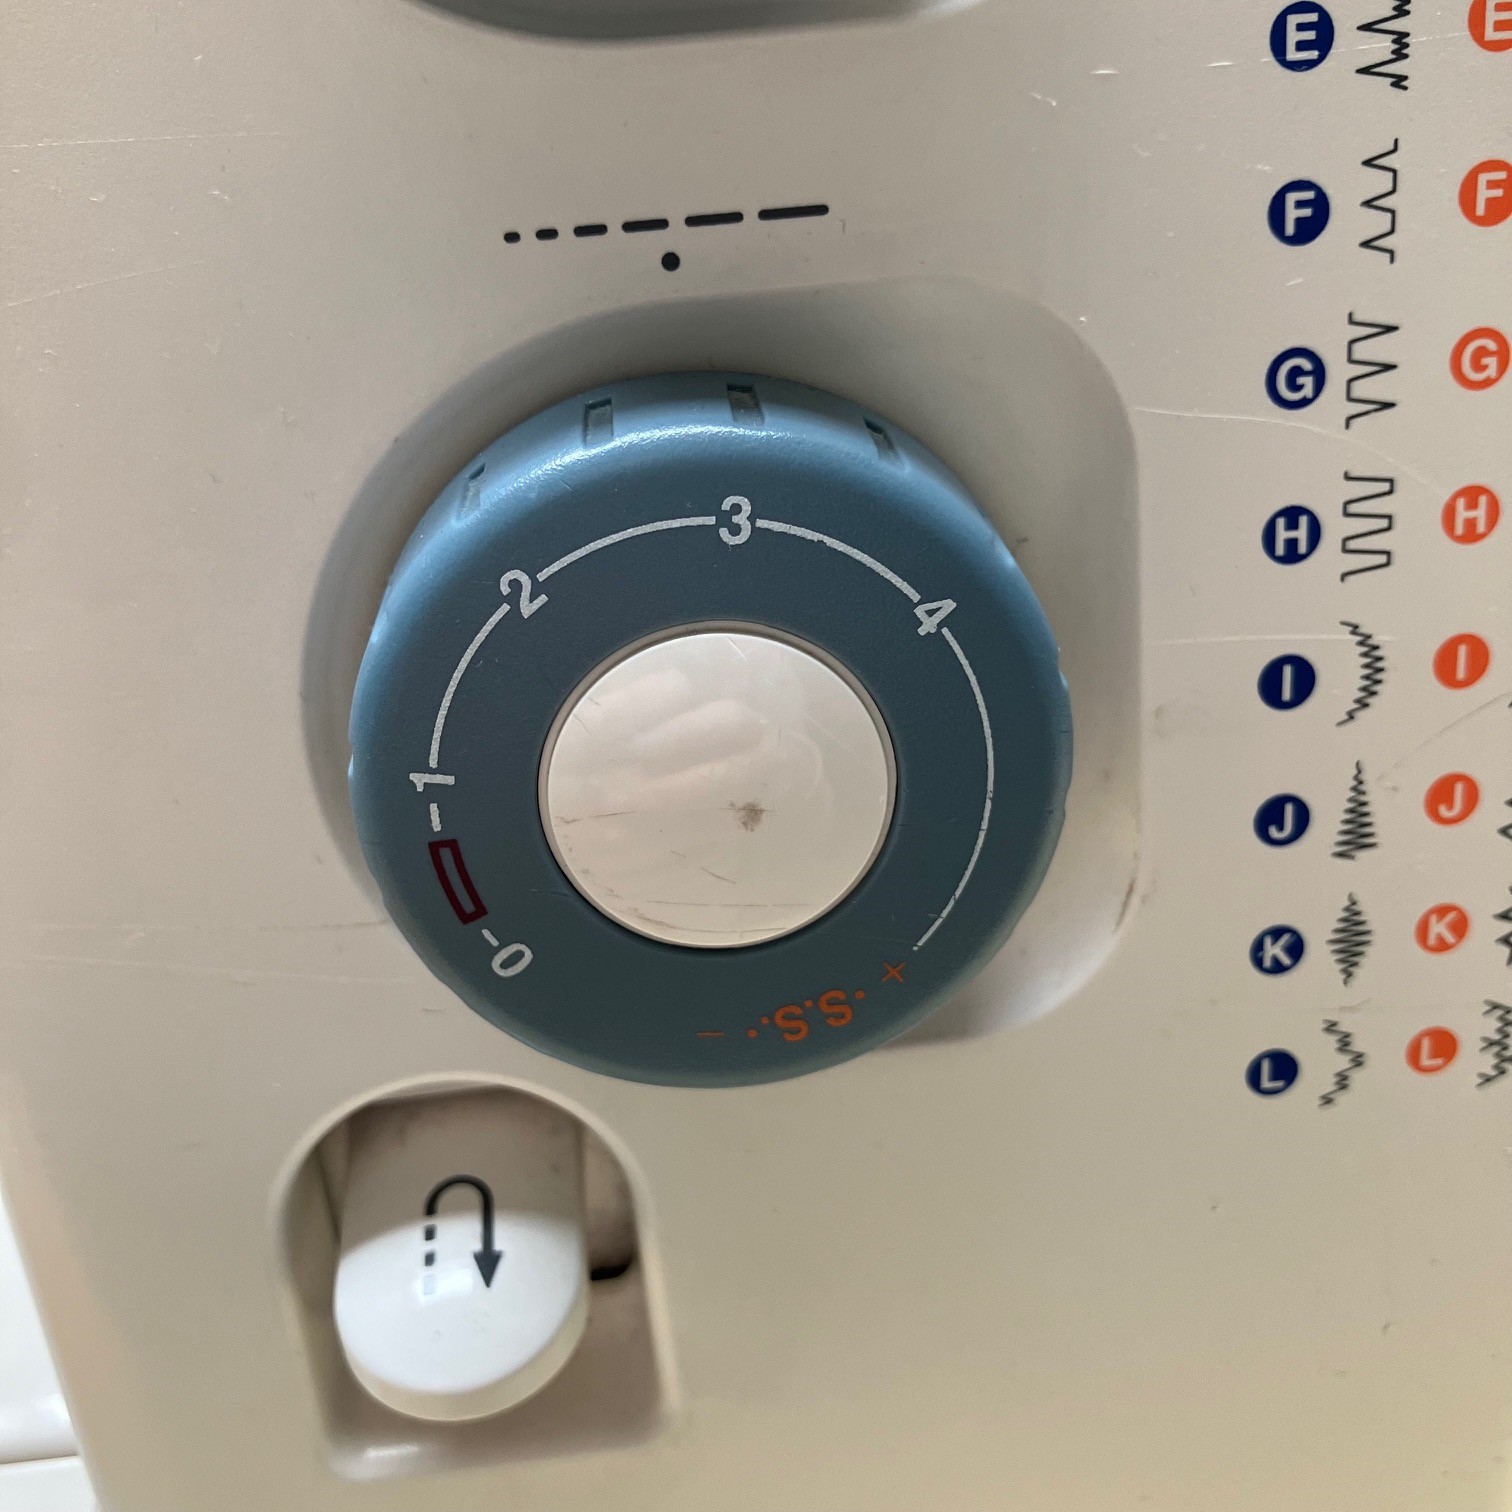
If hand sewing, use a long-ish tacking stitch. If machine sewing, set the stitch length to 4.
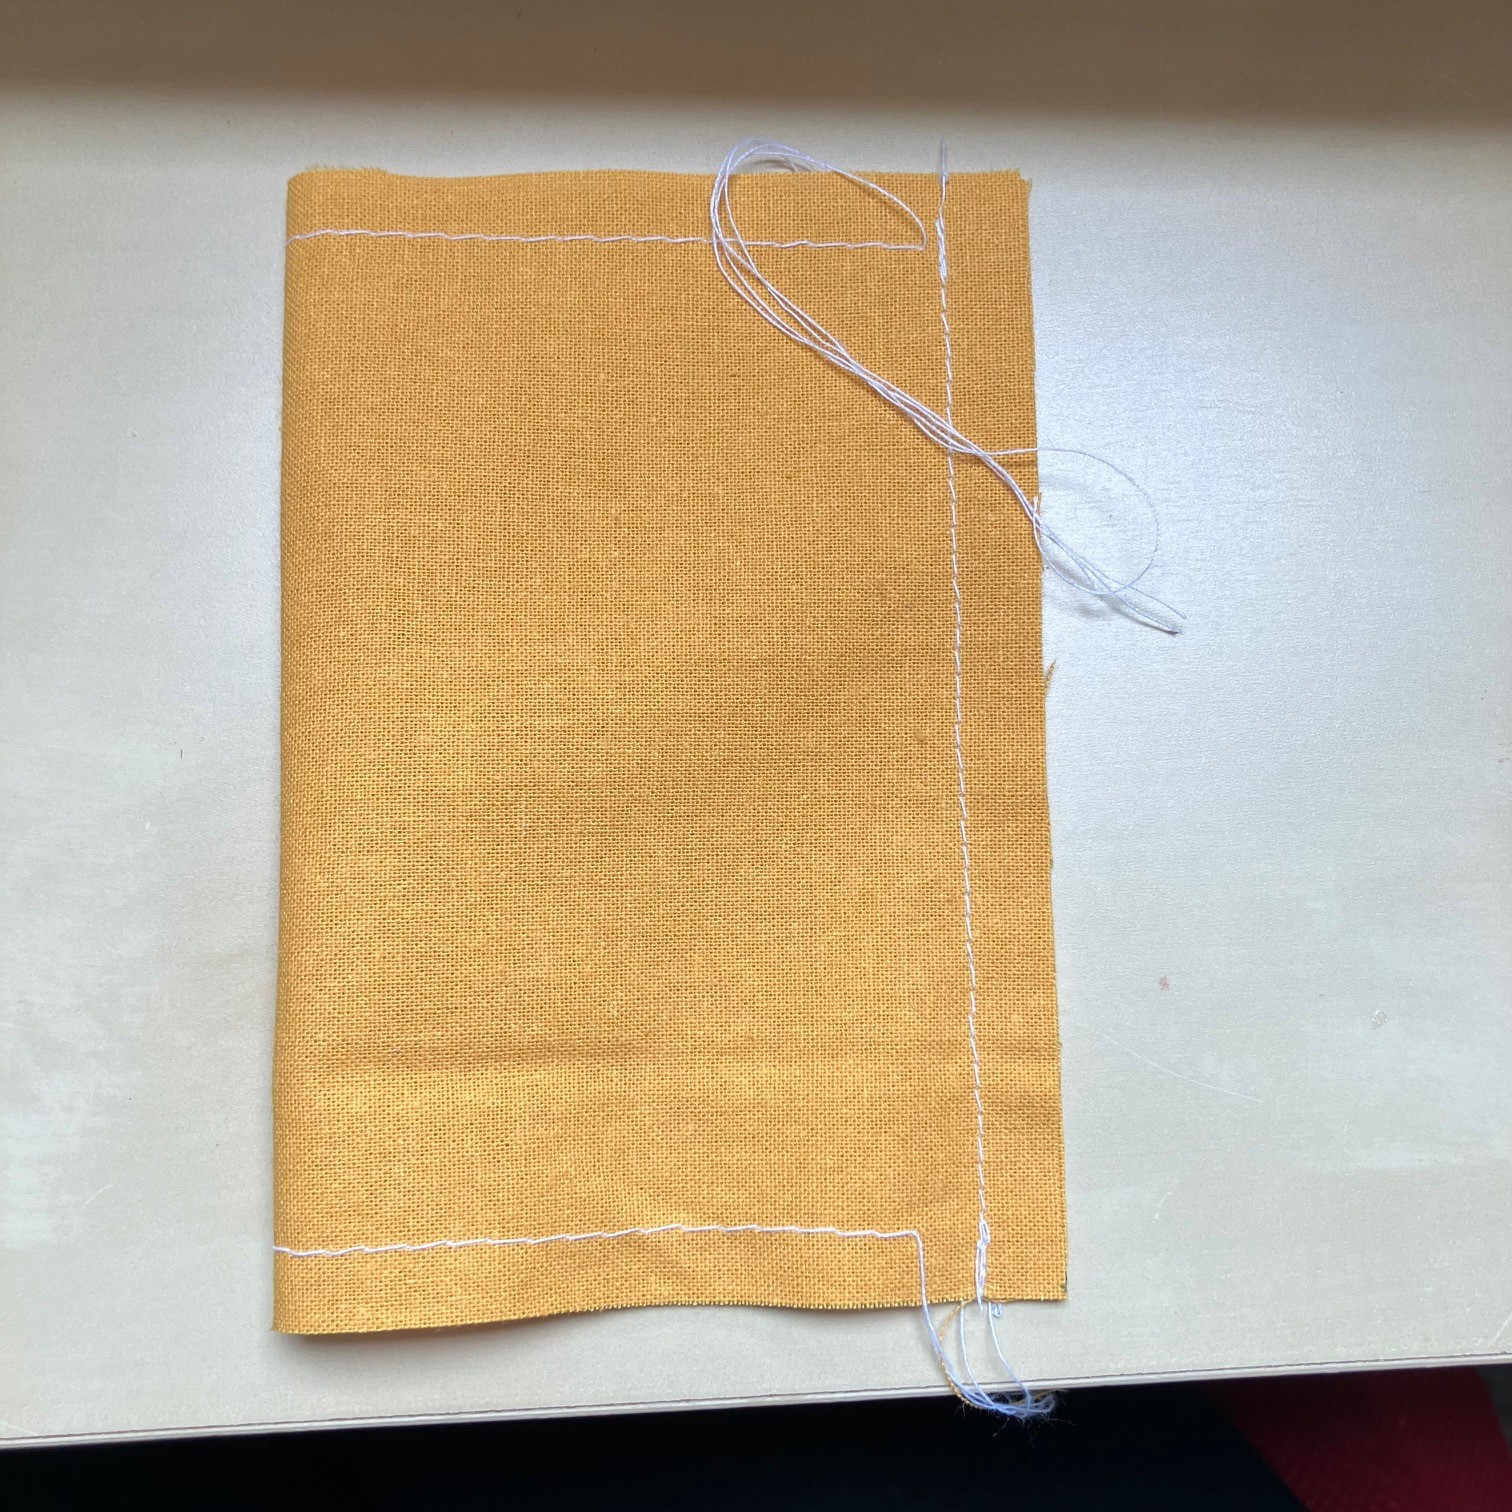
Sewing within 0.5cm from the edge, sew along both of the long sides. Leave start and end tails long. Do not back tack or fasten off.
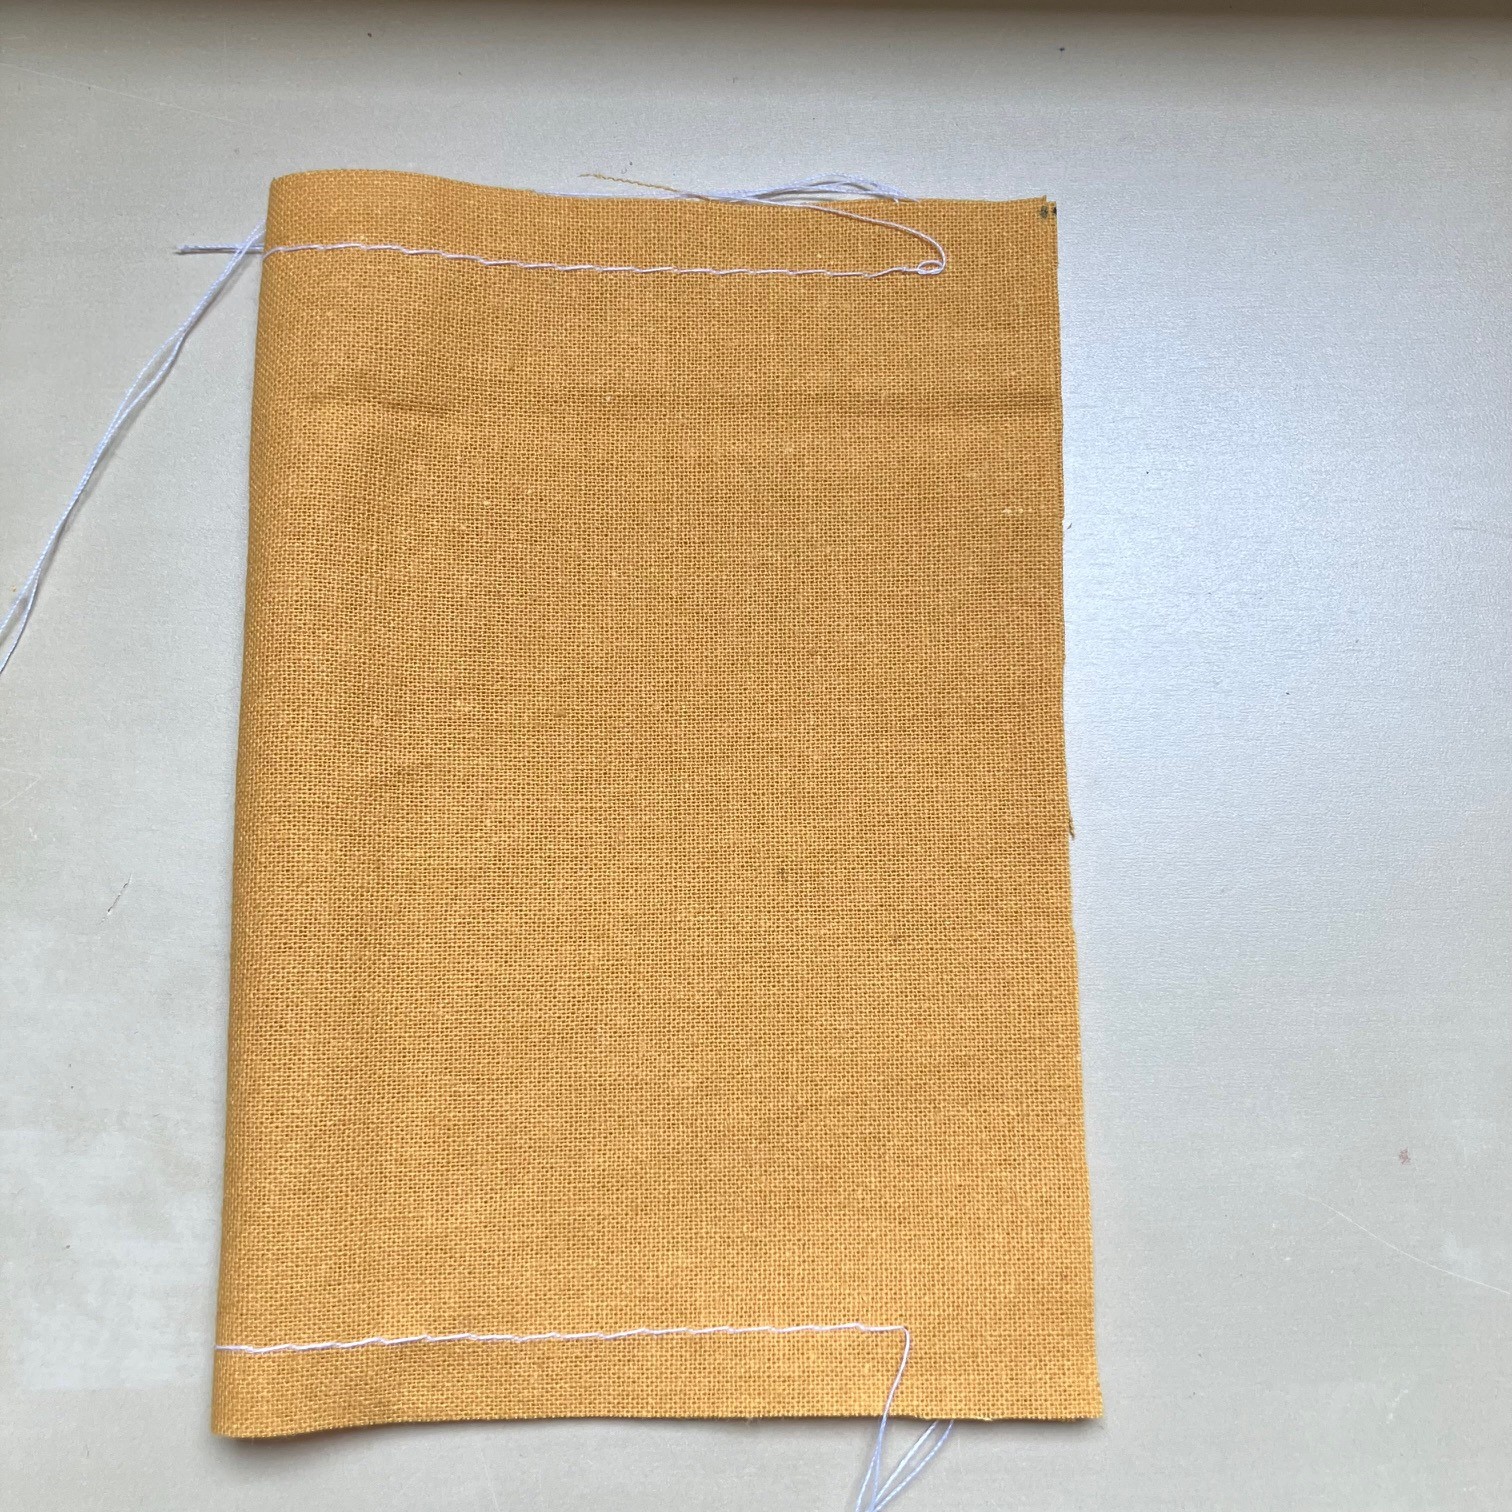
The image above has the fabric folded in half.
Step 3
Return sewing machine stitch length to between 2.5-3. If hand sewing, use shorter stitches. If you are able to back stitch, this would be a good idea to make the pumpkin seams strong.
With fabric right sides together, fold fabric in half and sew the raw sides together. Back tack (secure) at the start and finish. You may fasten off and cut these threads only.
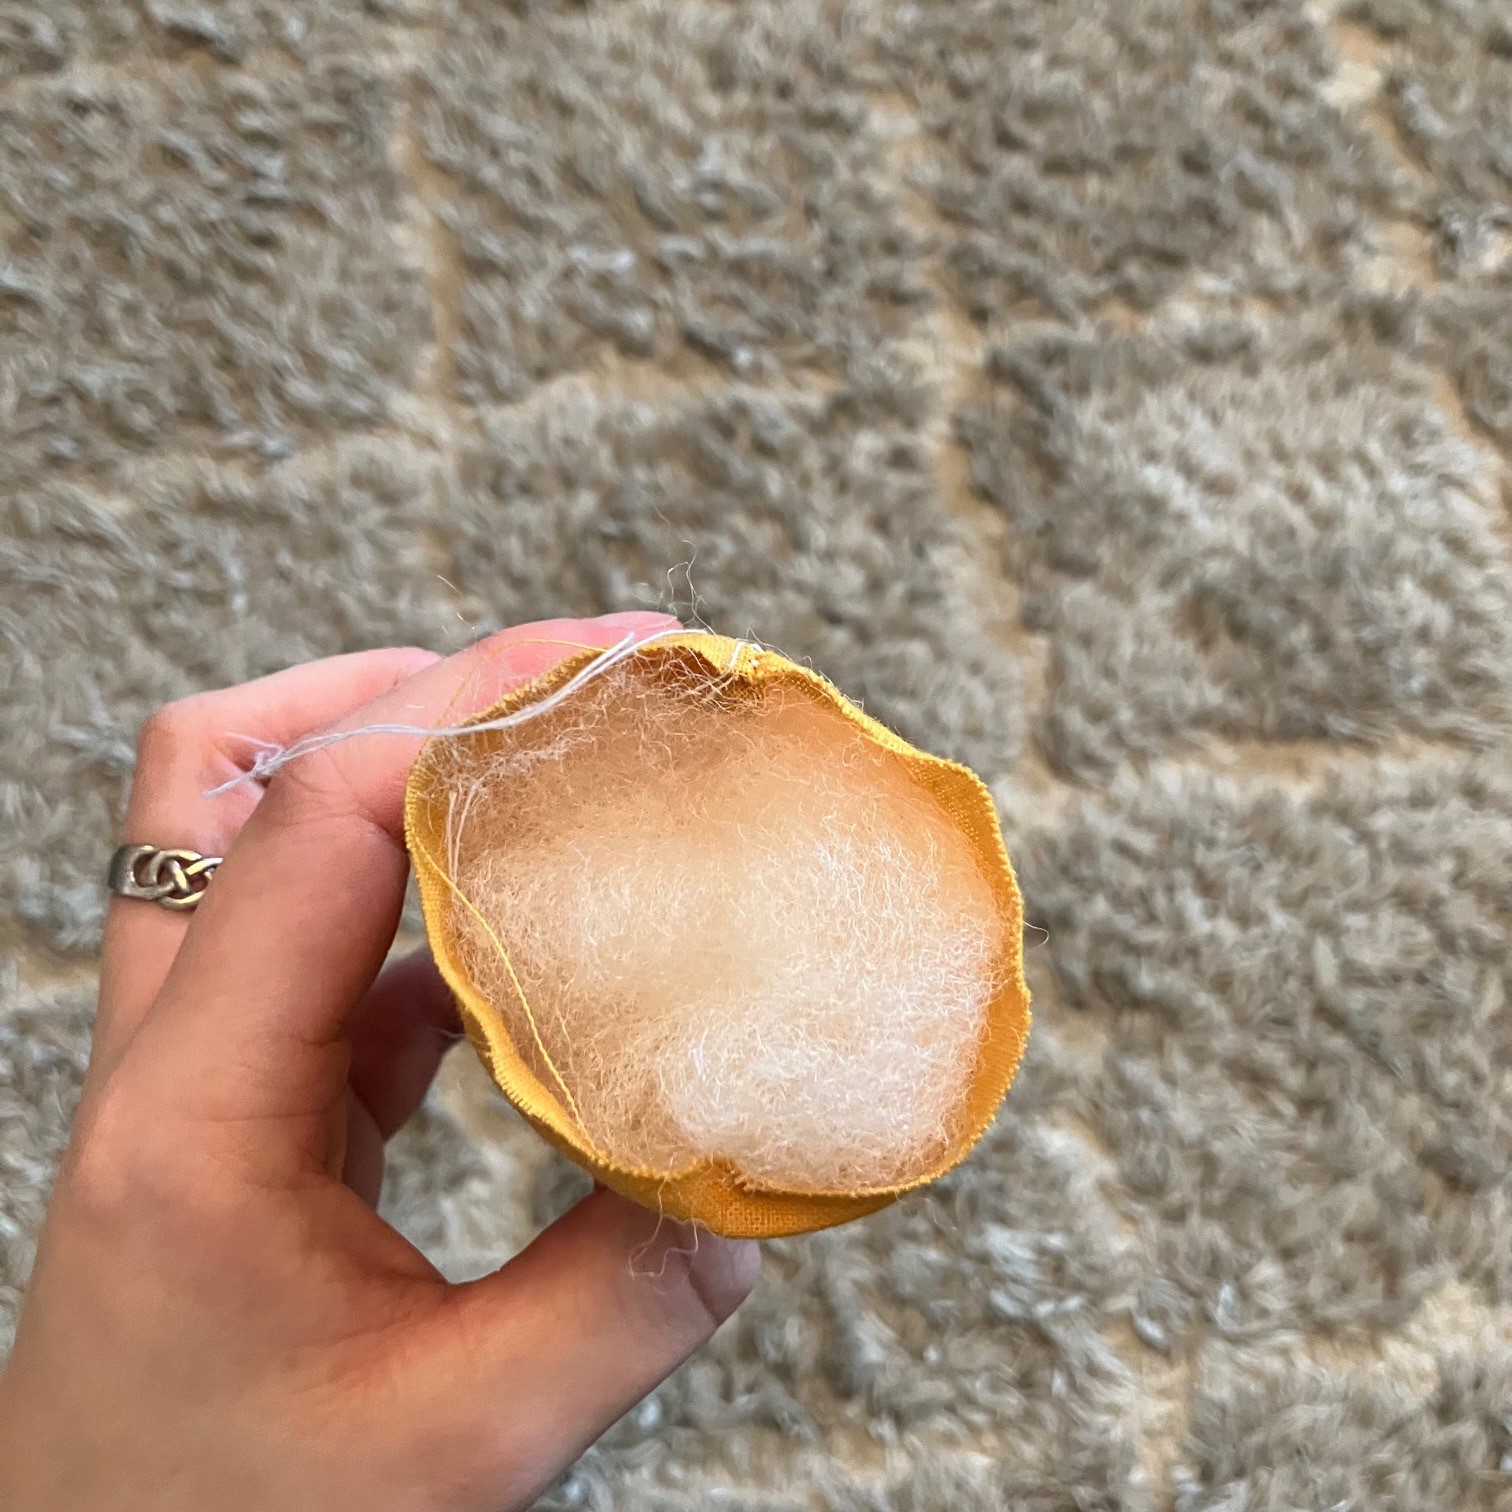
Step 4
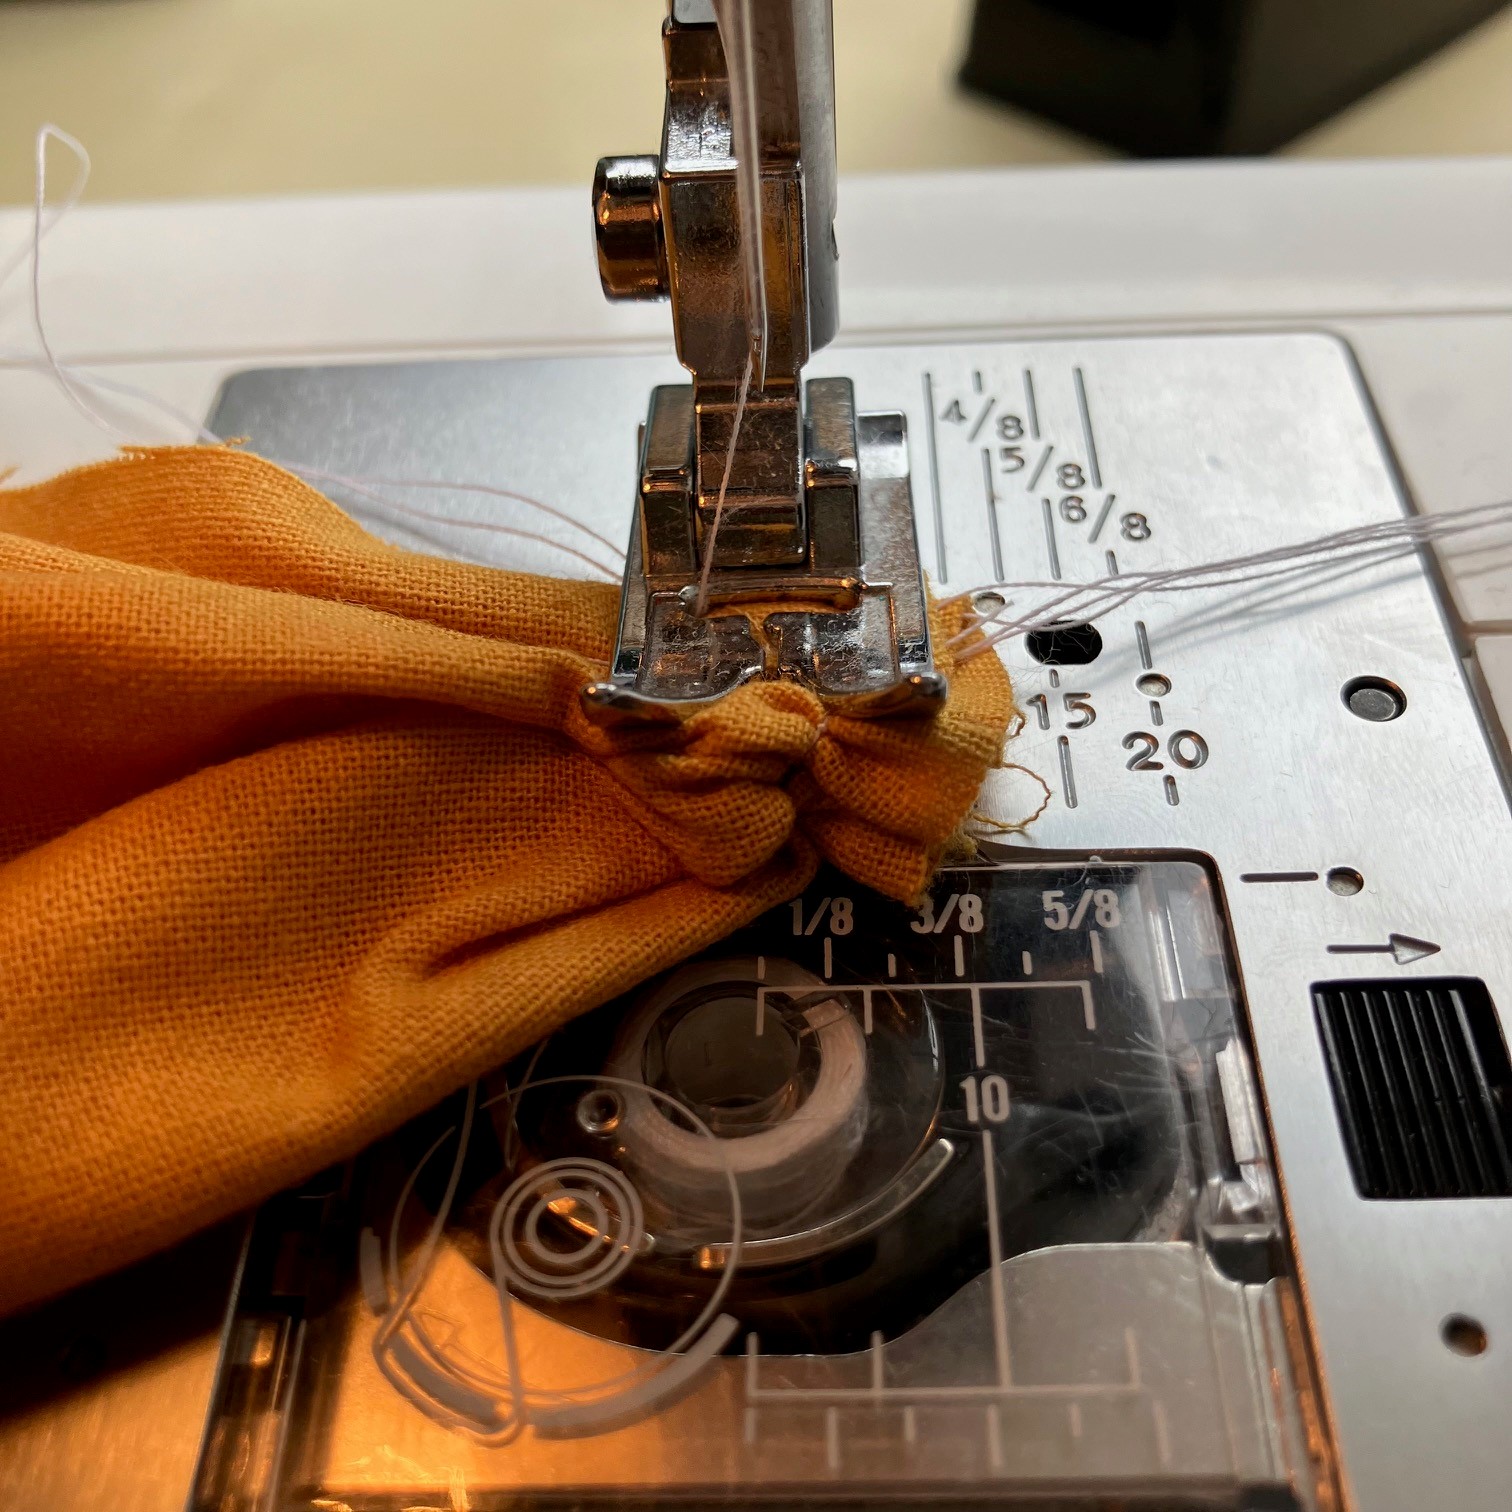
Gather at one end, using the long tails we left previously.

Place gathered end under sewing machine foot and sew across (or hand sew across securely).

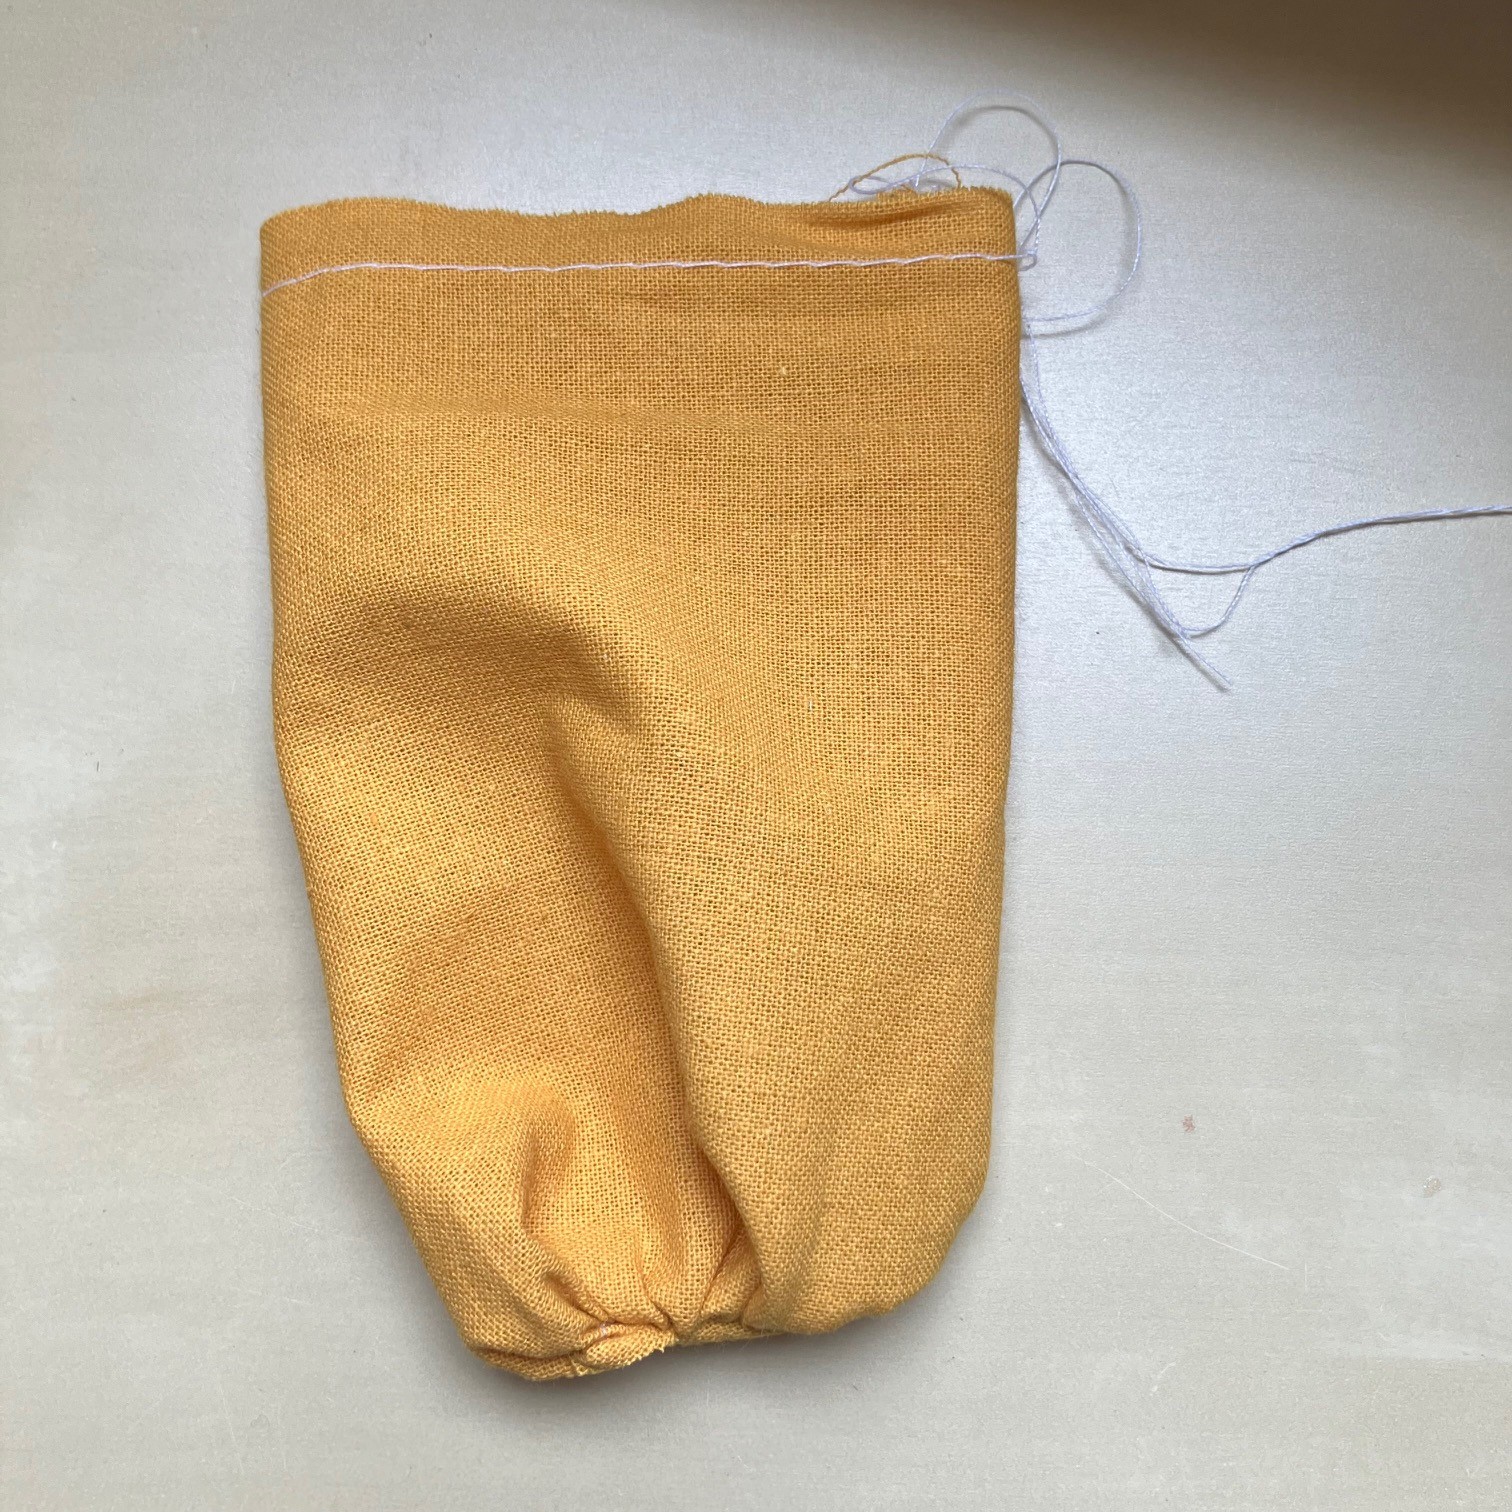
Step 5
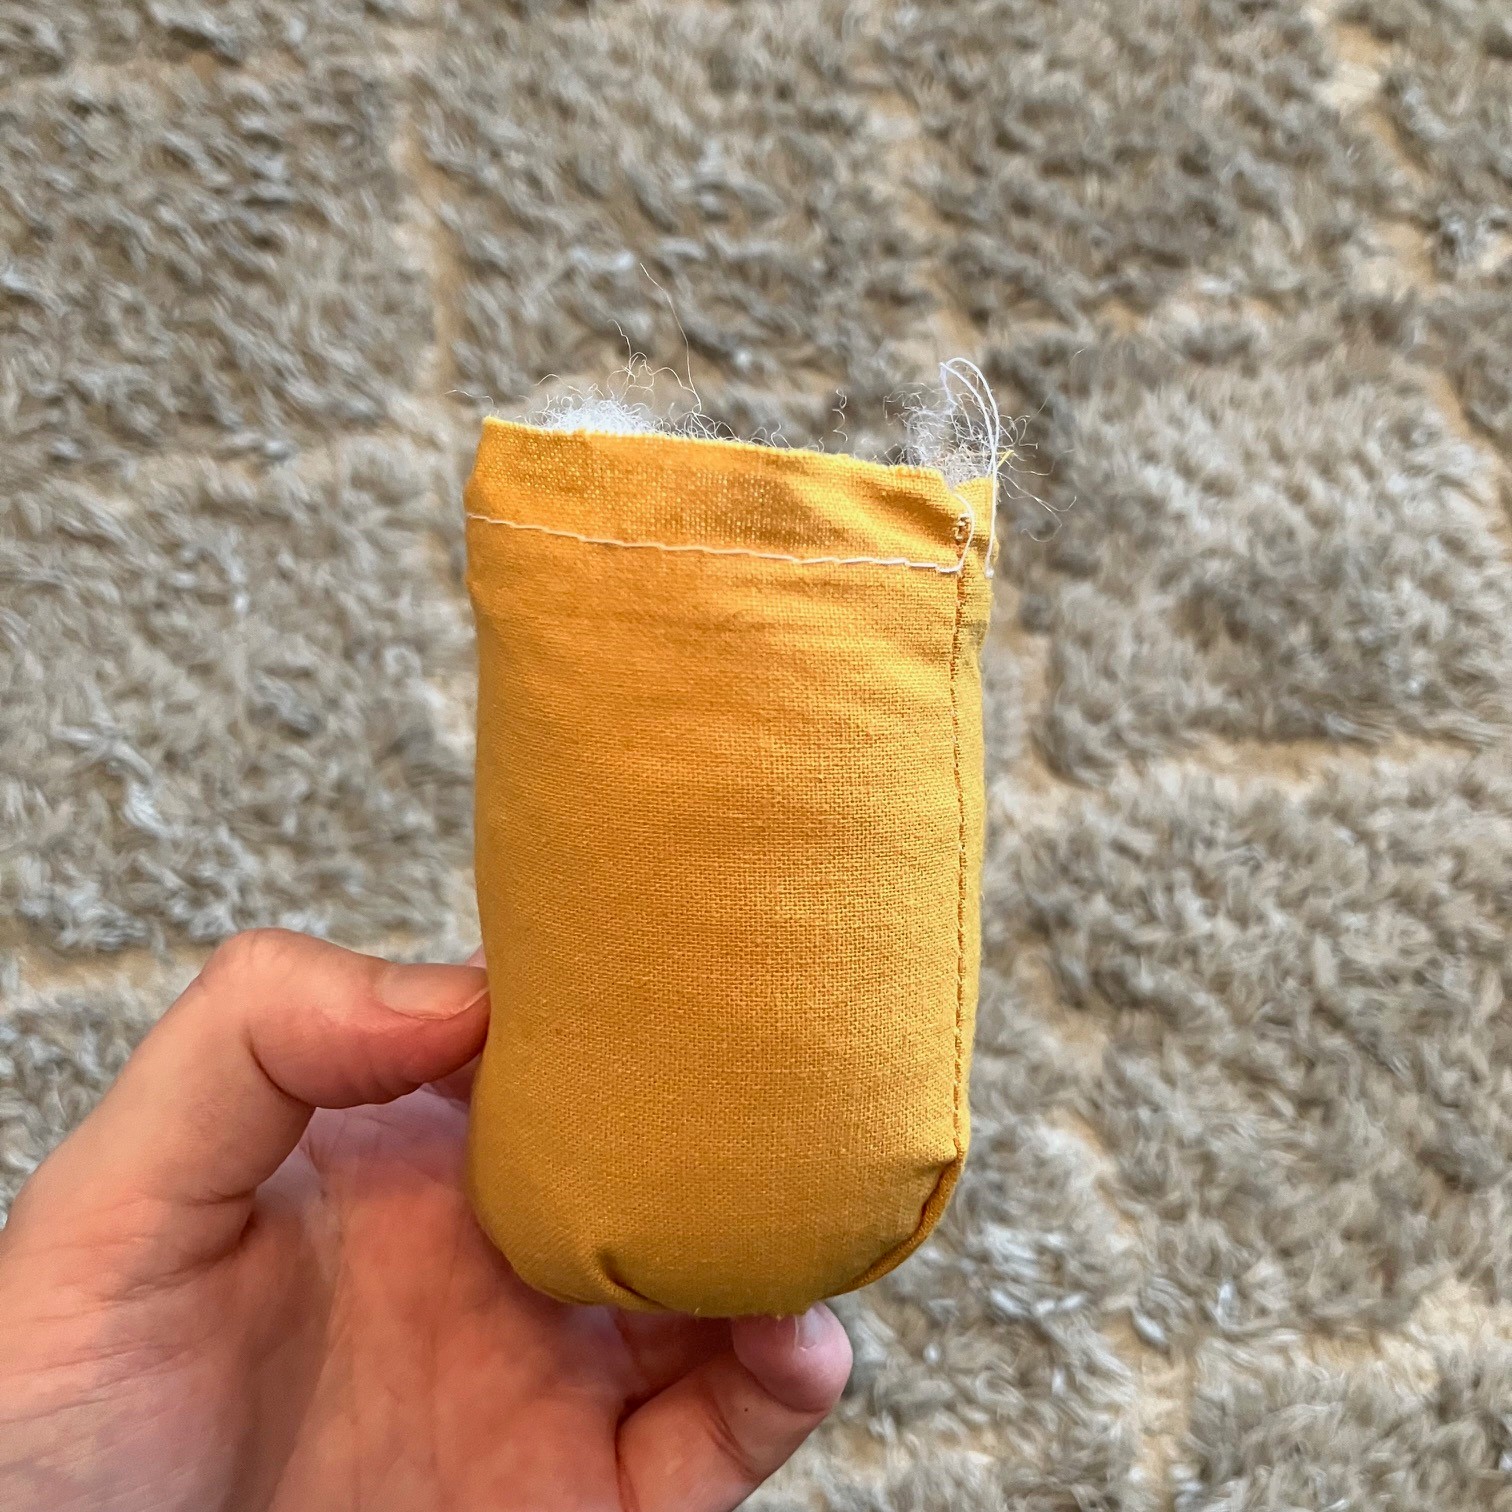
Turn fabric inside out, so that raw edges are now on the inside and the correct side is facing outwards.
Step 6
Stuff! To be honest, we stuffed ours a bit too much!
Step 7
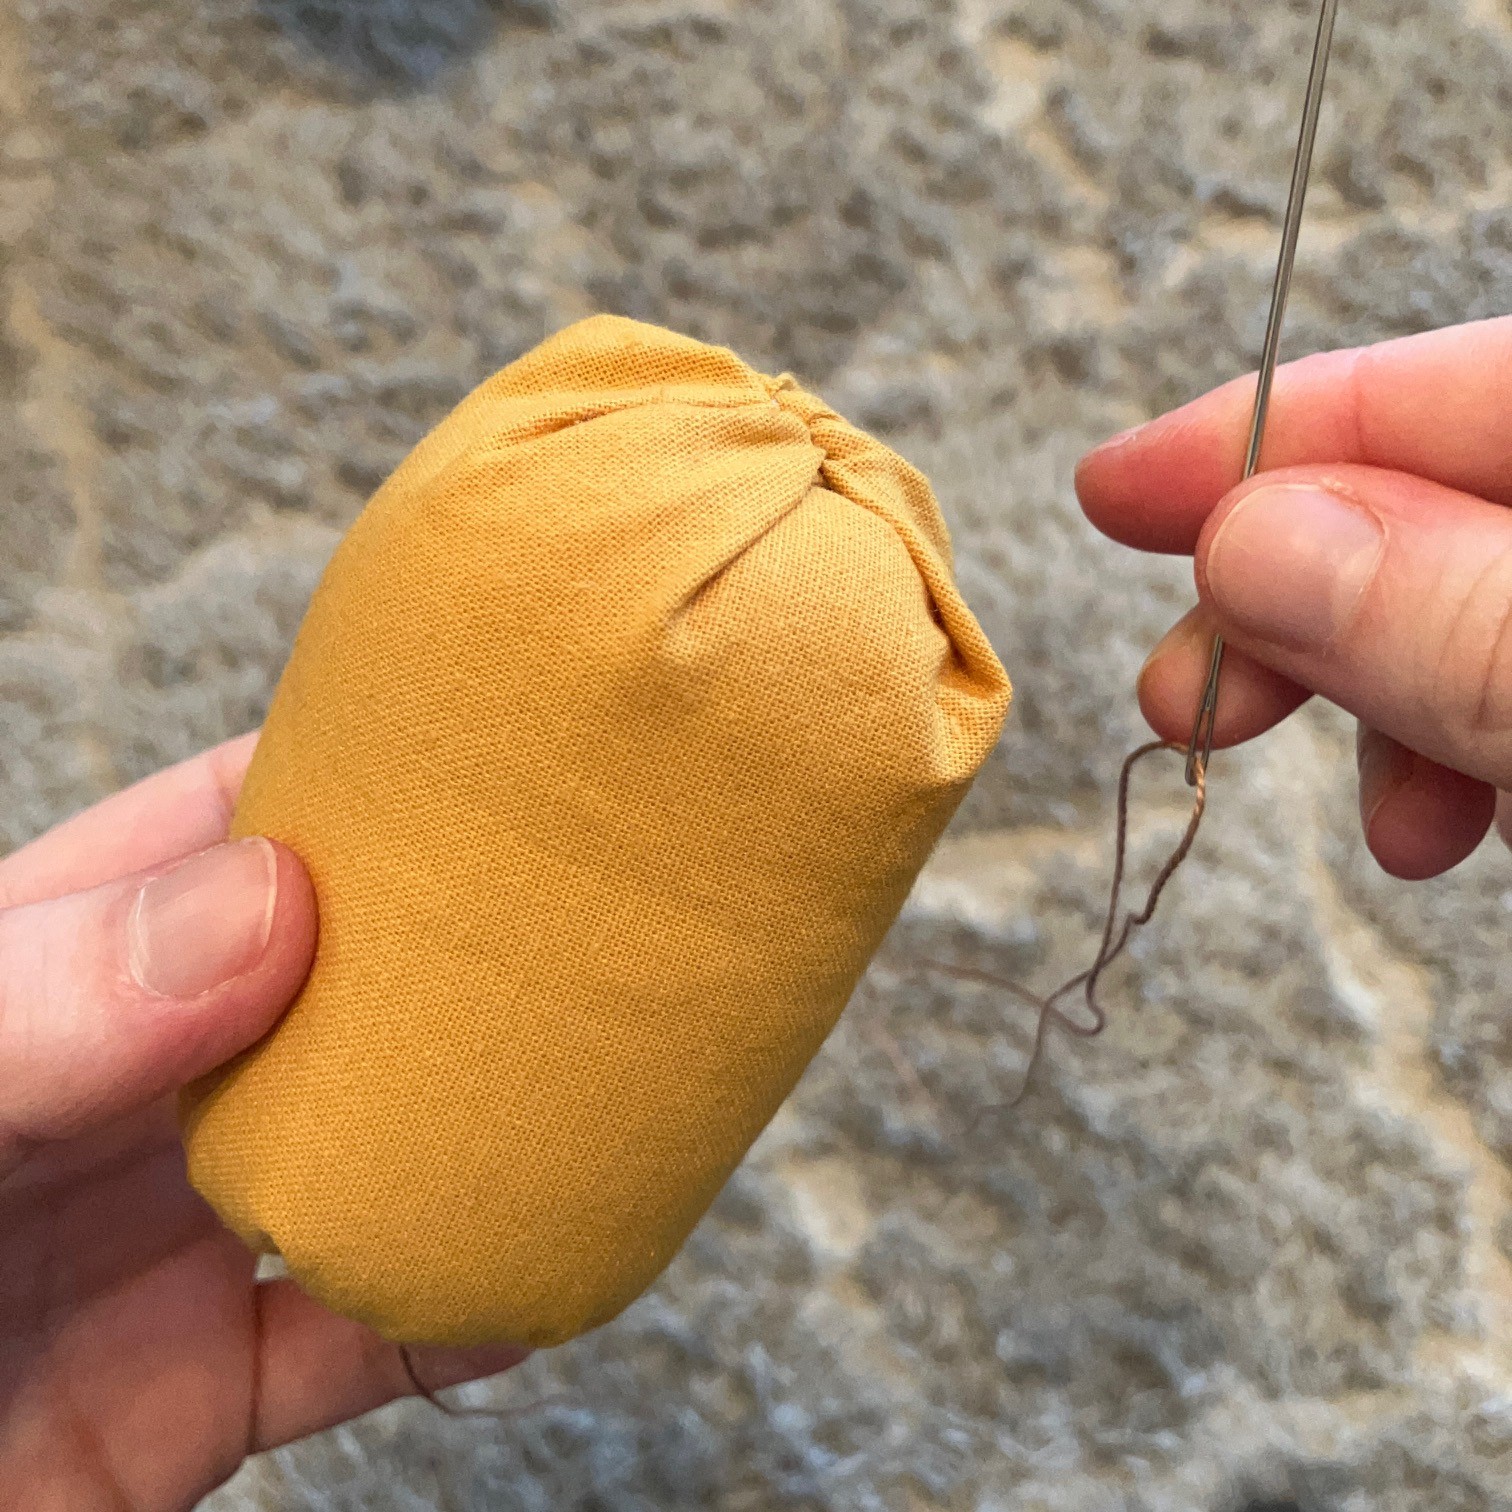
Pull the gathering stitches at the top of the pumpkin. Once gathered, knot the remaining threads to secure and cut close to knot. This will later be disguised by the stalk.
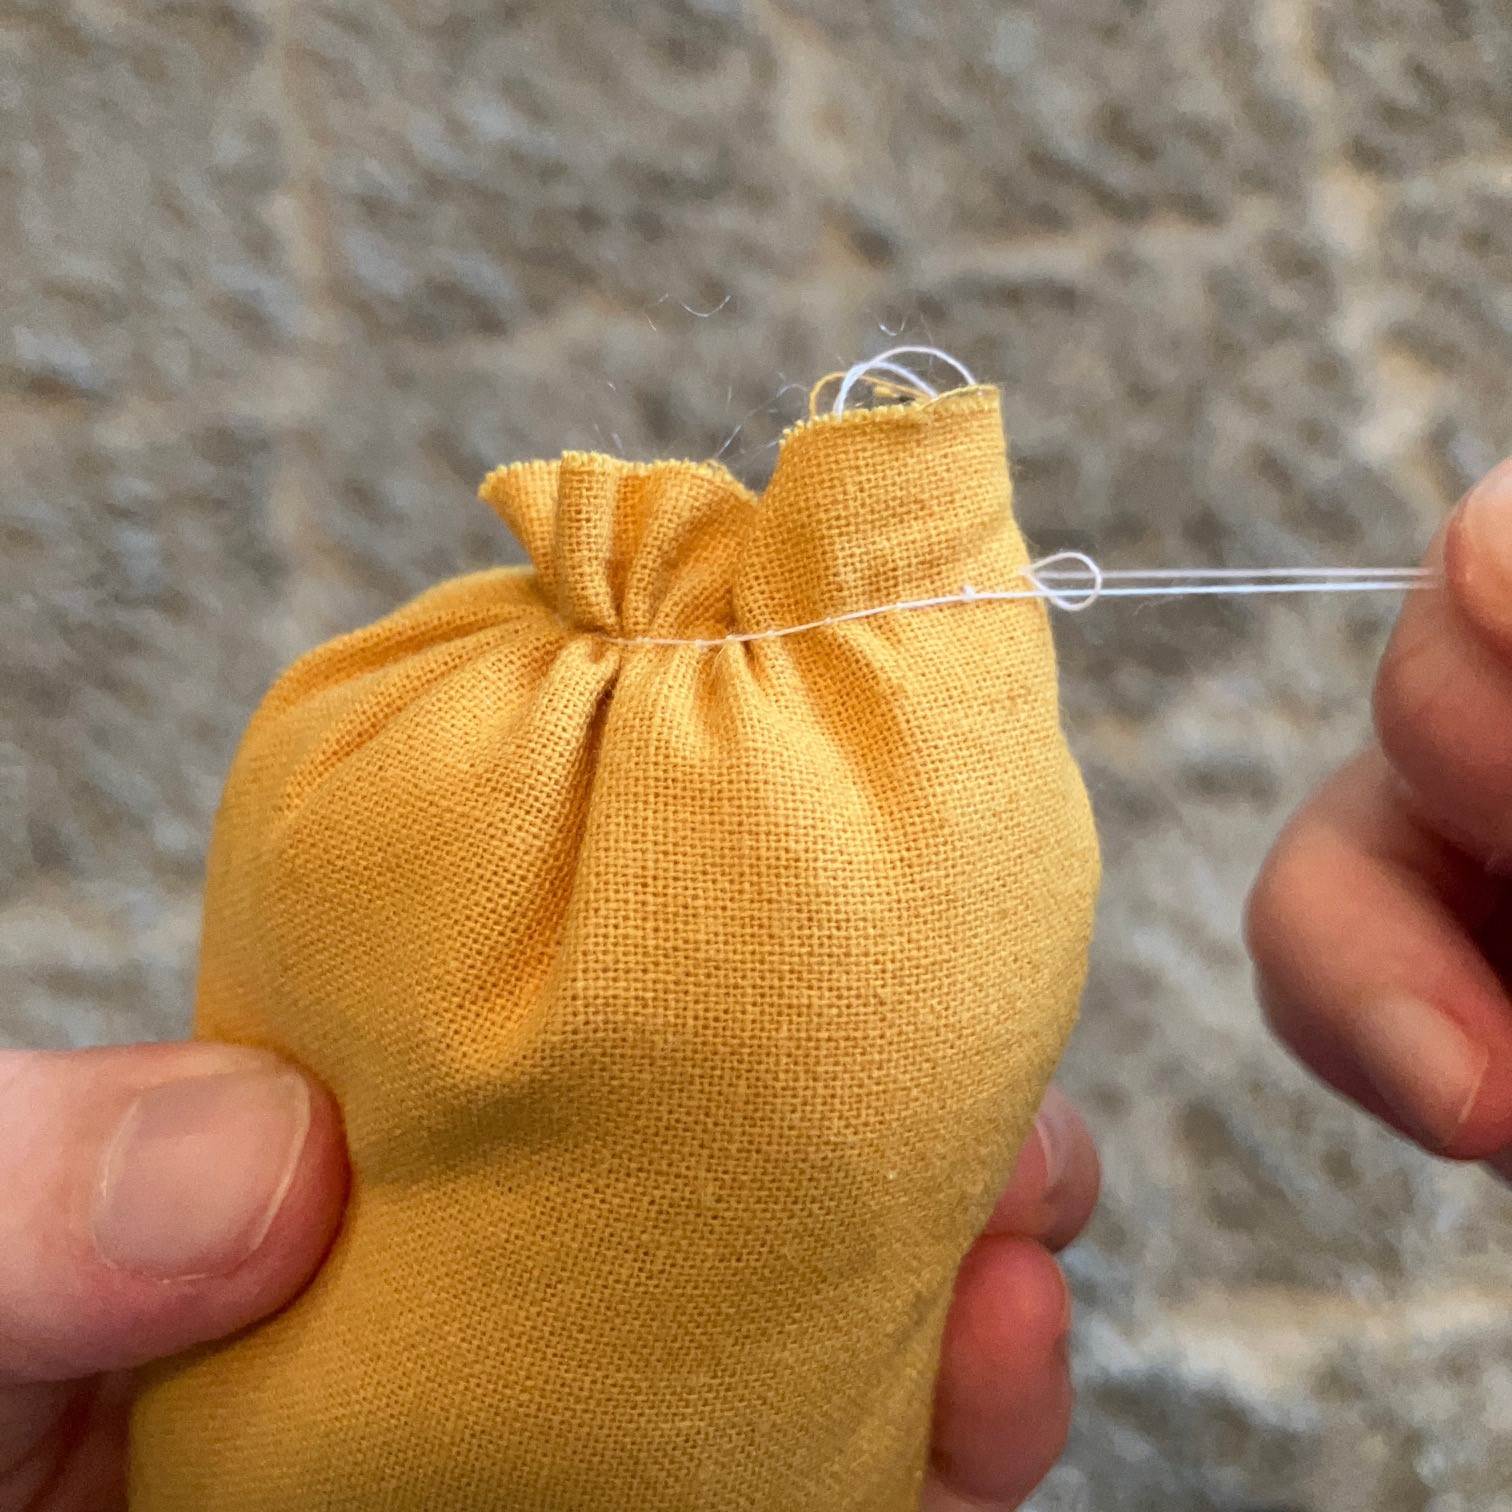
Step 8
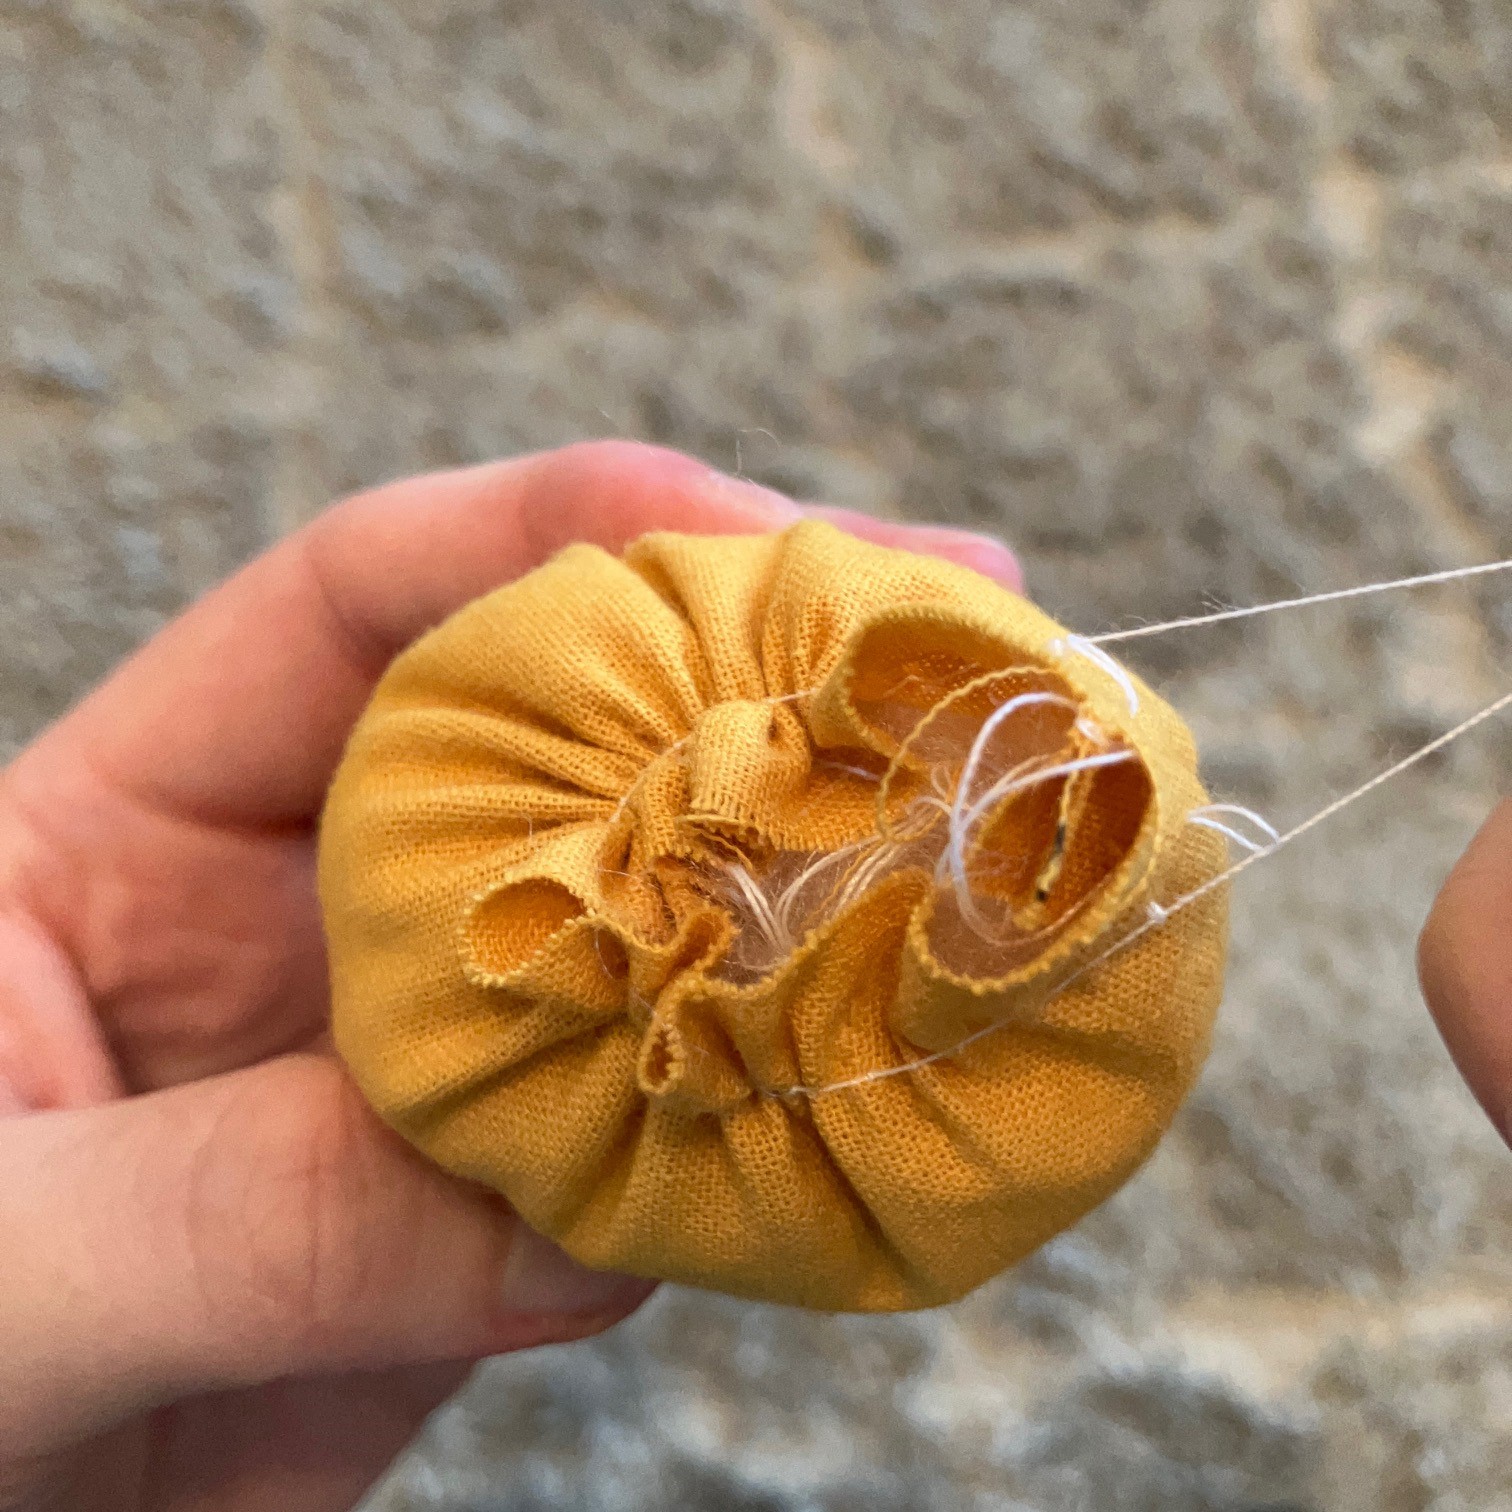
Take a long, separate, piece of thread. The thread should be strong (we used crochet cotton).
Thread from bottom to top of pumpkin and let tail hang out. Now, take the other thread, that is still sticking out the bottom of the pumpkin, and thread this bottom to top. Both threads are poking out the top. Adjust so they are matching in length.
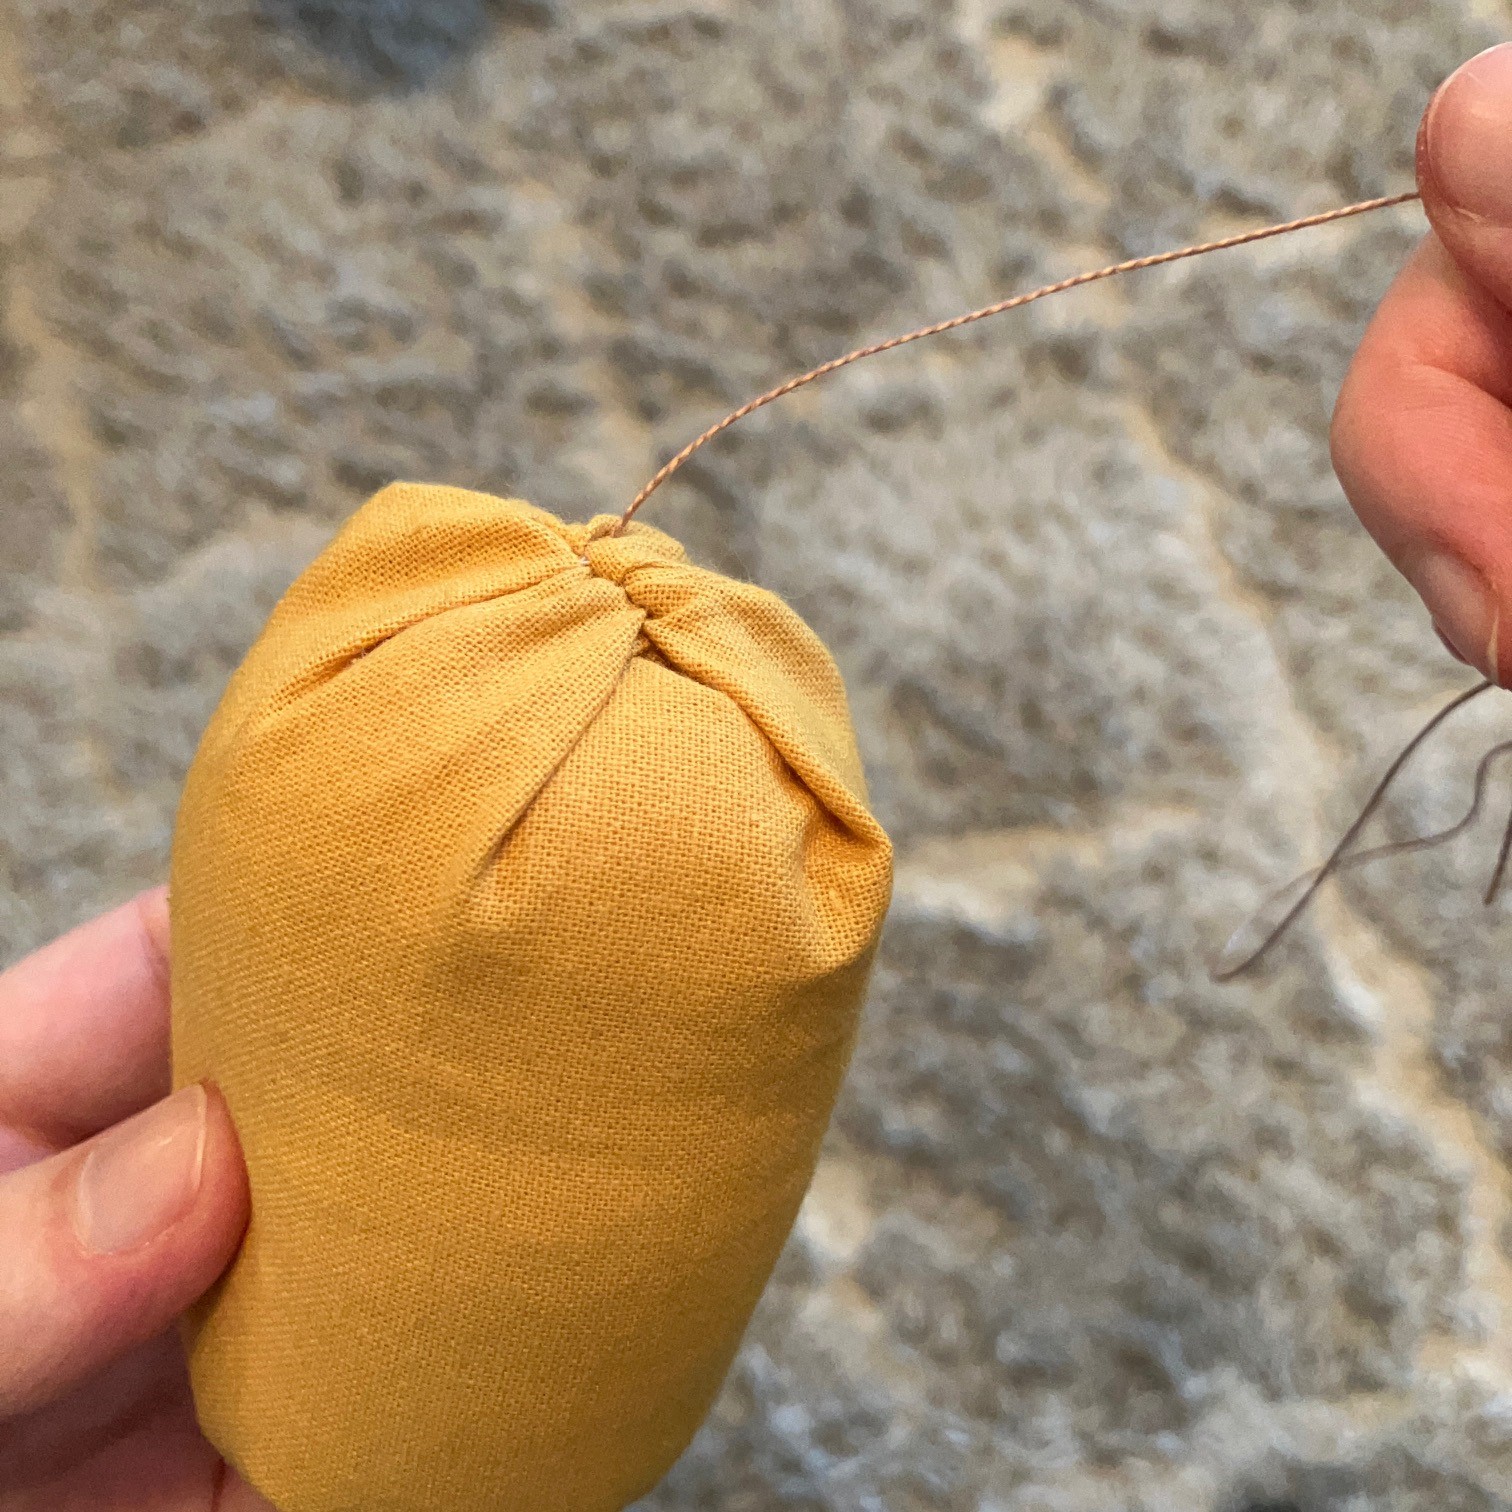

Step 9
Pull both threads tightly so that the pumpkin squishes down. Knot as close as possible to the pumpkin. This gives our pumpkin it’s first bit of shaping.
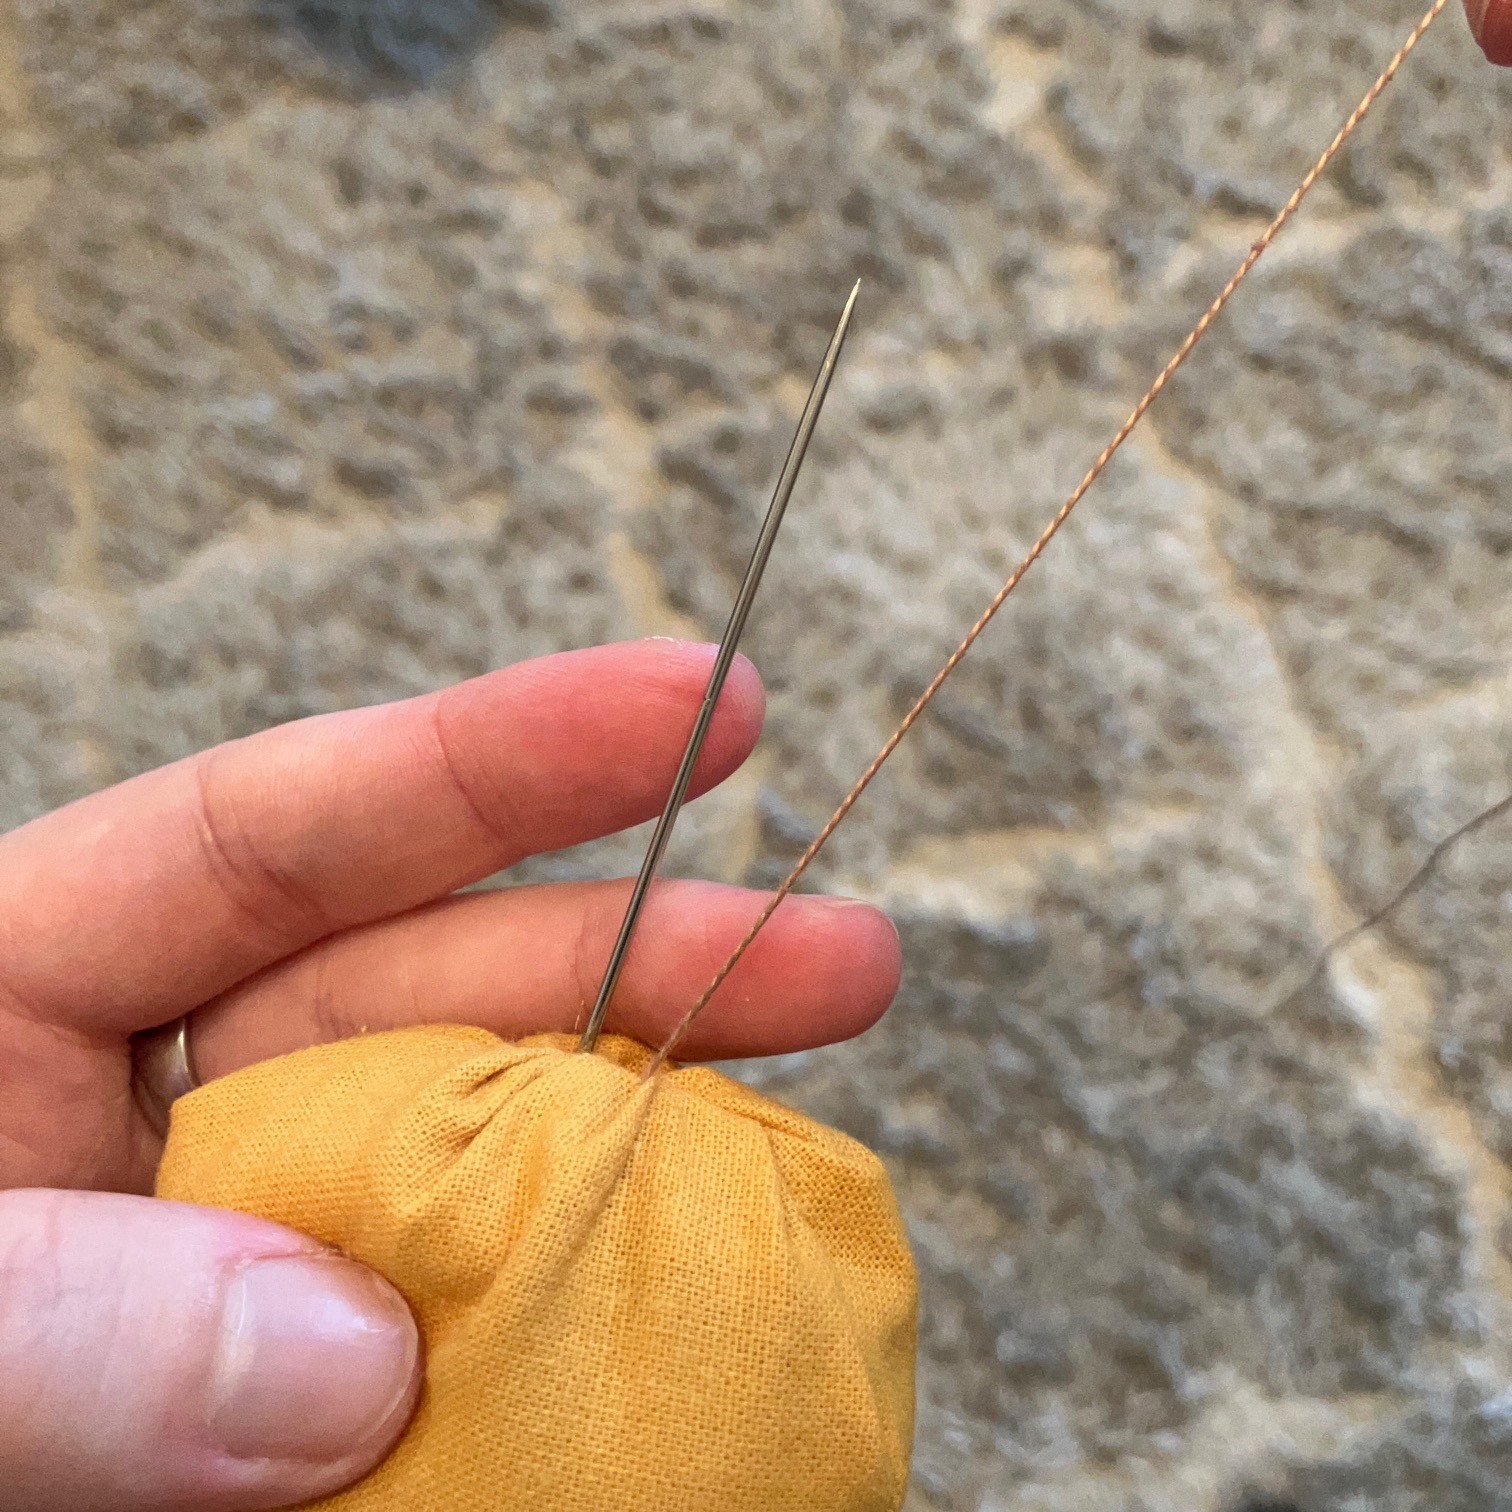
Step 10
Next, hold one thread in each hand. When one thread is placed, the other will be positioned directly opposite: we are now making the pumpkin segments to add further shaping and character.
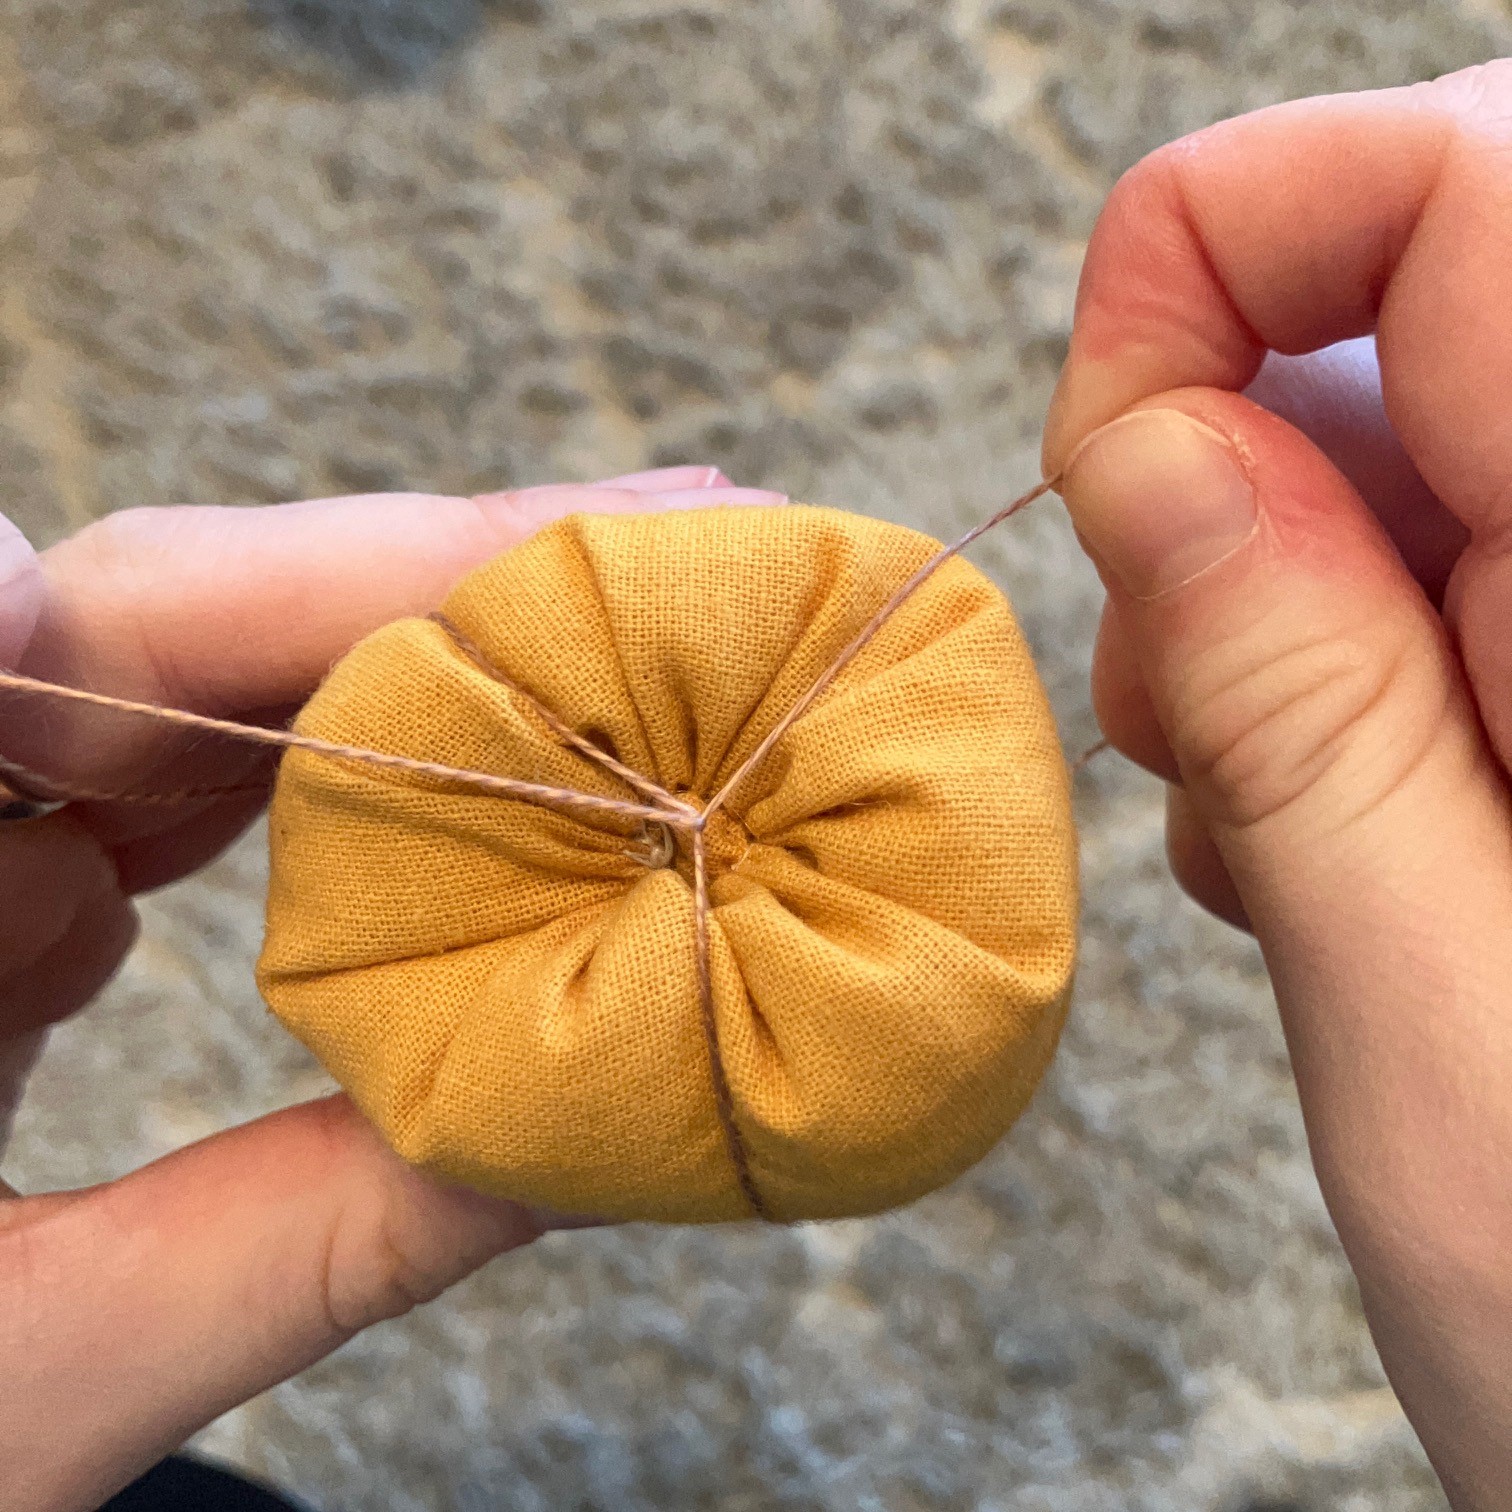
Maintain a taught tension whilst creating the segments.
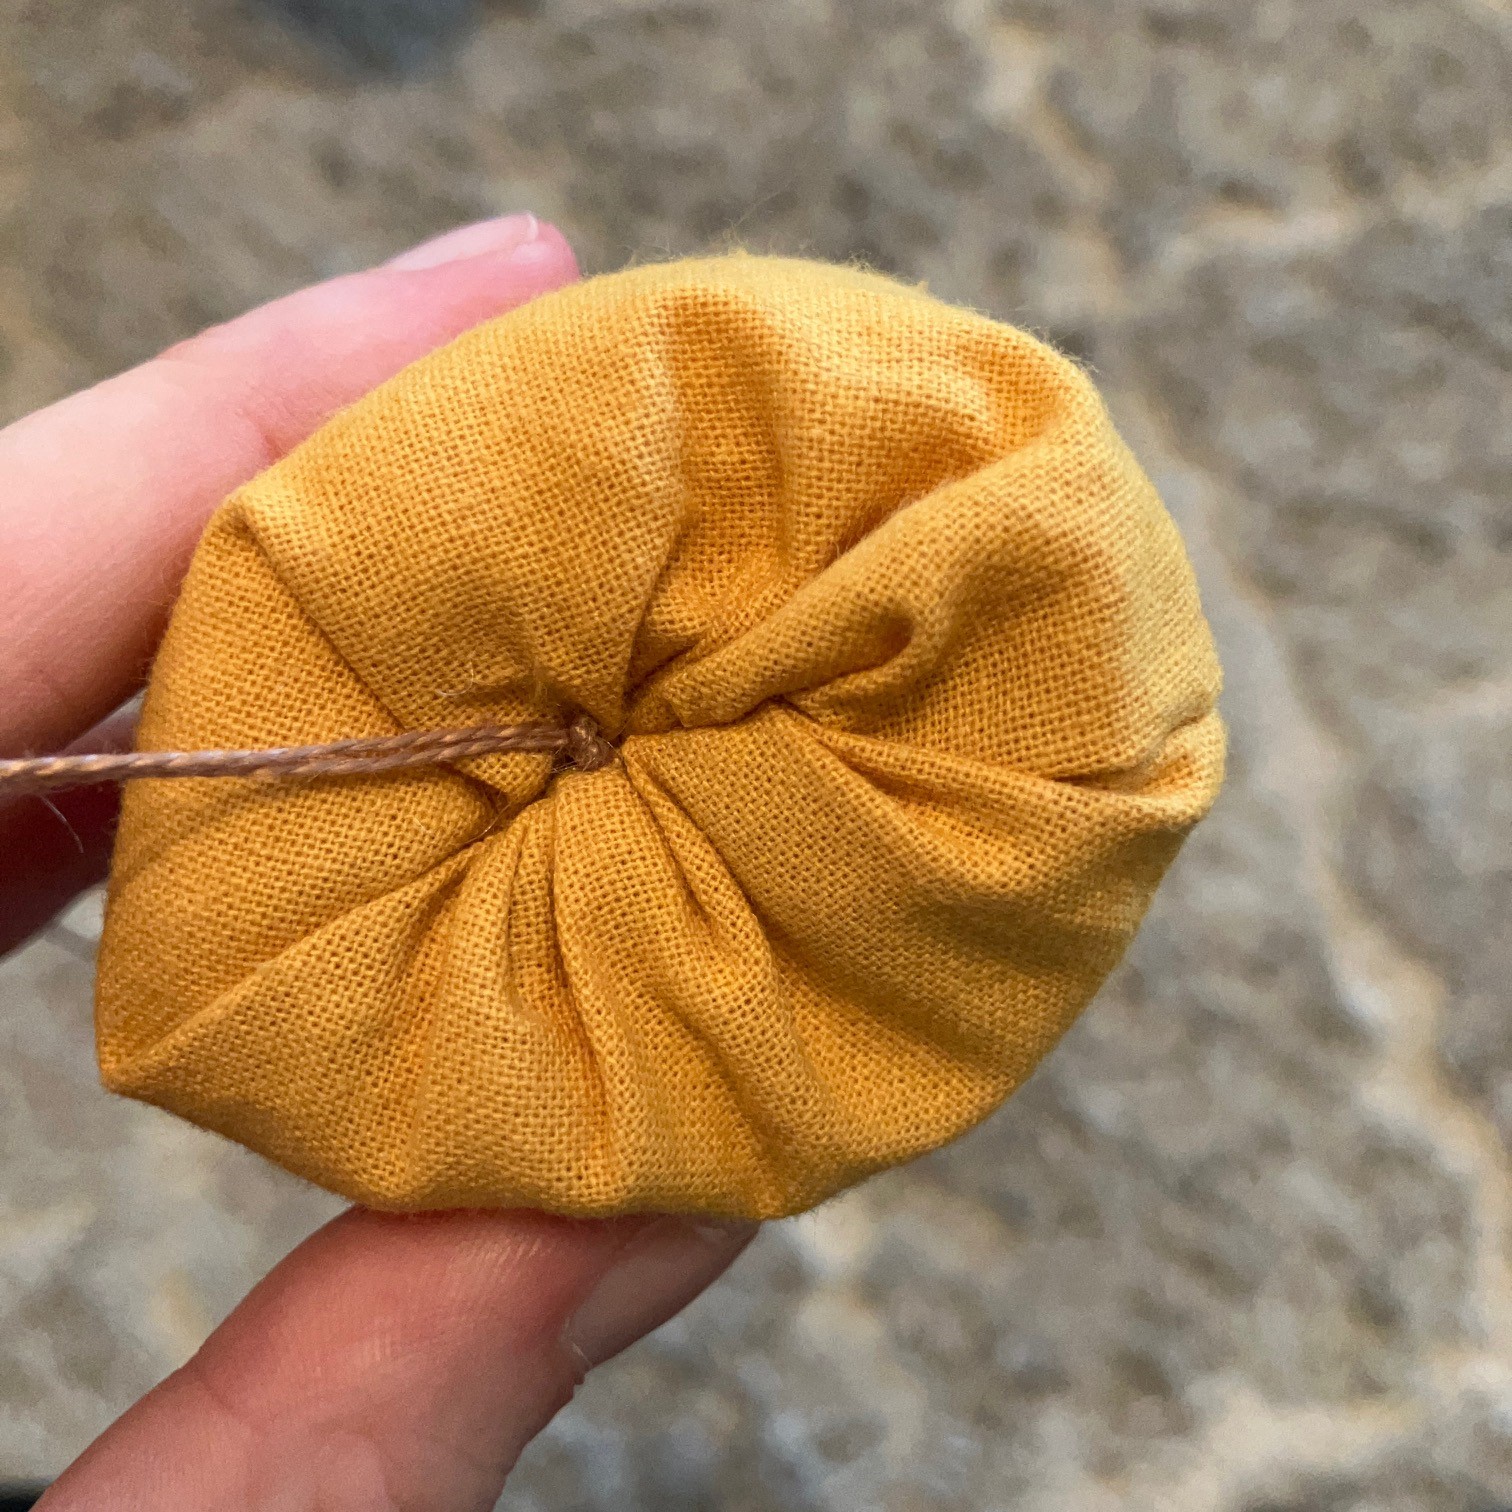
Bring the threads down either side of the pumpkin. When you reach the bottom of the pumpkin, cross threads over, as if putting ribbon around a present.
When taking the threads back up to the top, Adjust slightly so that they mark another third of the pumpkin.
Cross threads again and adjust so thread marks the final third of the pumpkin. There should be 6 segments.

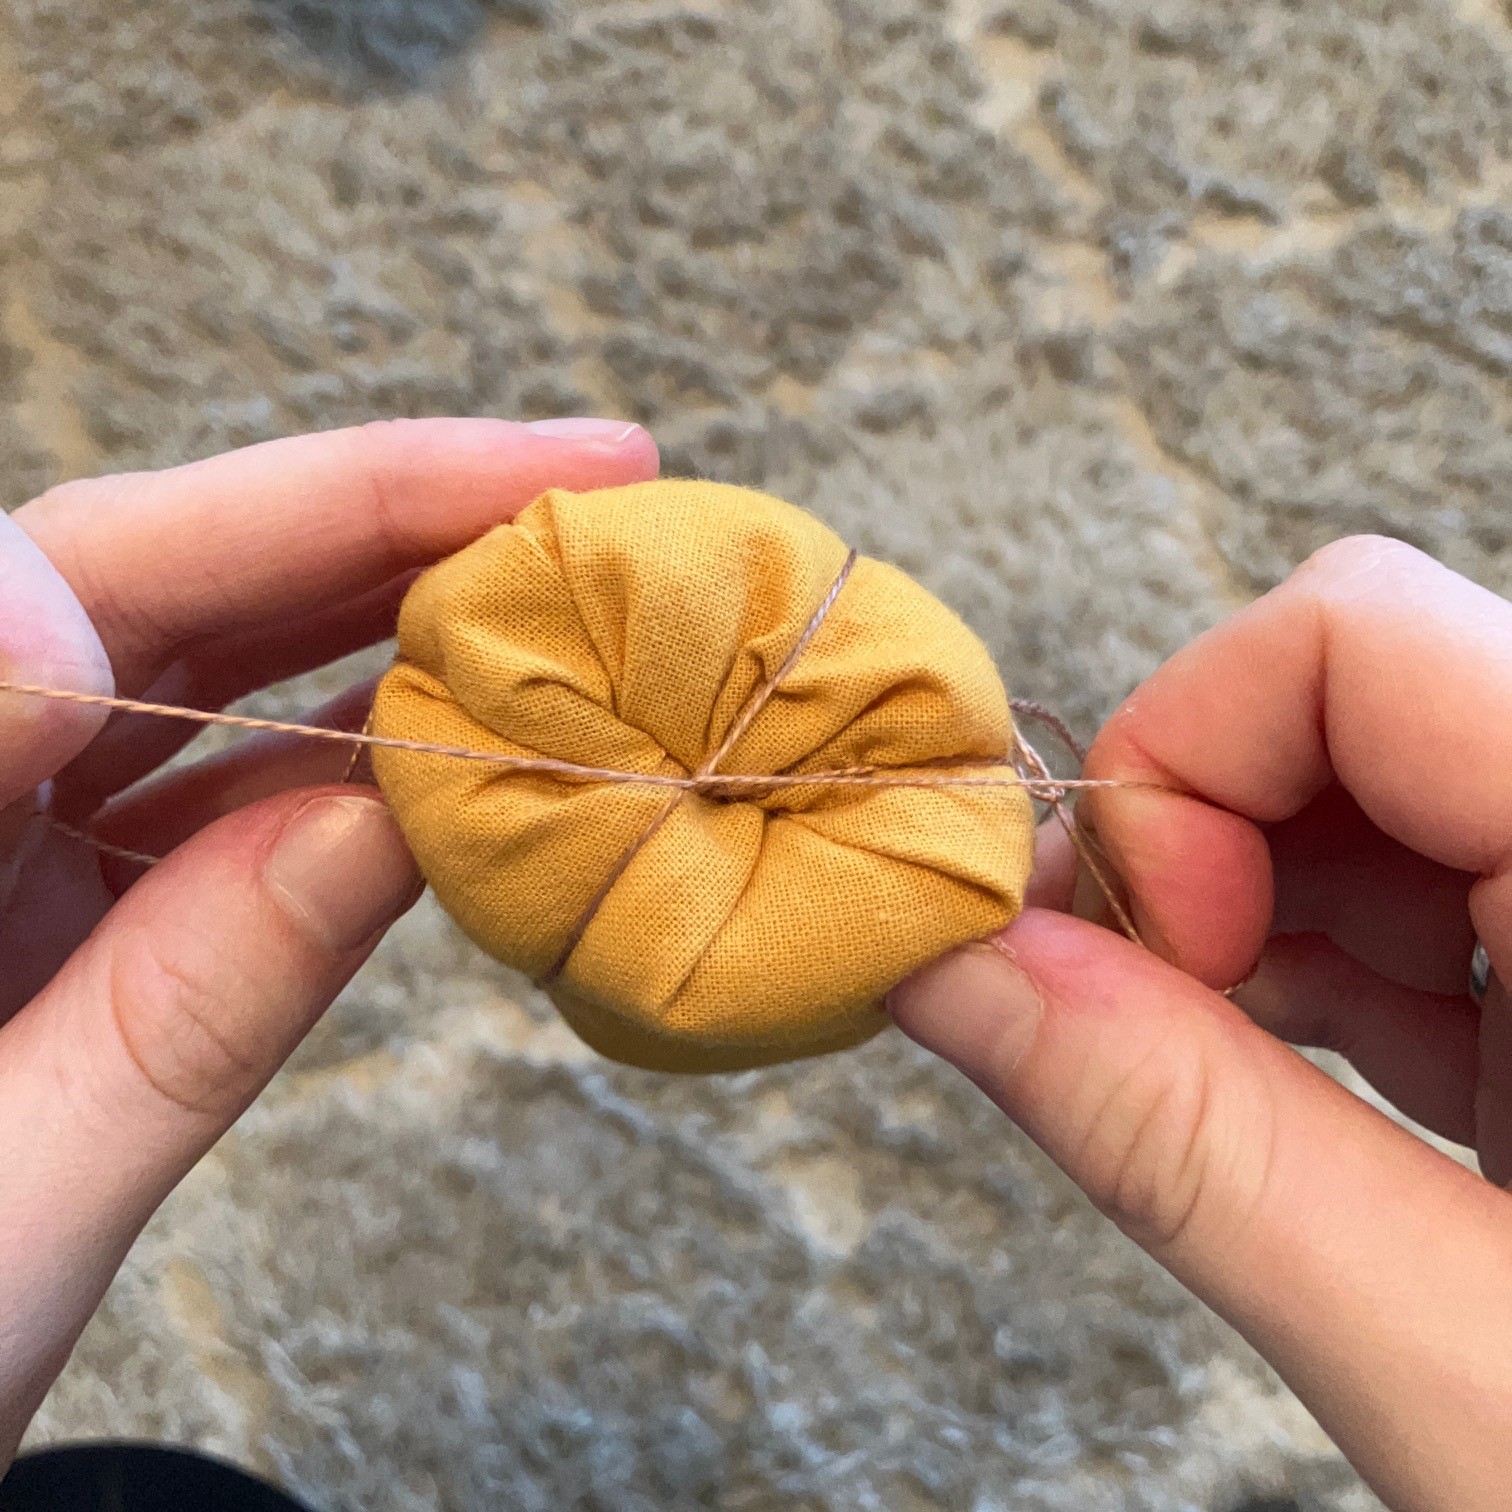
Step 11
Make any final adjustments to the position of the segments. Pull tight on the threads and knot as close to the pumpkin as possible. Pulling tight on the threads before finishing off will cause the threads to sink into the pumpkin, adding shape and character.

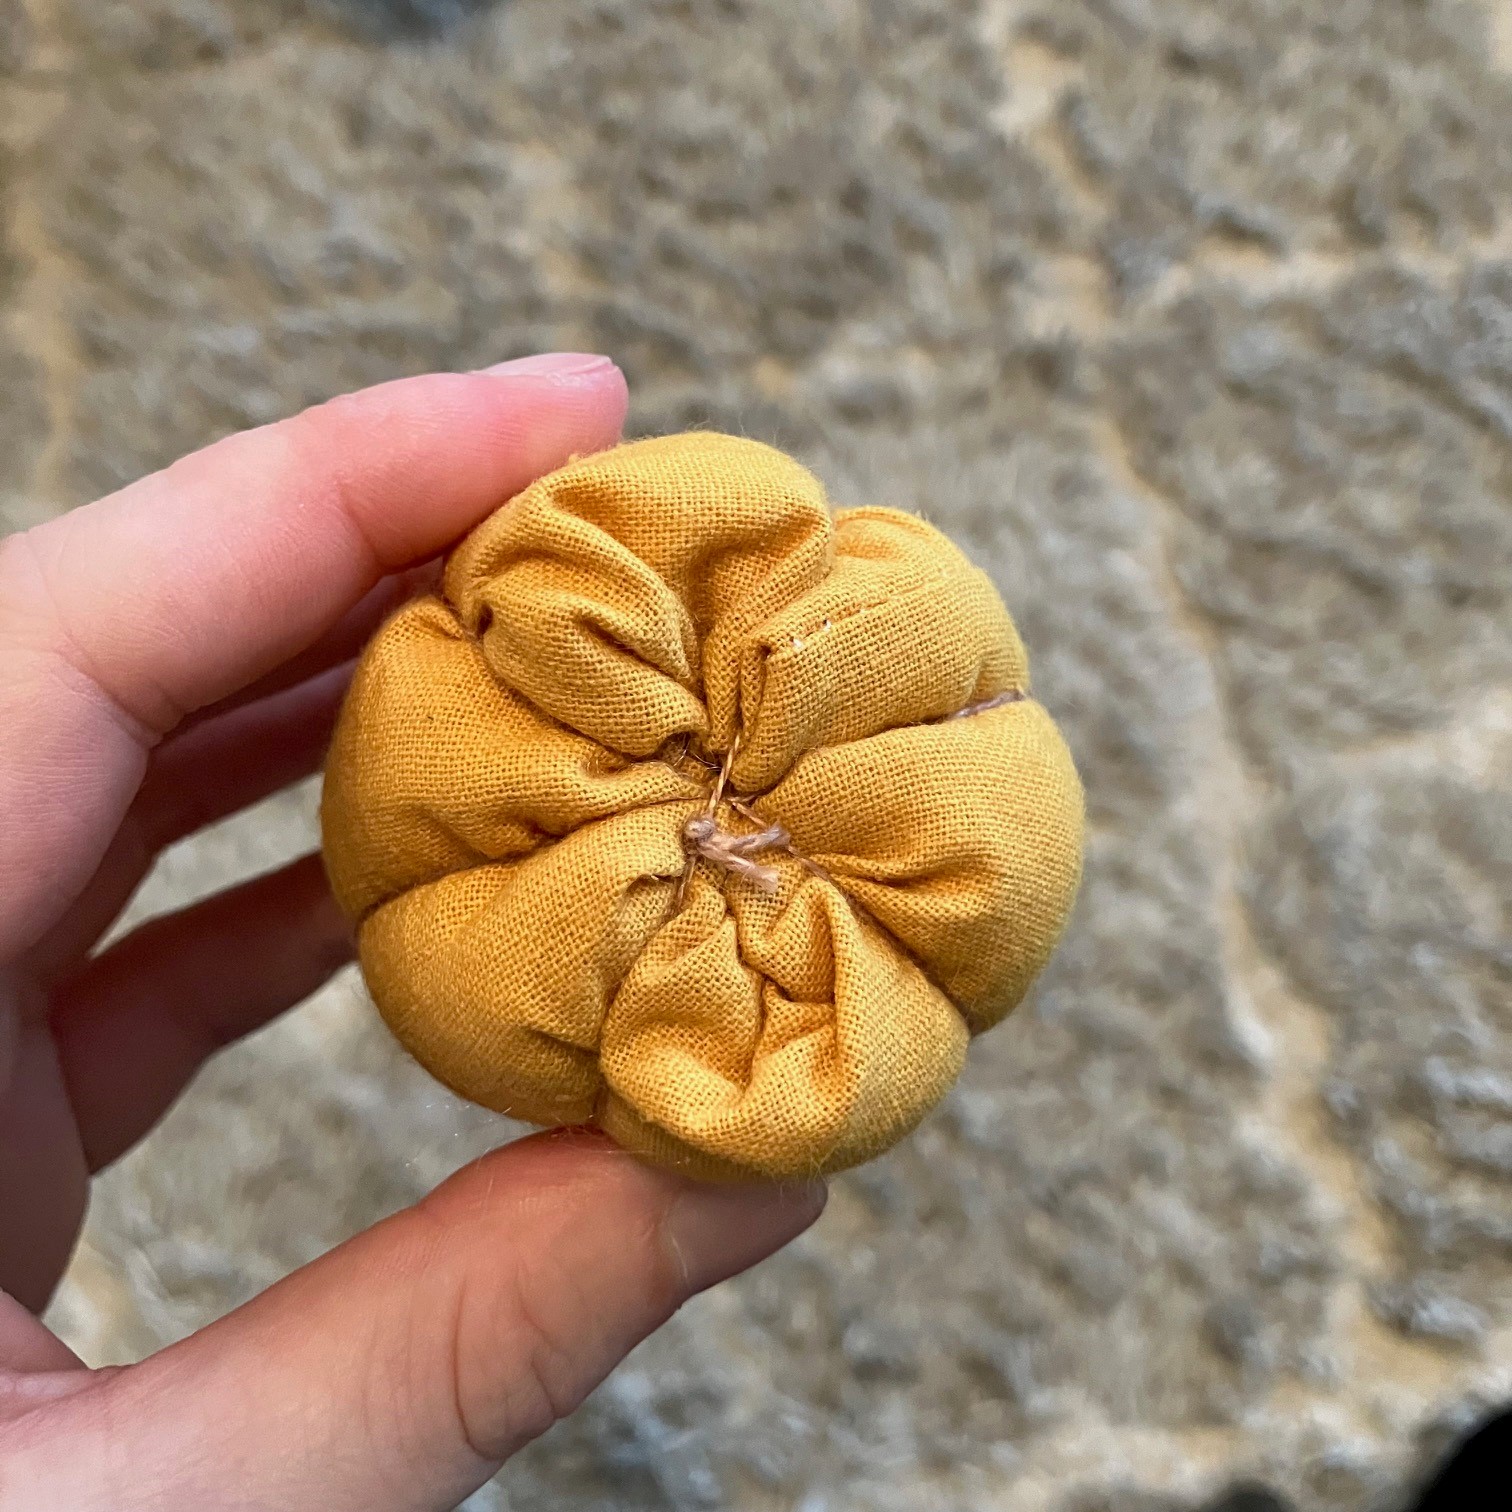
Step 12
Now, make the stalk. You absolutely can hand sew this step. We chose to use a glue gun. Another option is to use white glue (PVA), however, you will need to hold the stalk in place for some time.
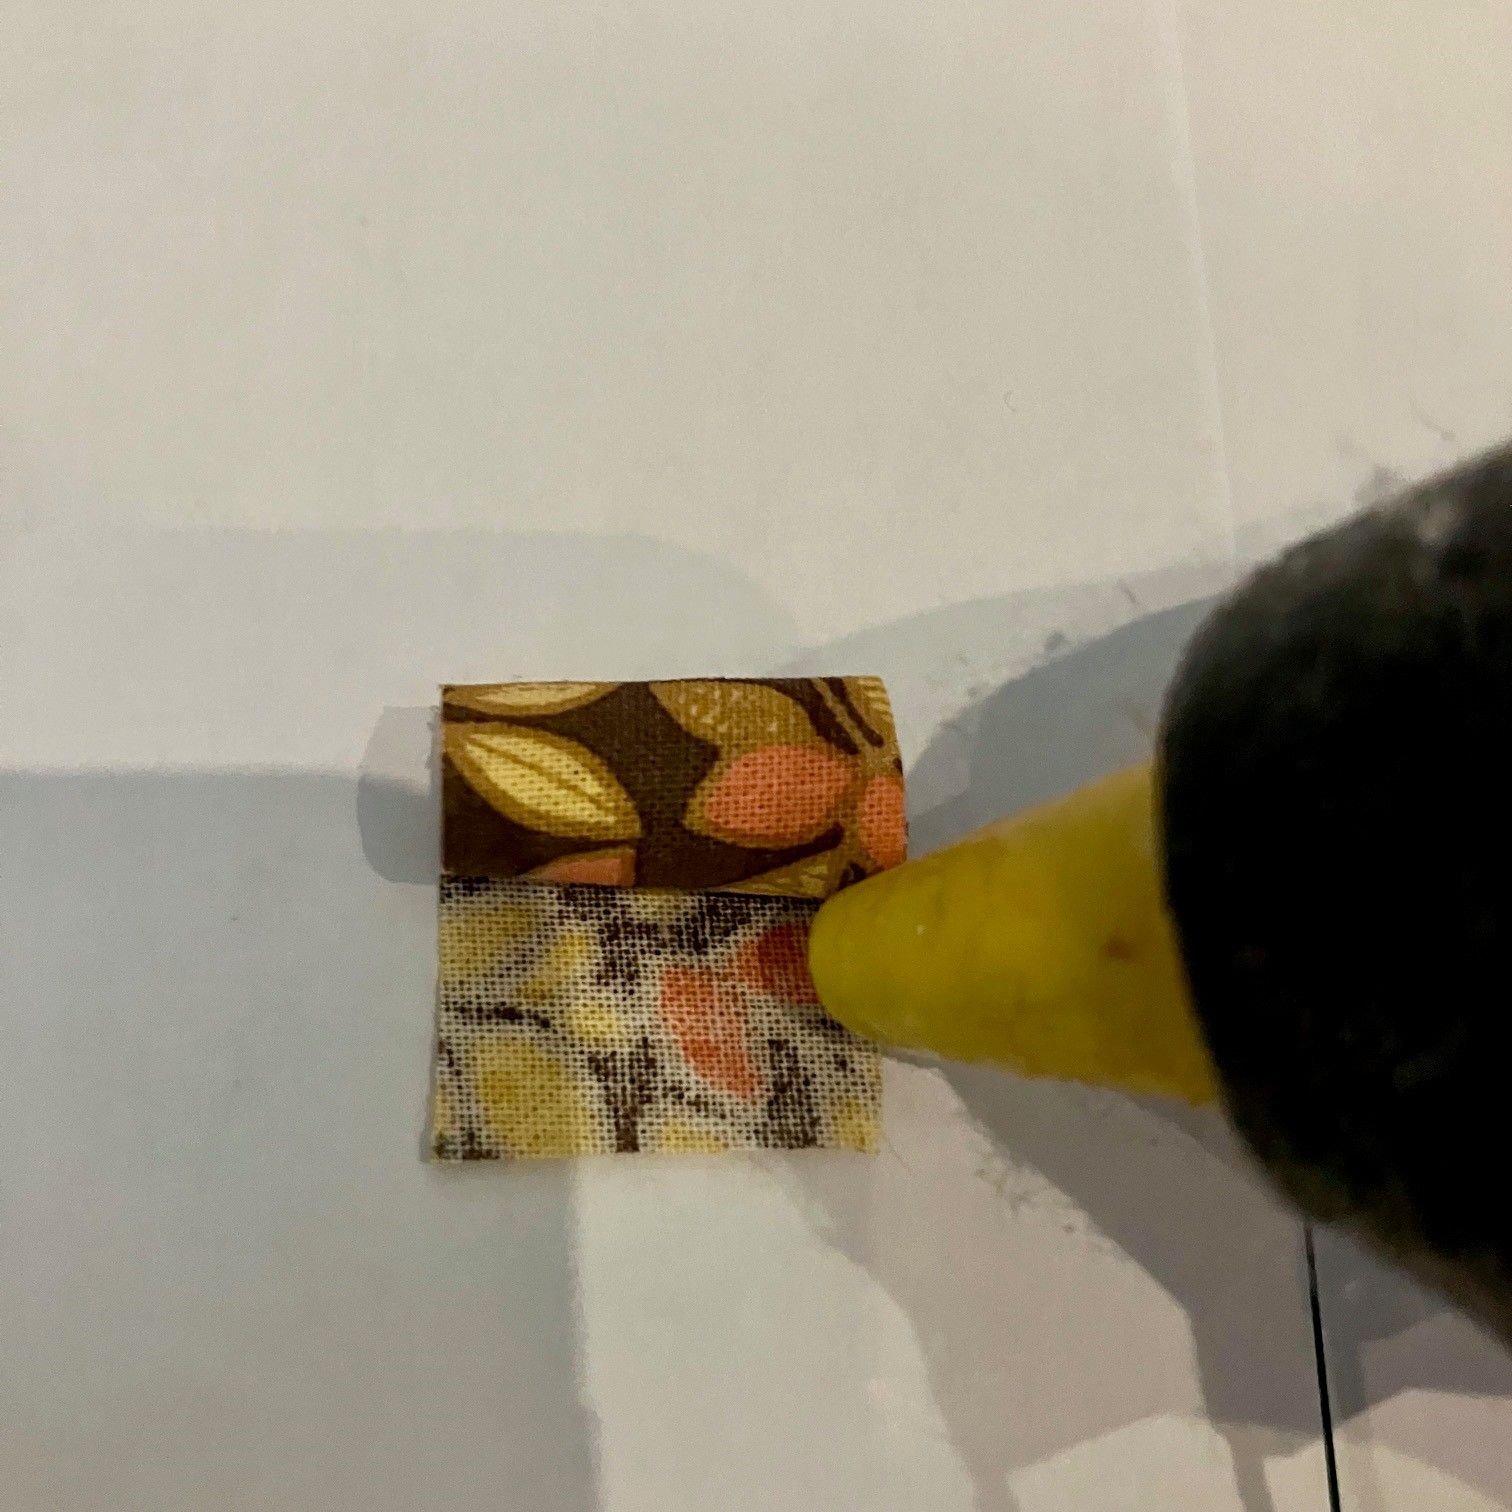
Cut a piece of fabric 3 1/4″ x 3/4″ (8cm x 2cm). This is width x height.
If you have been batch making 9 from a fat quarter, the strip left at the end will be more than enough to make 9 stalks. If you are really making a lot, we mixed the stalk to a different colour pumpkin.
Roll the stalk, keeping firm tension. The fabric should not be loose. Before reaching the end, secure stalk with glue.

Finally, glue stalk to pumpkin, covering the raw gathered edge and knots.
We hope you enjoyed this free tutorial Please do share your pumpkins with us via our contact page or social media.
