Part 1: How to
I’ve certainly had fun beginning an upcycling series for Little Miss Drop Stitch. I’ve been aiming to save money and be more sustainable by buying white clothes from Vinted and dyeing them.
I purchased everything with my own money. This post is not sponsored by any of the brands mentioned.
If you would like specific instructions for how to dye clothes by hand, our YouTube channel has a video on dying by machine, hand and ombre, simply click the links.
There is also a video linked to this blog post. Click here to watch it.
This post is a quick fire no-nonsense sum up of what you need to know before getting started dyeing clothes and fabric.
What are you dying?
This is the first thing to consider. Don’t assume that the fabric dye is correct for your material. On Vinted, I started being extra vigilant asking to see the composition label, after a fail, which I’ll share below with you in a moment.
Dyes can be separated into those that will dye natural materials, such as cotton, linen, wool and viscose and dyes for synthetic materials, so polyester, nylon and any plastics.
If your fabrics 35% polyester or less, common guidance seems to be you can use a dye for natural fabric, but bear in mind your fabric may turn out lighter than the advertised colour at full saturation.
For fabrics with a polyester content over 35%, use a dye for synthetic fabric.
Fabric
I found that linen fabric consistently saturated the best when using dye for natural fibres.
Tools
Hand Dyeing.
Although dye for natural fibres will not stain plastic tools, you don’t want the dye to be going in anything used for cooking or eating.
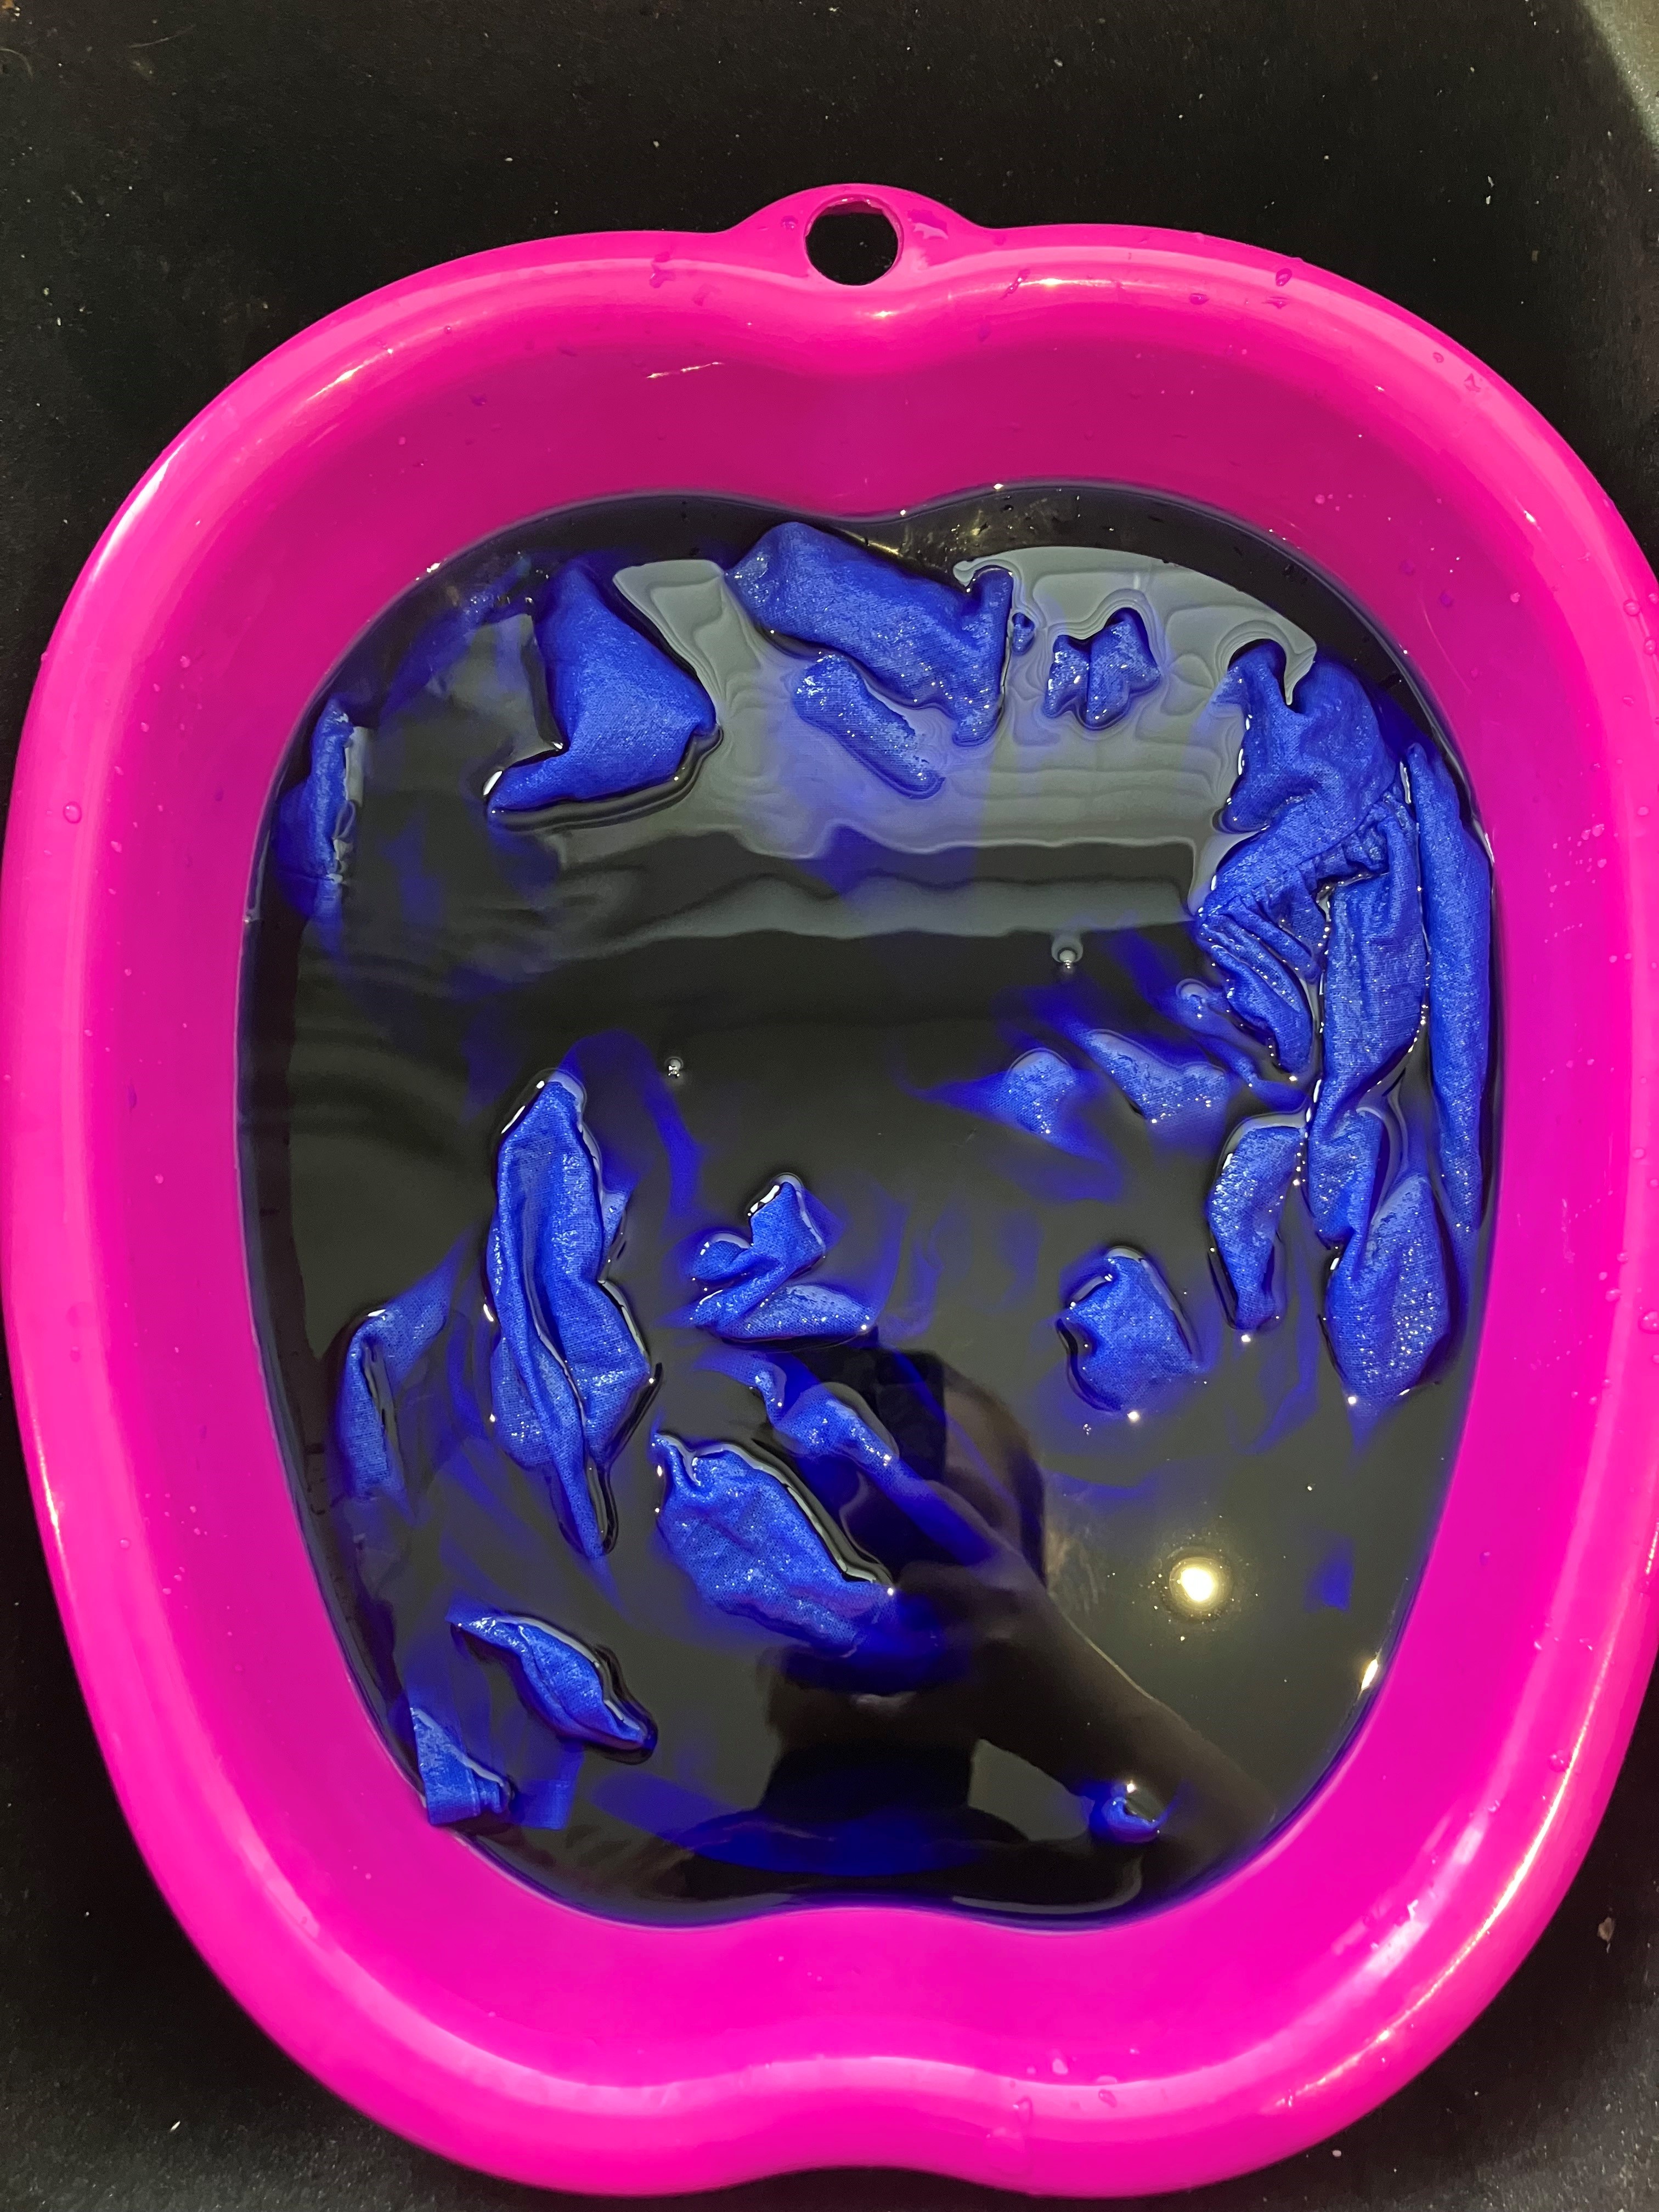
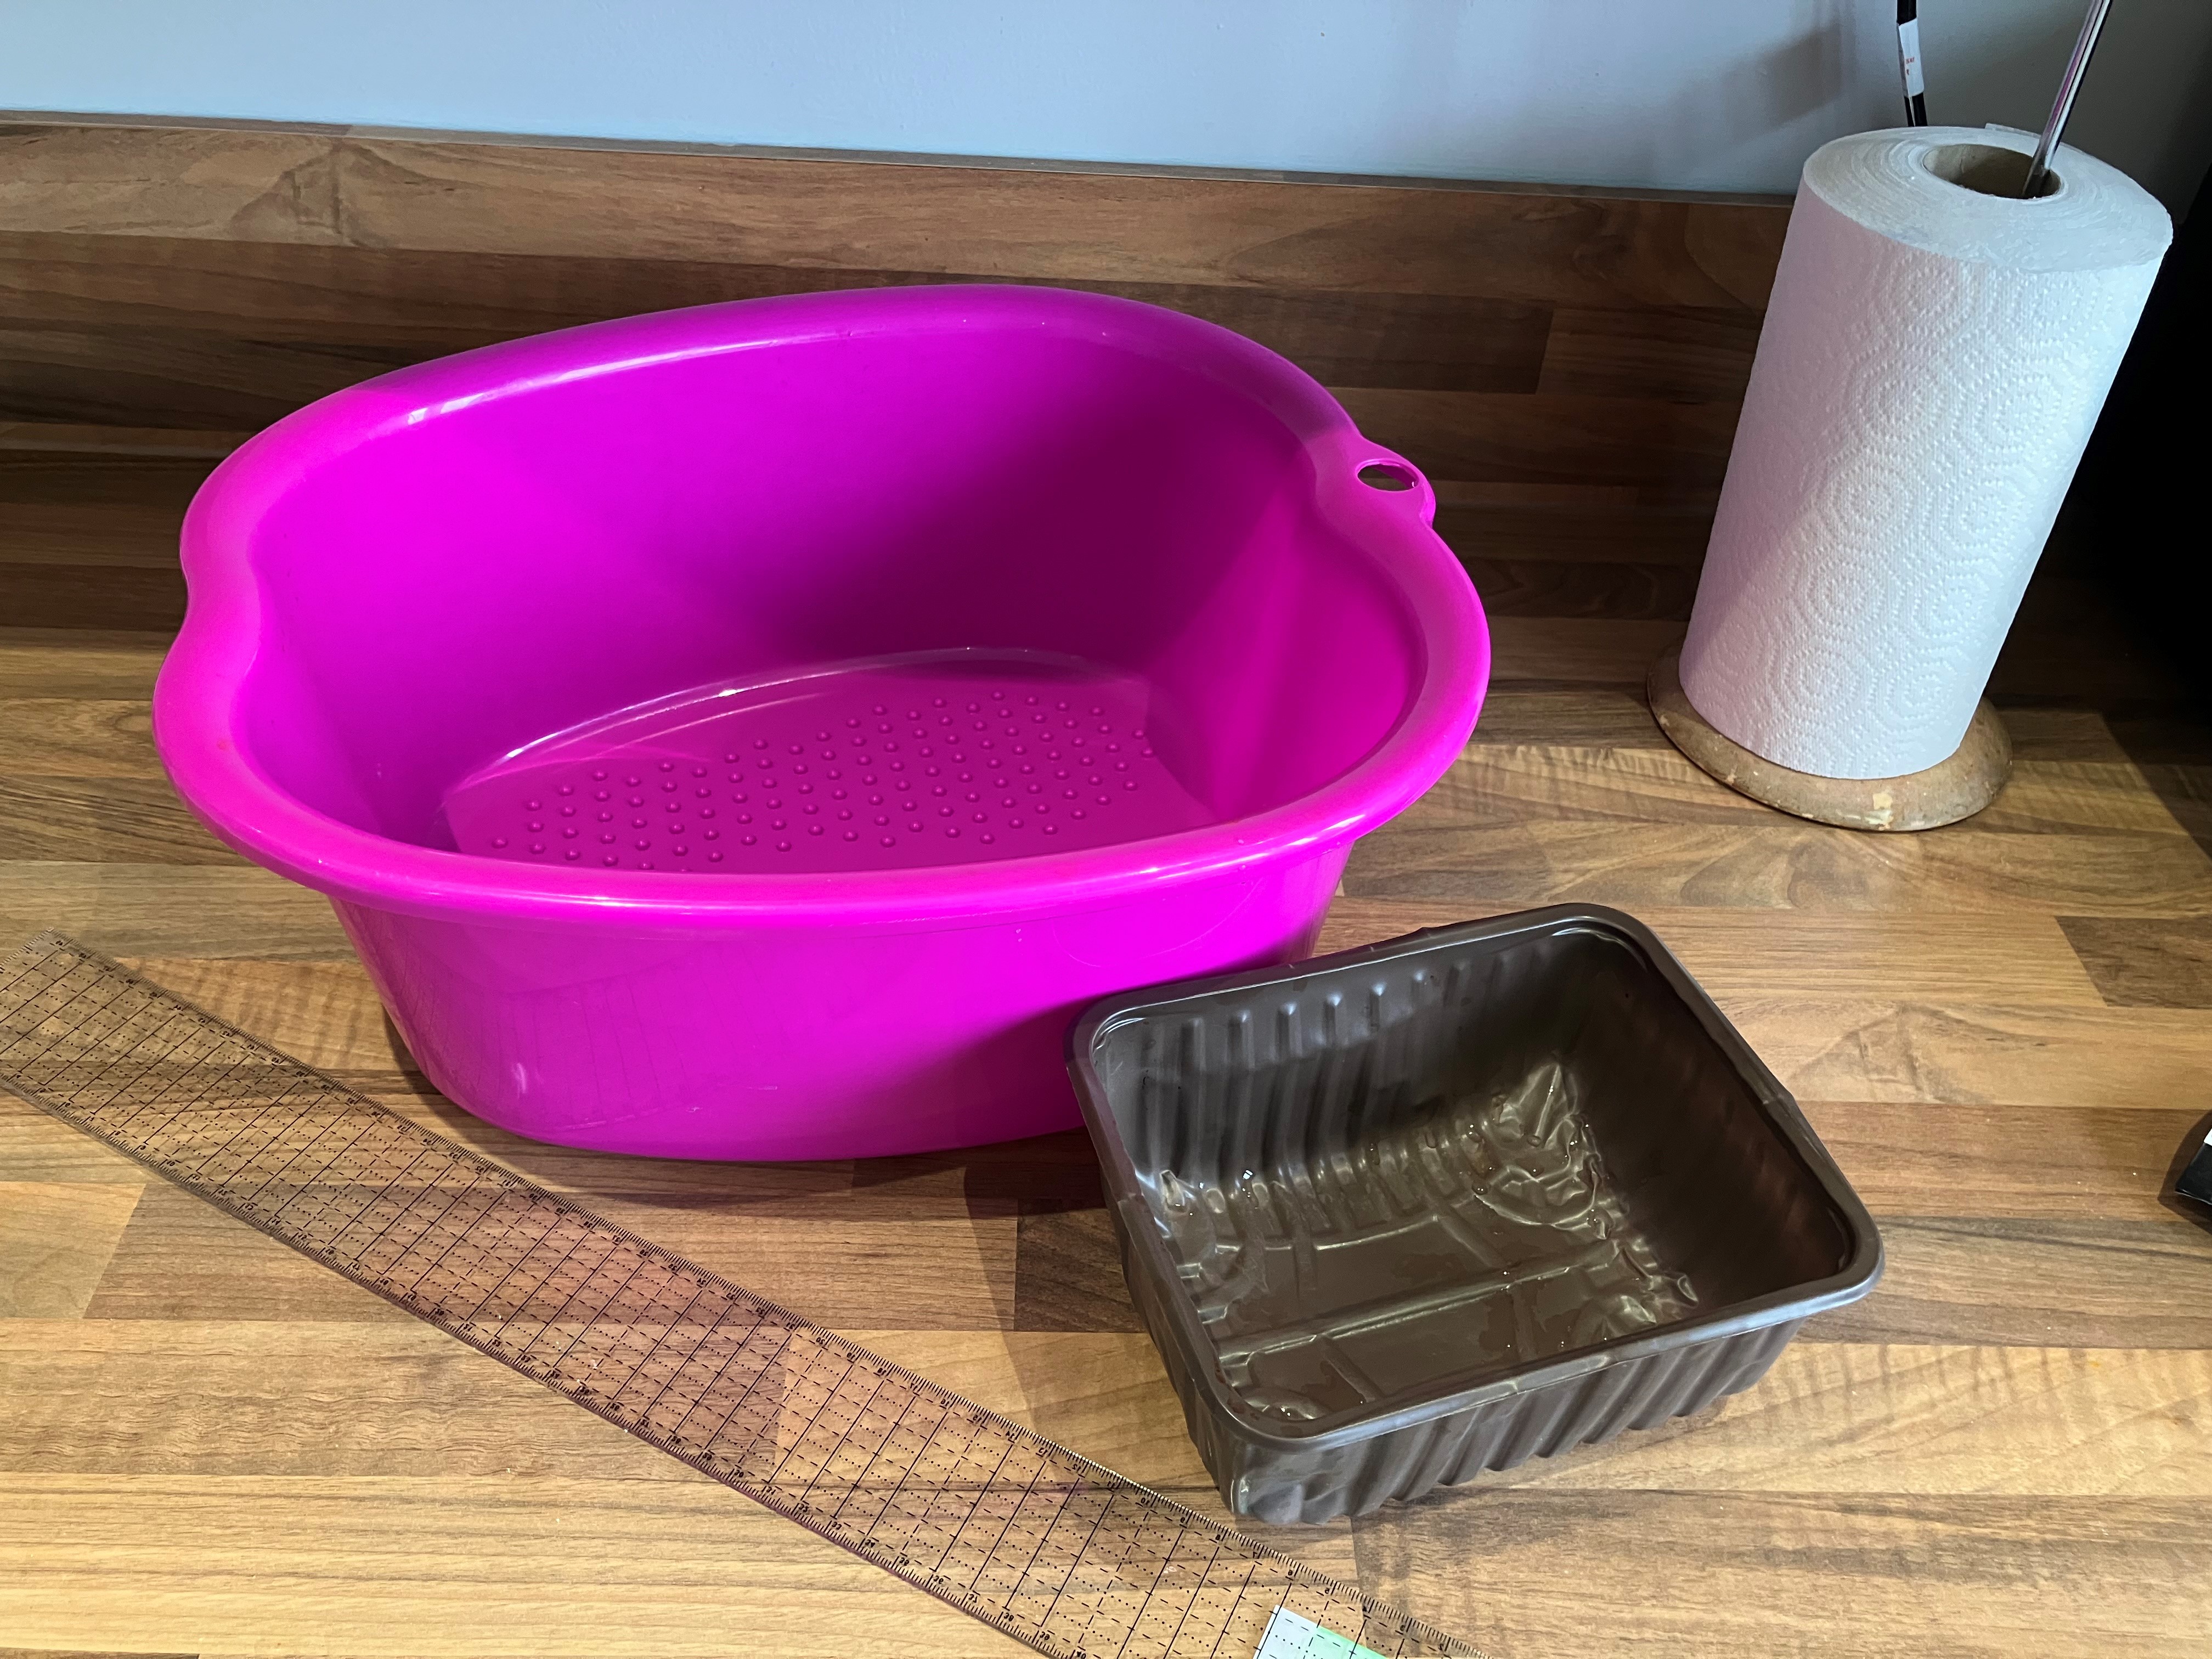
I used a foot spa bowl and put this in the sink, but you could also take this outside. The foot bowl had dimples at the bottom and this meant the salt got trapped. I used a silicone pastry brush to dislodge the salt and stirred until it had dissolved. As there was no dye in the tub at this point, it was fine to use something food comes into contact with.
Similarly, the measuring jug was only used for water and did not come into contact with dye, so I used the kitchen jug for this.
I used an old and cheap quilting ruler for stirring, which I can use again as it didn’t stain. To mix the dye powder, I used a fruit punnet tray (with no holes), which I just recycled afterwards.
You will also need kitchen roll. Not the messiest craft I’ve done, but still poses threats of disaster.
What dye?
There are two types of dye and three methods. Ensure you are using the correct method for your dye and it will say this on the instructions.
TYPE:
- Powder dye. This is mixed with warm/hot water to dissolve, then added to the main dye bath.
- Liquid dye. This can be put straight into the dye bath.
METHOD:
- Hand dyeing. I found this method easy, however, it can be time consuming if you have a few garments or different colours. This method is also limited to one small garment for full colour saturation. Dyeing by hand also offers the opportunity to dip dye.
- Machine dyeing. I washed on a 60 degree hour long cycle. The instructions said to wash on the longest cycle, however, my garments did not seem negatively affected.
- Stove top dyeing. For this you will need a large crock pot that you do not use for cooking food.
What dye to buy?
This review is a completely unbiased opinion as I purchased the dyes myself. I bought Dylon hand and machine dyes in store at HobbyCraft and The Range, as well as online at Dunhelm. Another brand I purchased is Rit, from Amazon.
The first thing to pay attention to is the method of dying. Is it hand, machine or both? If you are wanting machine dye, check if the instructions are for a top loading machine, front loading machine or both.
If buying in person, it’s highly likely the dye will be suitable for the washing machines in your county (front loading in the UK), however, if buying online, do take note if the dye is for your style of washer. The Rit liquid dye is for both front and top loading.
Dylon
Dylon is a power dye. The hand dye, you mix first in 500ml of hot water. The machine dye is in power form, with salt added (more on this later) and you can put this straight into your washing machine.
With the correct fabric, the colours were beautiful and true to the saturated colour example on the packet. I tested quite a few colours and didn’t find any to be ‘dodgy’.
PROS
- I was happy with the results for both hand and machine dyes.
- Buying these dyes in my own country was the cheaper option. The dyes I purchased in person at The Range and Hobbycraft were cheaper than the ones online at Dunhelm.
CONS
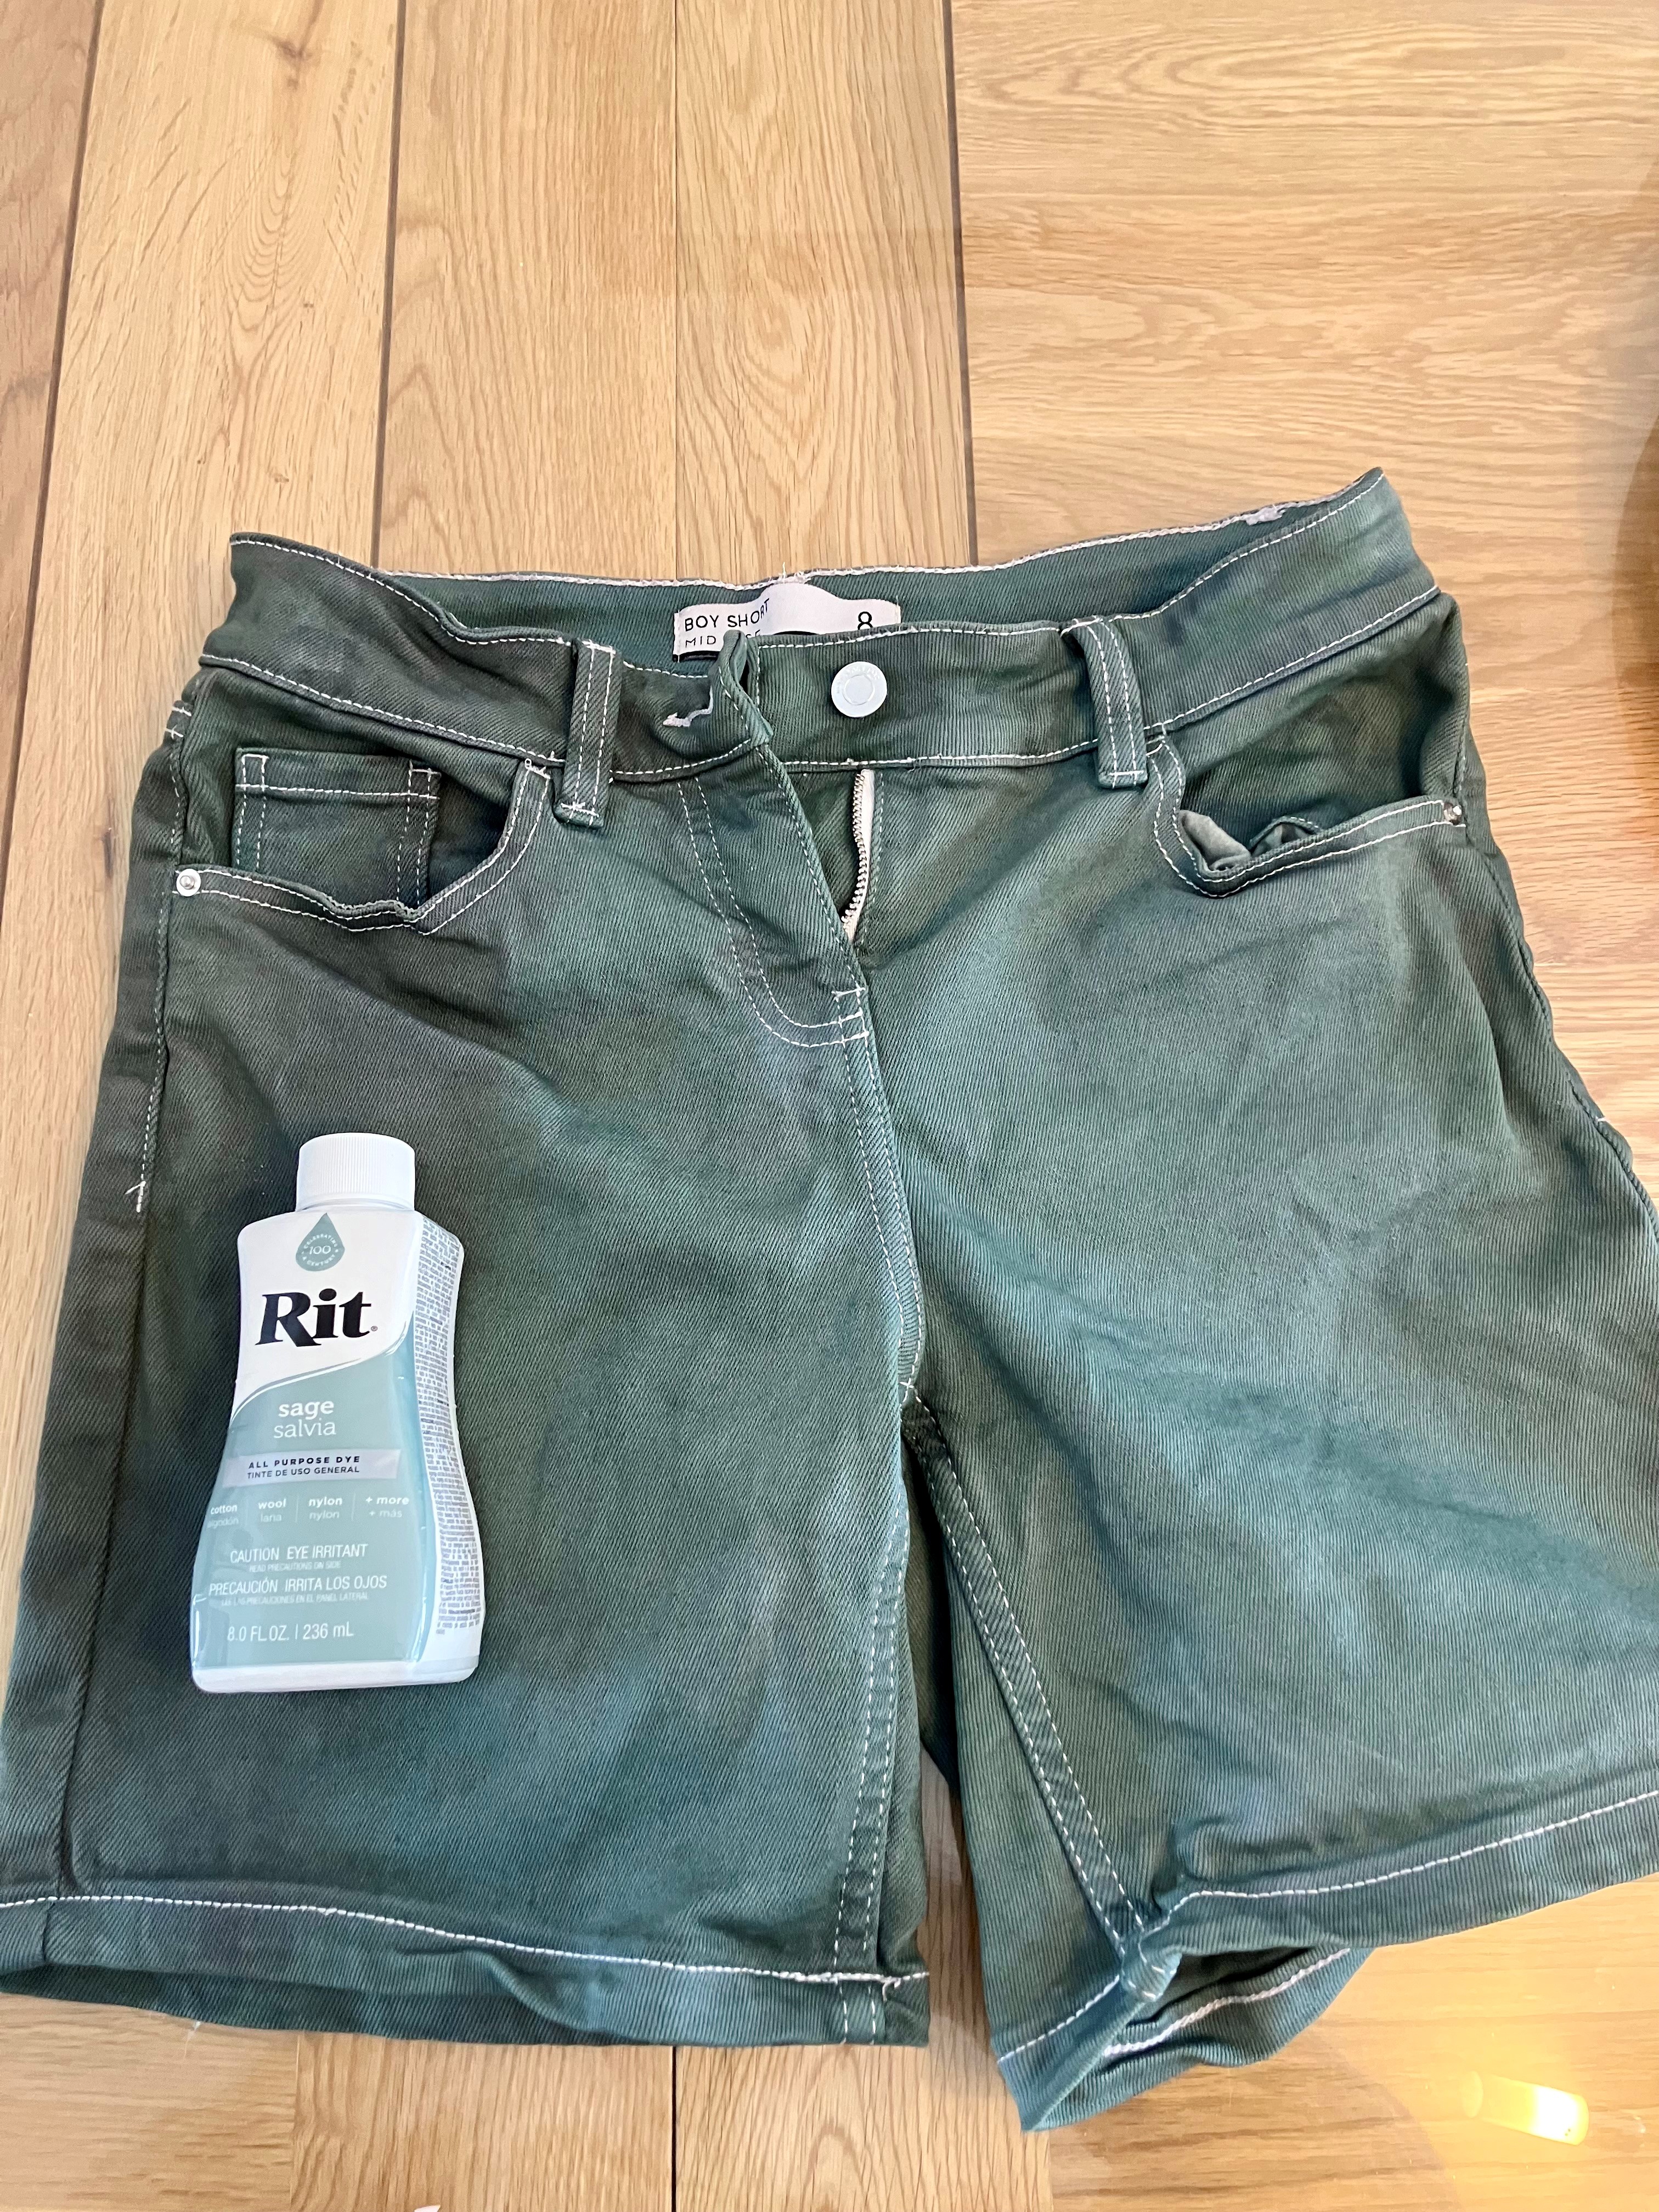
- I feel the colour range could be wider and this is why I bought sage green, from Rit, online.
- When buying in HobbyCraft shop, they only had about 6 colours to choose from with one sold out. At the Range they had more choice, but again quite a few empty spots with missing shades.
- No option for a synthetic fibre dye.
RIT
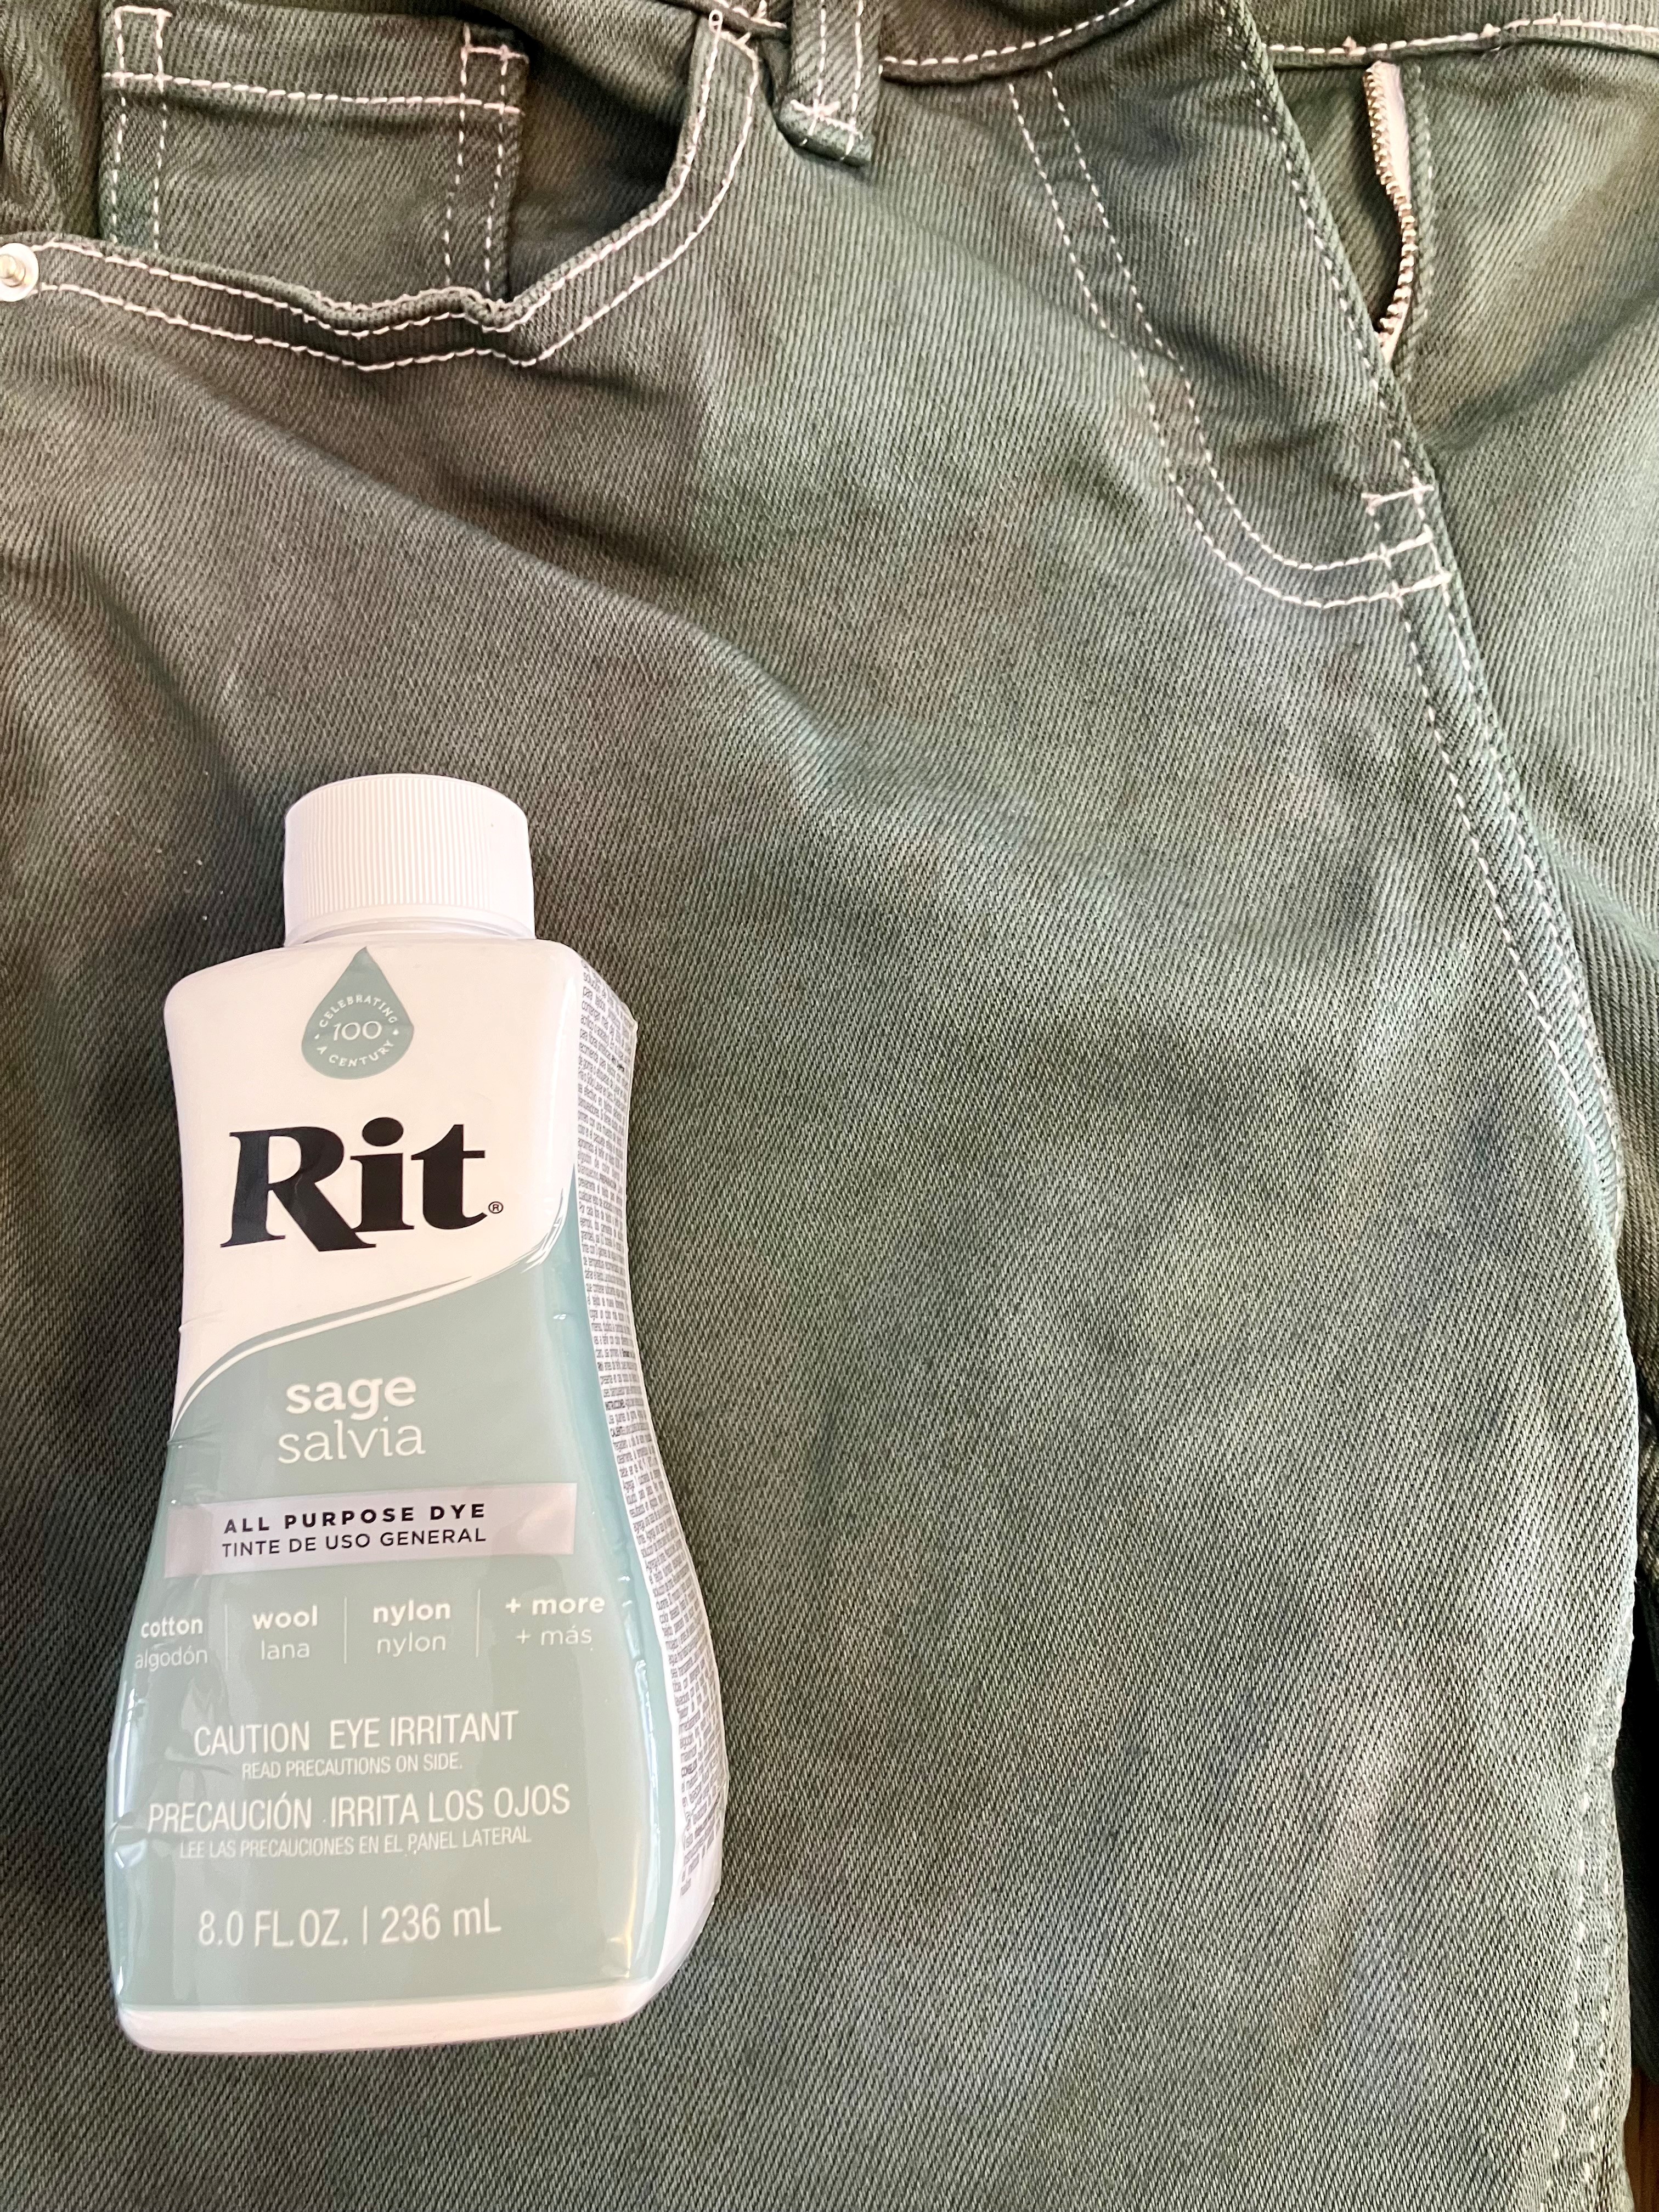
I purchased the liquid all purpose dye.
PROS
- This is a liquid dye, so no need to make a dye bath beforehand. You can put it straight into your hot water
- Multipurpose for hand, machine and stove top dying. Their website demonstrates all 3 methods.
- Wide range of colours, including popular and modern shades, such as sage green.
CONS
- Expensive (likely due to import fees to the seller – this is a US brand).
Full range not easily available in the UK. I purchased from Amazon, but all the dyes were different prices and not all colours off the website available. - Rit tries to sell you an expensive dye fixative to go alongside the liquid dye. You don’t need this, just use salt (more on salt in a moment).
- My shorts did not turn out the colour on the bottle! They are very dark and not pretty light sage green. Based on this, I wouldn’t use Rit again unless I had to. It’s too expensive to ‘have a go’, unlike Dylon which can be purchased for under £4.
Does it have to be white fabric?
No. Well, white fabric is the easiest to dye in order to achieve the colour demonstrated on the dye packet. Similar to painting a wall: it comes out closer to the shade on the tin when painting a white wall.
You can buy a product which strips out the colour from your fabric. A bit like bleaching hair before colouring it.
You can dye over coloured fabric, for example a jeans blue dye colour to refresh your blue jeans.
A risker idea (and I would totally love to see this) is dying over a different colour. Here the laws of colour theory would apply, so red dye over blue jeans would turn out purple.
I was safe and boring and dyed white garments.
Wet fabric
Did you know that wet fabric takes the dye molecules better than dry fabric? Dye instructions will likely tell you to start with the fabric or garment damp. This applies to both hand and machine dyes.
Salt
Salt helps to ‘fix’ the dye to the fabric. Your instructions will likely tell you to use this and how much to use.
Salt can be used to fix dye to materials such as linen, cotton and rayon (viscose), whilst white vinegar is actually better for dyeing nylon, silk and wool.
Some brands will try to sell you their expensive fixative. You don’t need this. I bypassed this step and substituted for 250g of salt.
Be careful if using dye in the machine. Investigate if the salt or fixative is included (in Dylon machine it is) or if you have to add it. If you have to add it, make note of how and when in the process.
A machine dye not having salt could be a bit of a faff; the positive is that it allows you to dye fabrics not compatible with salt for fixing i.e. add white vinegar.
Does it stain?
I used dyes for natural fibres and as we have previously discussed, it will not dye anything synthetic. This meant the tools I used for hand dying were not stained (see below for suggestions). And dye that got on the worktop did easily wipe away with a wet sponge.
Hands and skin are natural fibres, I guess…so yes, it did stain my hands!
What you might be more curious to find out is if it stained the washing machine. To save both myself from 100 questions, and my mother from panic, I meticulously inspected the washing machine for dye.
Some of the seal where there was already a questionable mark turned the colour of the dye I was using. In addition, I really had to get a sponge and kitchen roll into the seal crevasse and my sponge did come out with the colour of the dye.
After use I did run the washer on a 15 minute cycle to get rid of any potential lingering dye. On one occasion, a small amount did get on a dress I washed after. This happened once out of a total three machine dyes.
And there we have it. I hope you found this information useful and you are on your way to upcycling clothes.
