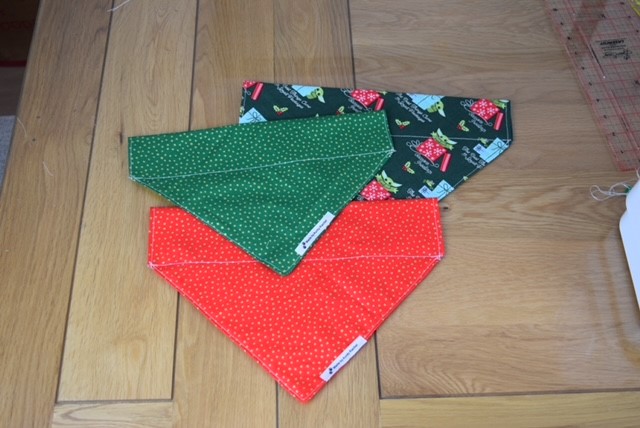

This tutorial is easy peasy and you’ll be rattling out dog bandanas in minutes. I especially love this pattern because the fabric is just a square, which is more economical than cutting out triangles.
Click here for the YouTube video tutorial. We all learn differently, so if step-by step instructions with pictures is more your thing, that is all on this page. Whichever instructions you use, you’ll need the size charts below.
This has been made as straightforward as possible because it frustrates me when the instructions say to measure your own dog. I make for family dogs and I know a lot of you make for dog shows and artisan markets, so need to know the sizes for all dogs. Numbers have been rounded when converting between cm and inches, because a quarter of a centimetre really isn’t going to matter and is difficult to measure.
Here is an accessible spreadsheet
Over collar dog bandana instructions
Step 1: Cut out your fabric square using the charts above: either the accessible spreadsheet or coloured image.

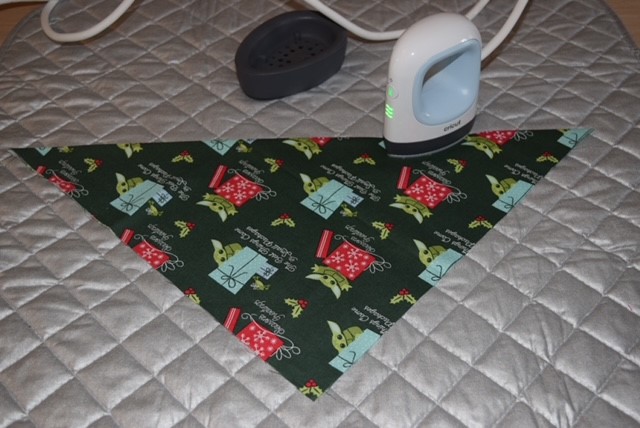
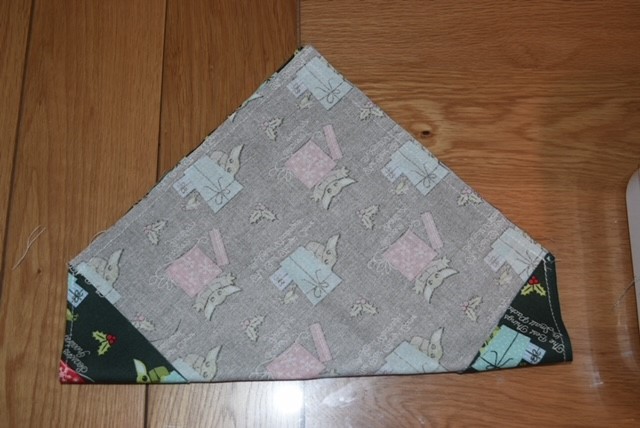
Step 2: Fold your fabric corner to corner (wrong sides together) and iron a crease across the diagonal. Now is a good time to keep in mind the fabric design will be on a diagonal and the pattern will go uphill on one side and downhill on the other. You want the design to go downhill on the presented side. Alternatively, use a non-directional fabric such as spots.
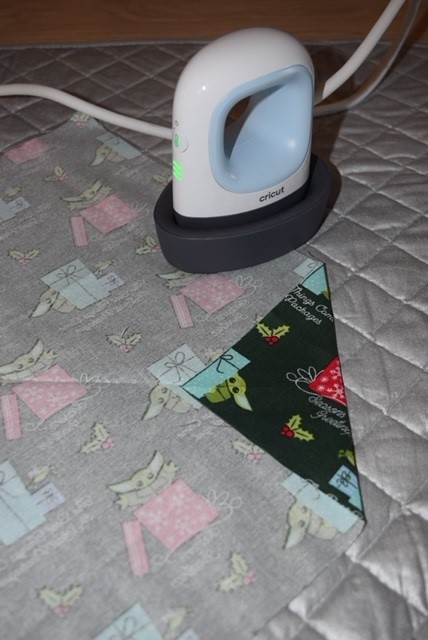
Step 3: Fold opposite corners (wrong sides together) in the amount stated on the chart and press. Ensure the point lines up with the centre crease you made in step 2.
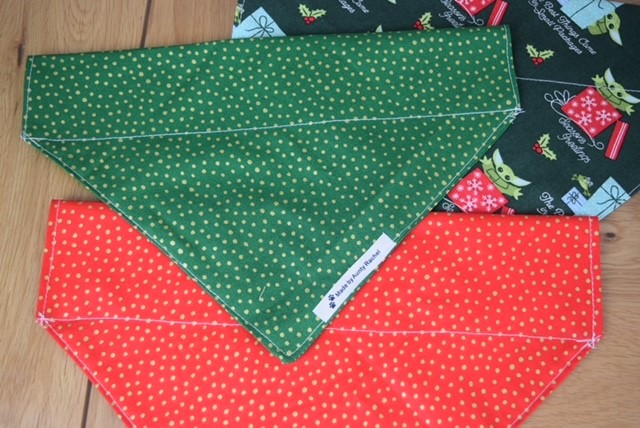
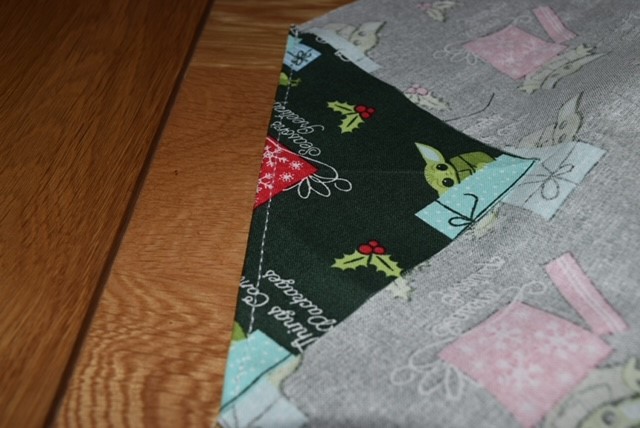
Step 4: Top stitch (stitch close to the edge) these corners down.
Step 5: Fold bandana right sides together. Sew from bottom of fold on one side to bottom of fold on the other. There will be a channel left for the collar to go through.
Step 6: Cut straight across the triangle point, not cutting through the stitching. This is so there is less bulk when turning and we can make a nice crisp point. Turn bandana out so that the right side is now facing. Using a point turner, pencil or knitting needle push out the triangle point.

Step 7: With chalk and a ruler draw a line across the bandana from the bottom of one fold to the opposite side. This will secure the channel for the bandana to go over the collar. It is worth drawing on in chalk first as we want this to be straight and neat in presentation. Apologies, the image has turned out a little blurry.
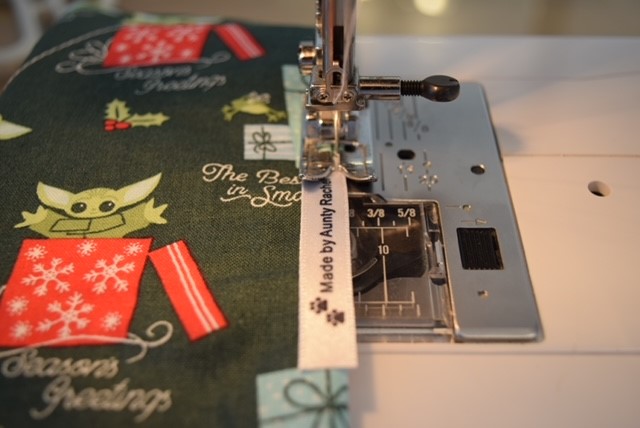
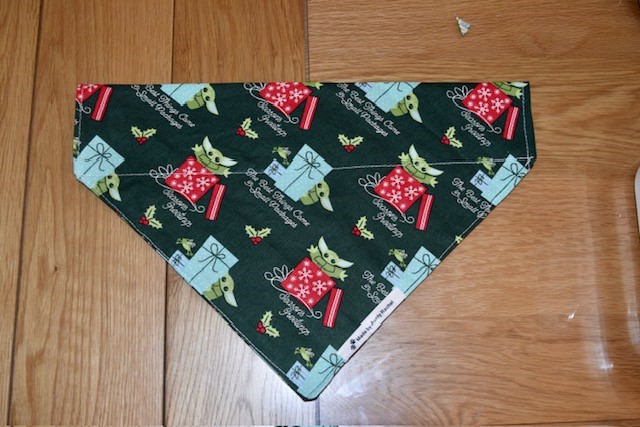
Step 8: Top stitch from triangle side -to point – to side. Starting and stopping at the stitching line from step 7. If you have a label to add, then now is the time.
We would love to see your makes! Tag us and use #lmds
If sharing this tutorial/instructions, full credit and recognition must be give to Little Miss Drop Stitch.